Starting the NAS and Installing DSM
Setting up the Synology DS120j (review) is easy and almost the same as setting up the Synology DS220+. The DS120j comes with only one hard drive bay and there is no need to create a volume. The volume will be created automatically during the setup process. Depending on the internet speed, setting up the DS120j takes around 20 to 30 minutes. Once you unbox the NAS,
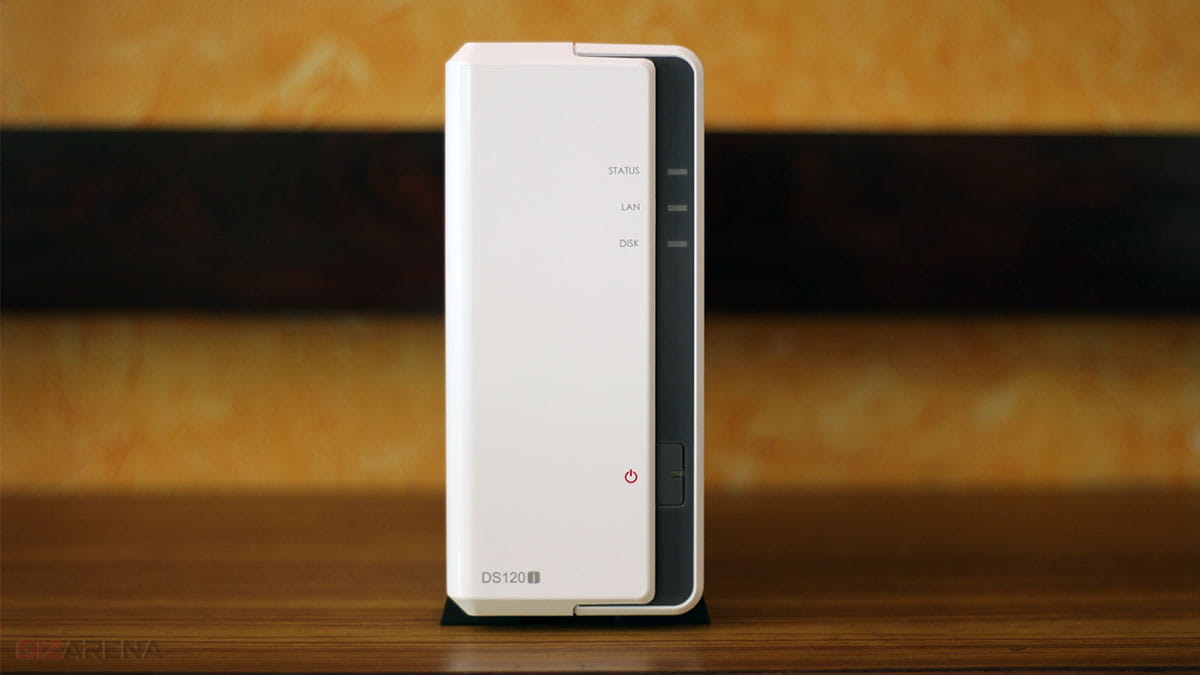
- Keep the NAS on the flat surface
- Slide-out the left side body panel and install the hard drive
- Fasten the hard drive as well as the body panel using the provided screws
- Connect the one end of the LAN cable to the NAS
- Connect the other end of the LAN cable to the WiFi router
- Power up the NAS using the provided power adapter
- Press the Power button to start the DS120j
Note: This tutorial is made on the MacBook Pro with macOS Big Sur 11.3.1. There may be a slight change in the user interface but the process is similar if you are using a Windows computer or any other version of the macOS.
Make sure your laptop or the desktop you are using to set up the NAS is connected to the same WI-FI router to which the DS120j is connected. This will create communication between the NAS and your PC. You can connect the computer to the router using a LAN cable or WI-FI. During the setup, the NAS will download the DSM software from the Synology server.
After making sure both Router and DS120j are connected properly, open any web browser on your PC such as Google Chrome, Microsoft Edge, etc., and enter find.synology.com in the address bar. It will take a few seconds to scan the available devices and you’ll see the details of your NAS along with the Model Number, Mac Address, IP Address, and Status. Now, click on the Connect button and agree to the terms and the privacy policy.
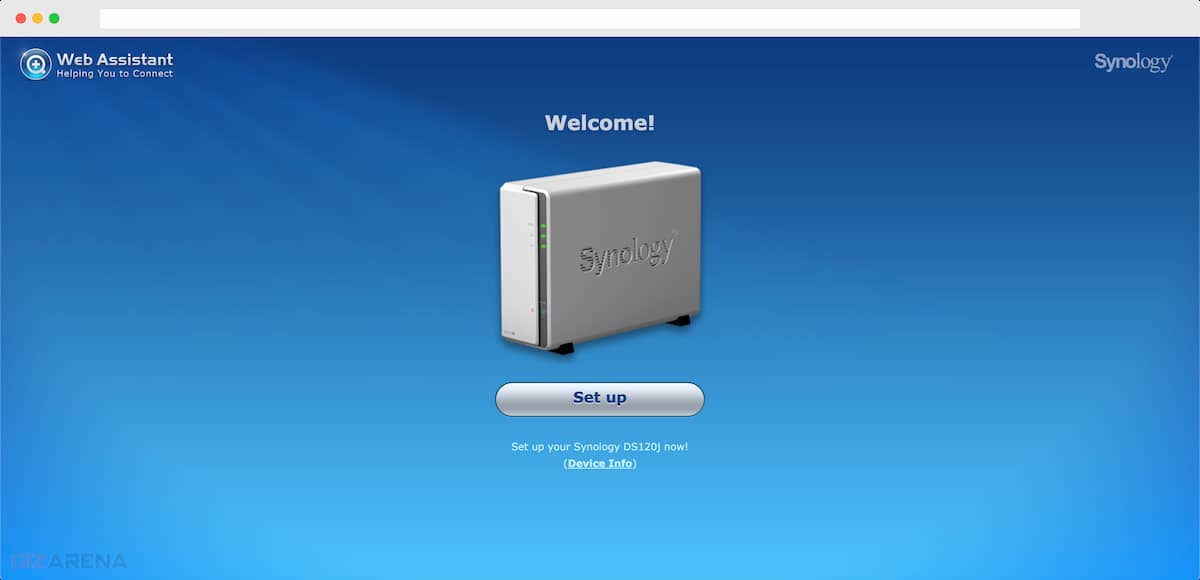
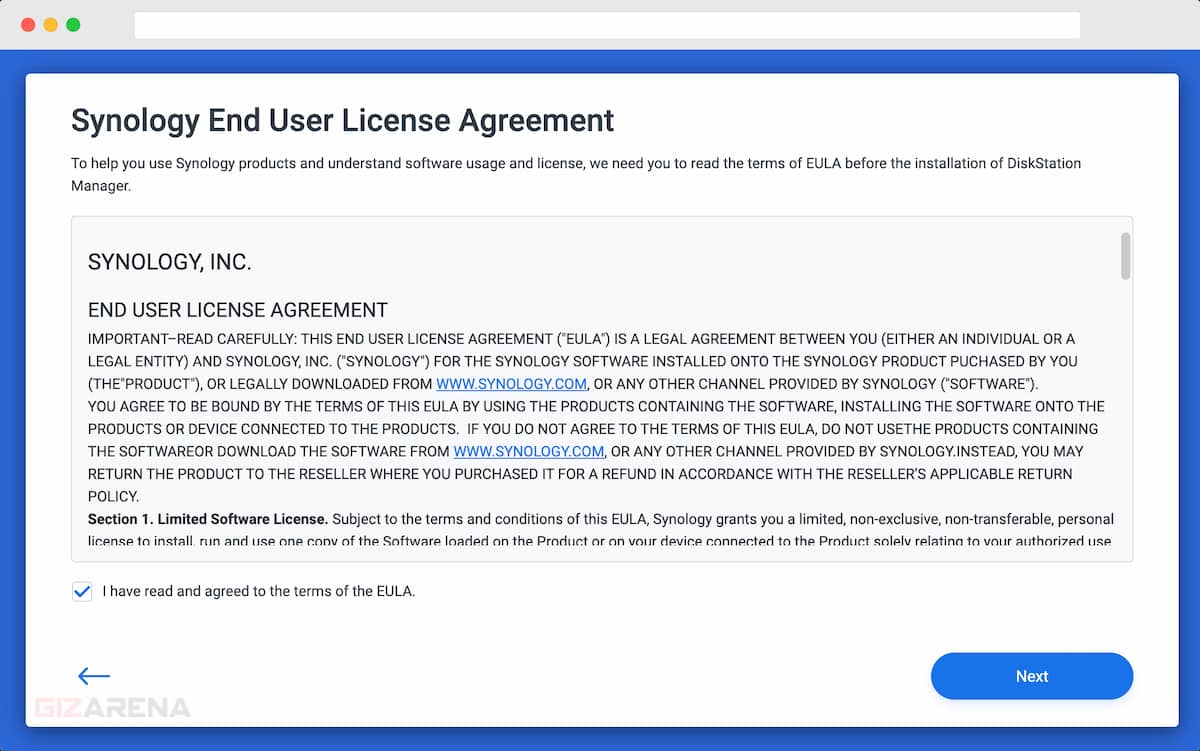
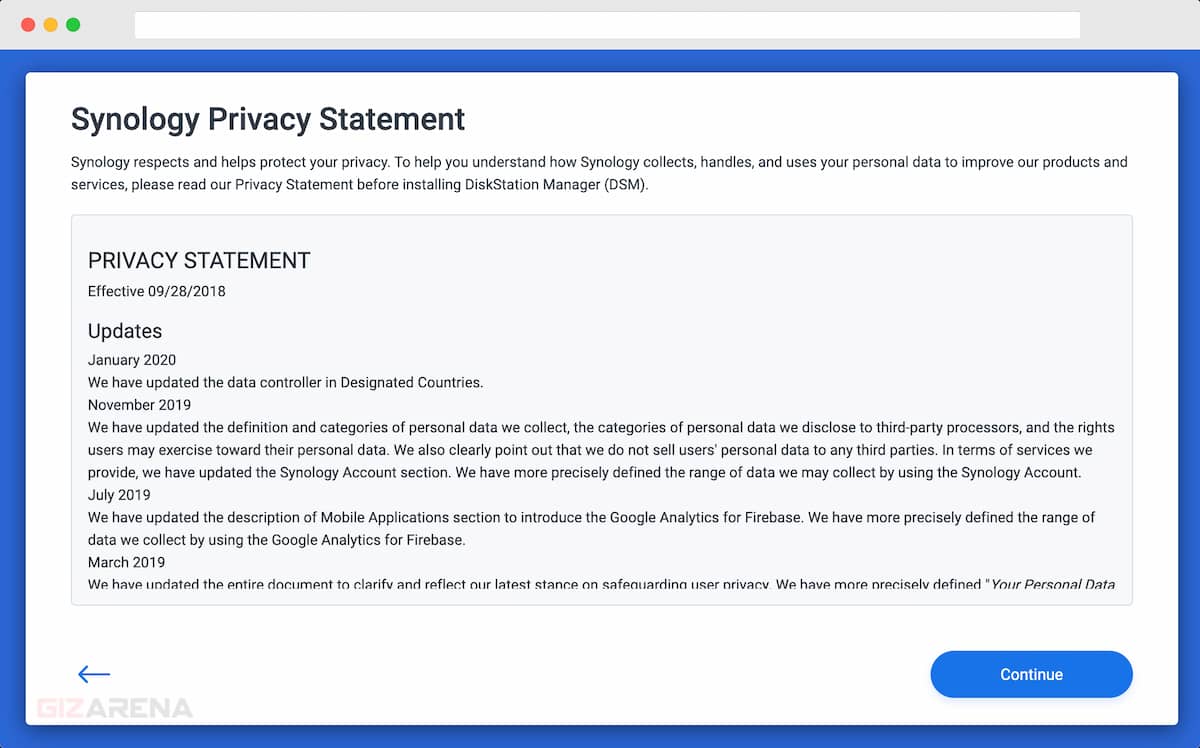
Note: there is also an official app called Synology Assistant which will help you set up the NAS. If you install the Assistant app, there is no need to enter the URL, instead, open the Assistant app and the app will scan and show you the list of available devices. I always prefer the browser-based setup as it is quick and no additional downloads required.
Now, it’s time to set up the NAS by installing the DSM operating system. Click on Connect. Make a note that a power failure may break the software installation process and the NAS may become unresponsive. So, make sure there are no power fluctuations or any other issues before initiating the setup.

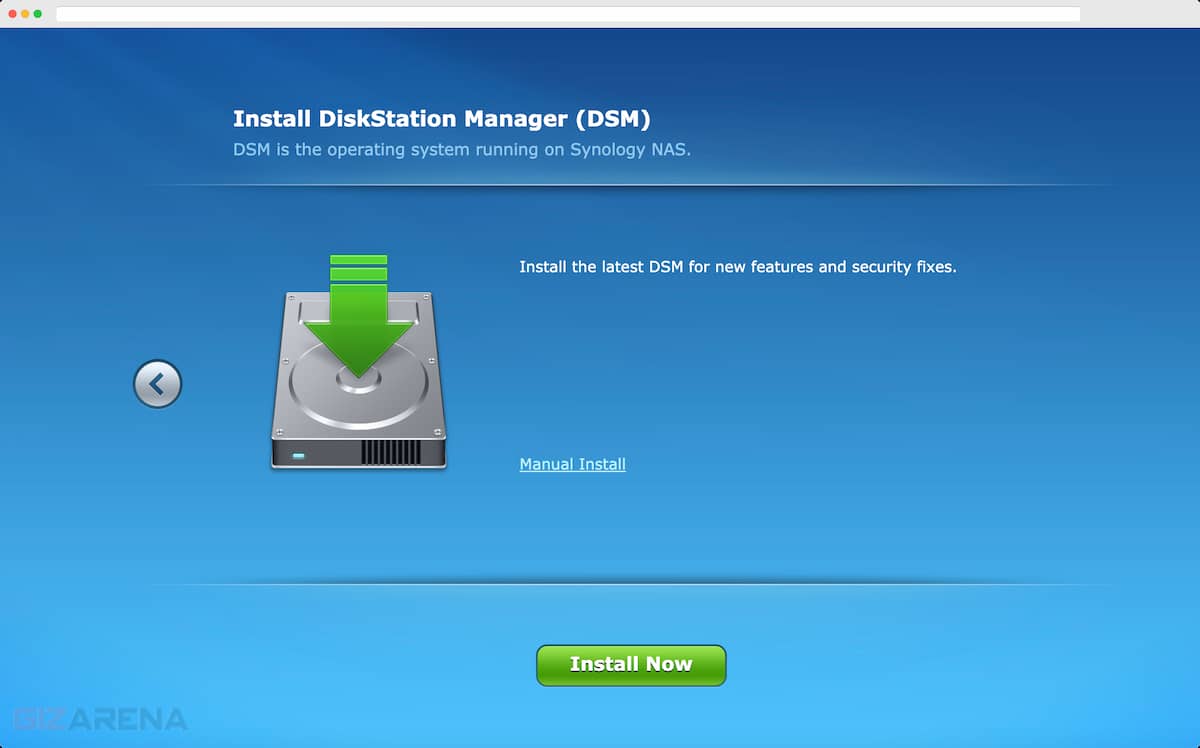
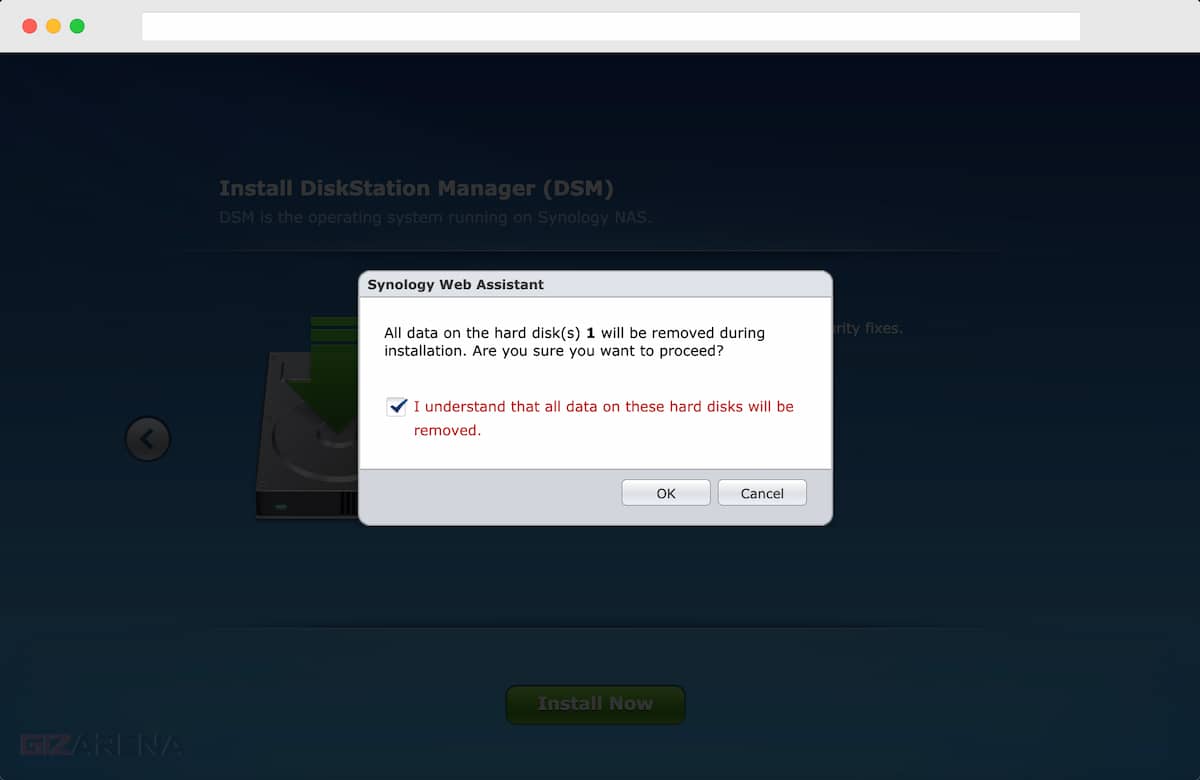
Now, you’ll be asked to install the Disk Station Manager (DSM). Click on ‘Install Now‘. During the installation, all the data on your hard drive will be deleted and you need to select OK from the popup to proceed with the installation.
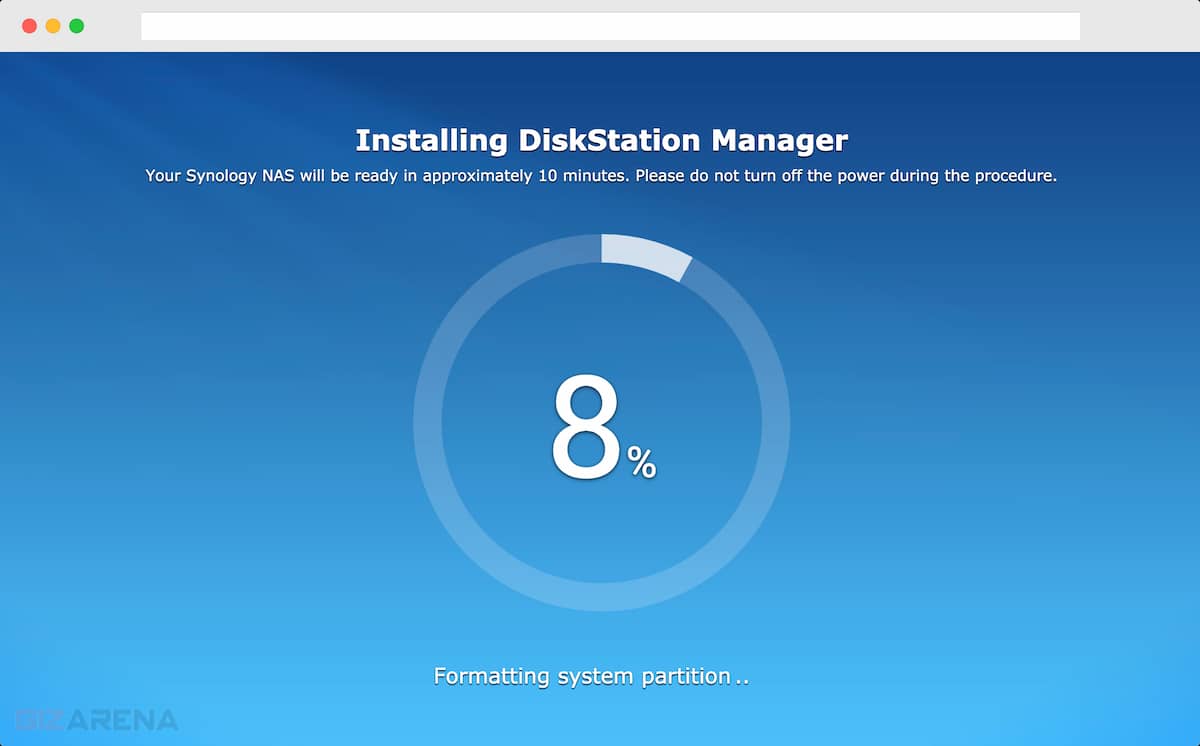
Now, the device will format the hard drive and download the latest DSM version from the Synology server. This process is automatic and it will take a few minutes depending on the speed of your internet connection. The NAS restarts automatically once the download is complete.


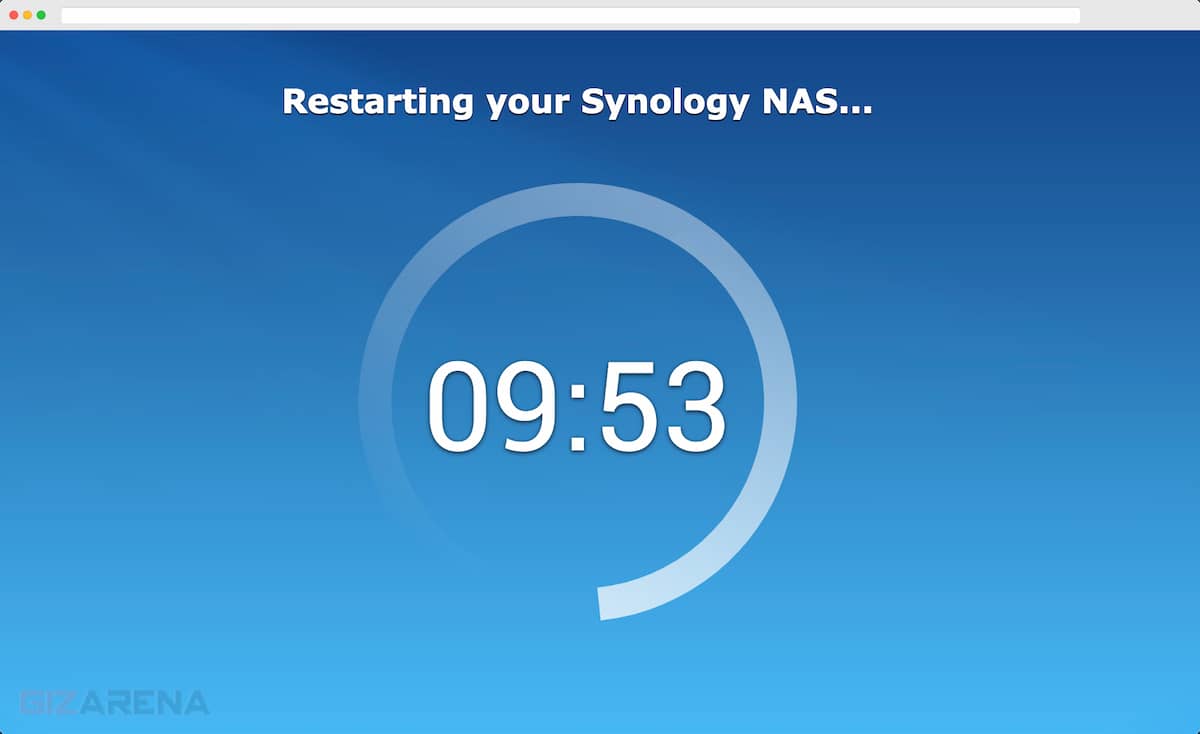
If you are not redirected to the Next step, open the web browser again and type find.synology.com. Your NAS will show up with Status as Ready. Tap on the Connect button to proceed to the next step.

Creating Synology Admin Account
This step involves creating Admin Controls to access the NAS from your computer. These details are important and you need to enter the Username and Password to access and control the NAS. You can change the username and password any time after the setup.
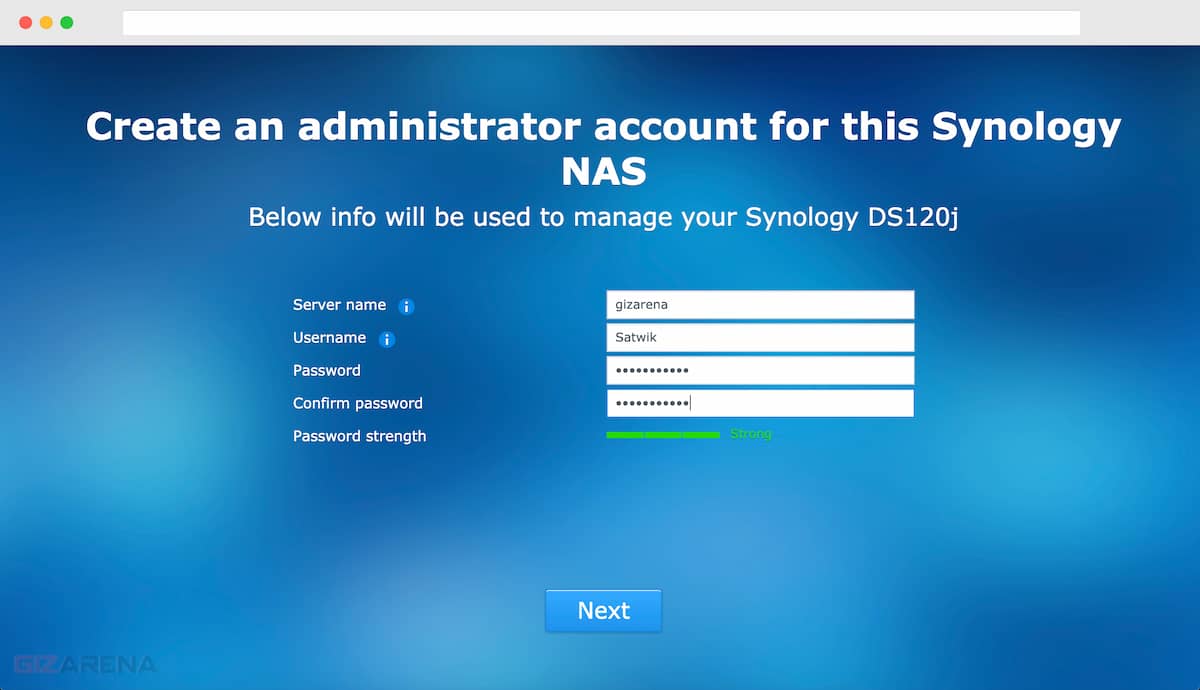
- Server name: Give a unique name to identify the server (Ex: Home, Mobile_Backup)
- Username: Enter your name (It’s nothing but your Login username)
- Password: Enter a strong password (Include a number, Capital letter, etc.)
- Confirm Password: Repeat the password
Once you enter the required details click on Next. Make sure you remember the Username and Password or make a note of it. You need to enter every time while accessing the NAS.
Important Note: If you forgot Synology admin password, there is no direct way to retrieve it. Unlike G-Mail, Facebook or Twitter, there is no direct option like ‘Forgot Password’ in DSM. You’ll have to reset the NAS to set a new password. Also, the process is quite lengthy. You can change the password using the Control Panel anytime you want.
Generating Synology QuickConnect ID
QuickConnect is a service from Synology that allows you to access your NAS outside your home using public Wi-Fi or mobile data. It will also help you connect Synology apps such as Synology Photos, Video Station, Download Station, File Station, etc. to the NAS.
You can access most of the apps such as Synology Photos, Videos, Moments, etc. without creating the QuickConnect account when you are at home and connect to the same WI-FI network to which your NAS is connected. You can use the Synology admin username and password to access these apps. This step is optional and you can even skip this step and create the QuickConnect account whenever you need it.
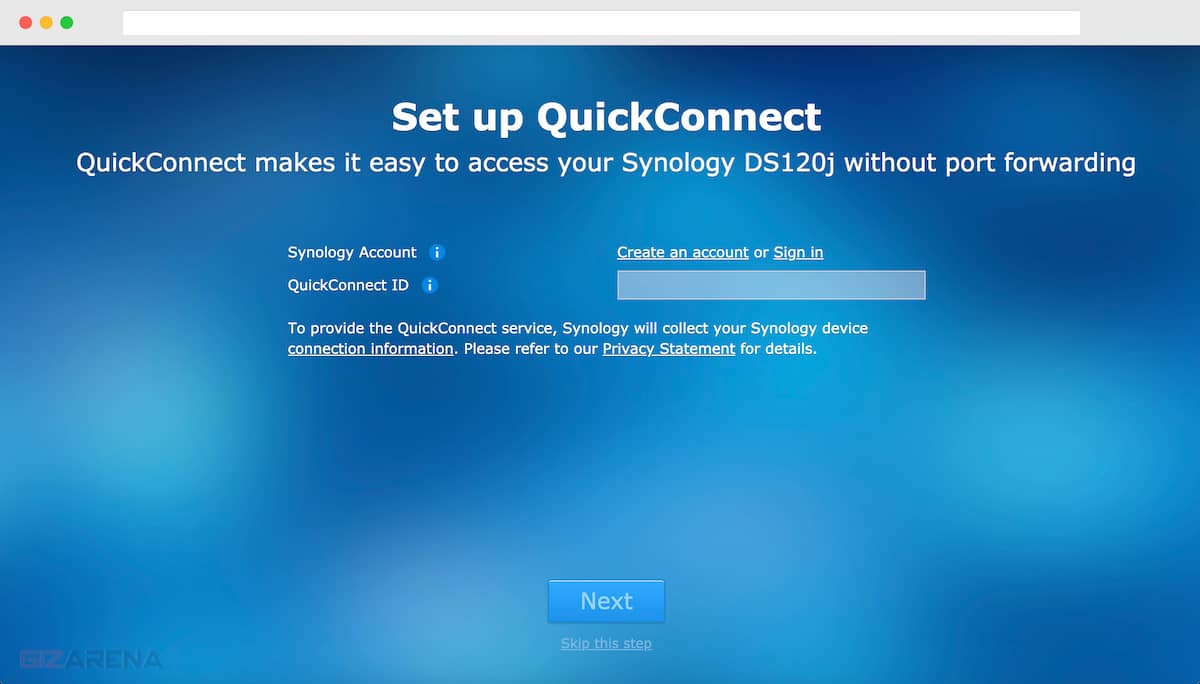
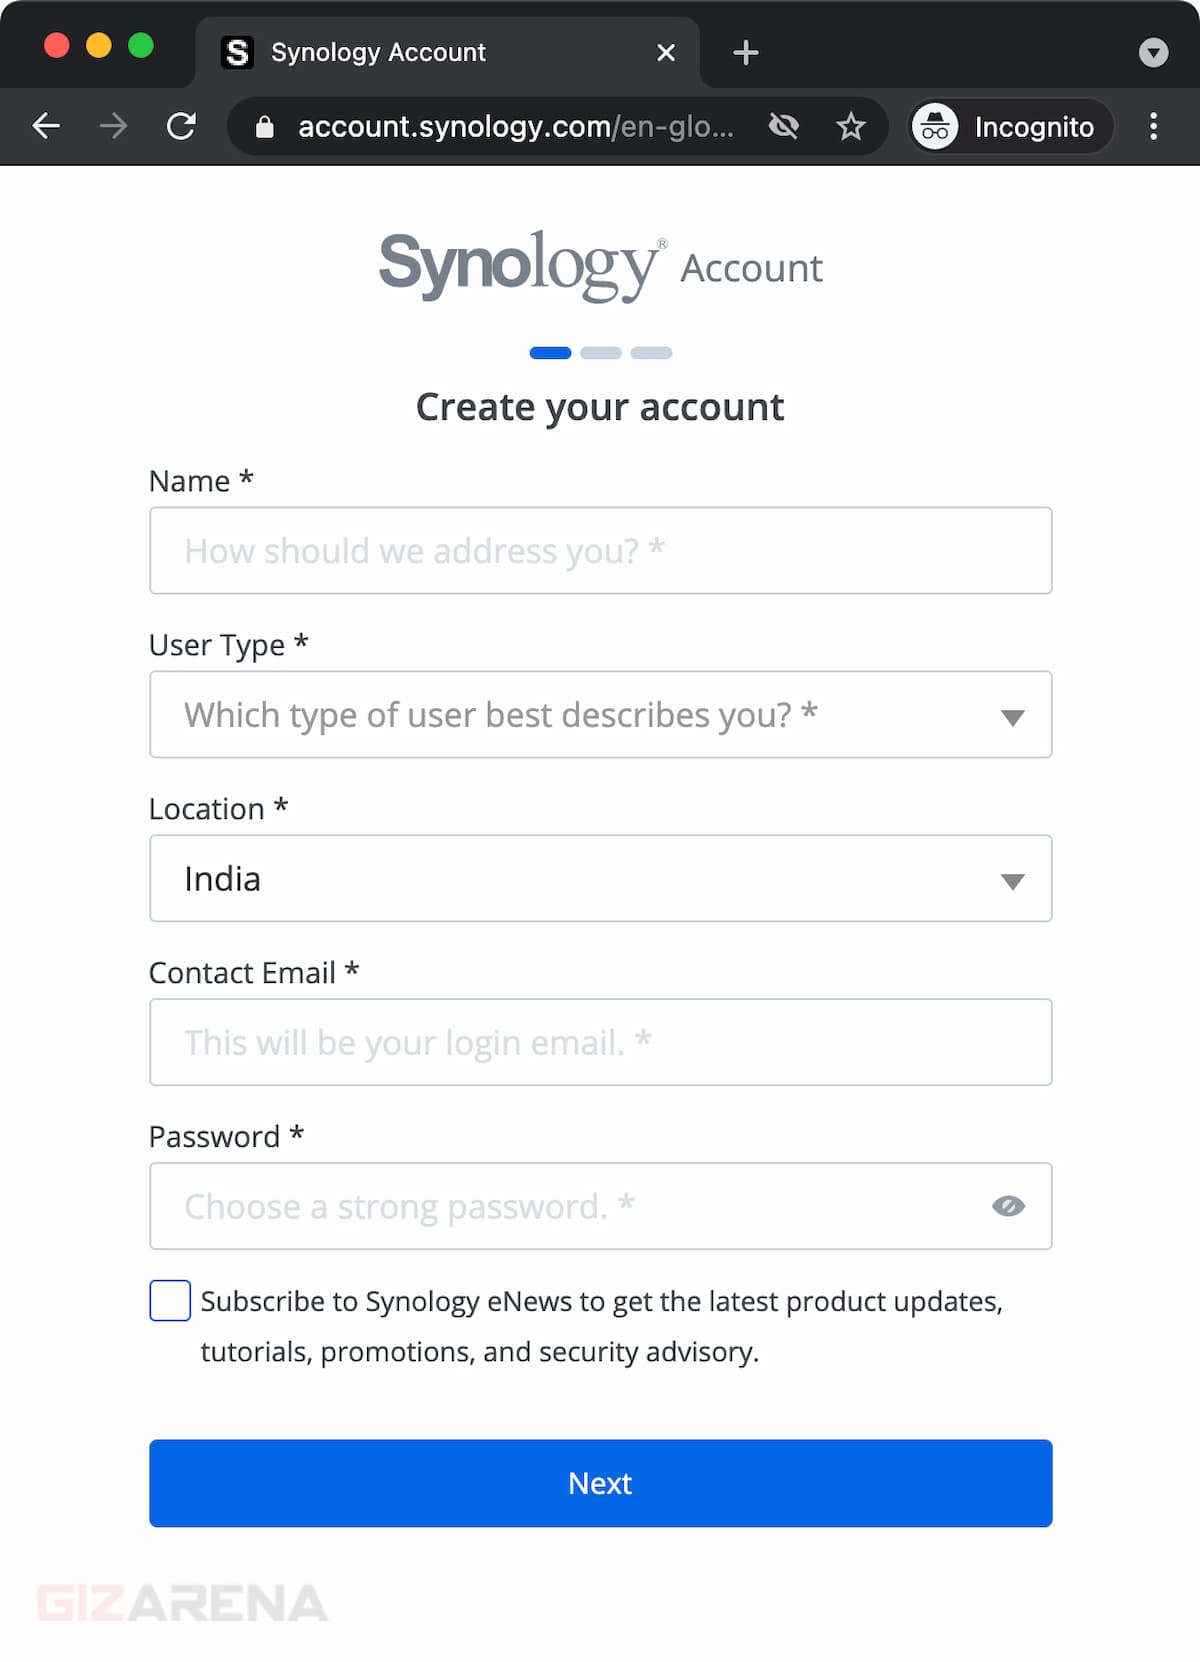
To get QuickConnect ID, first, click on ‘Create an Account. This will open a new window and you’ll be asked to sign up for a Synology account. If you already have the Synology account no need to create a new account. Simply sign in using the existing account credentials. If you don’t have a Synology account create a new account by providing the below details.
- Name – Enter your name
- User Type – Select Home or Business
- Location – India etc.
- Contact Email – This will be your username
- Password – Create a very strong password
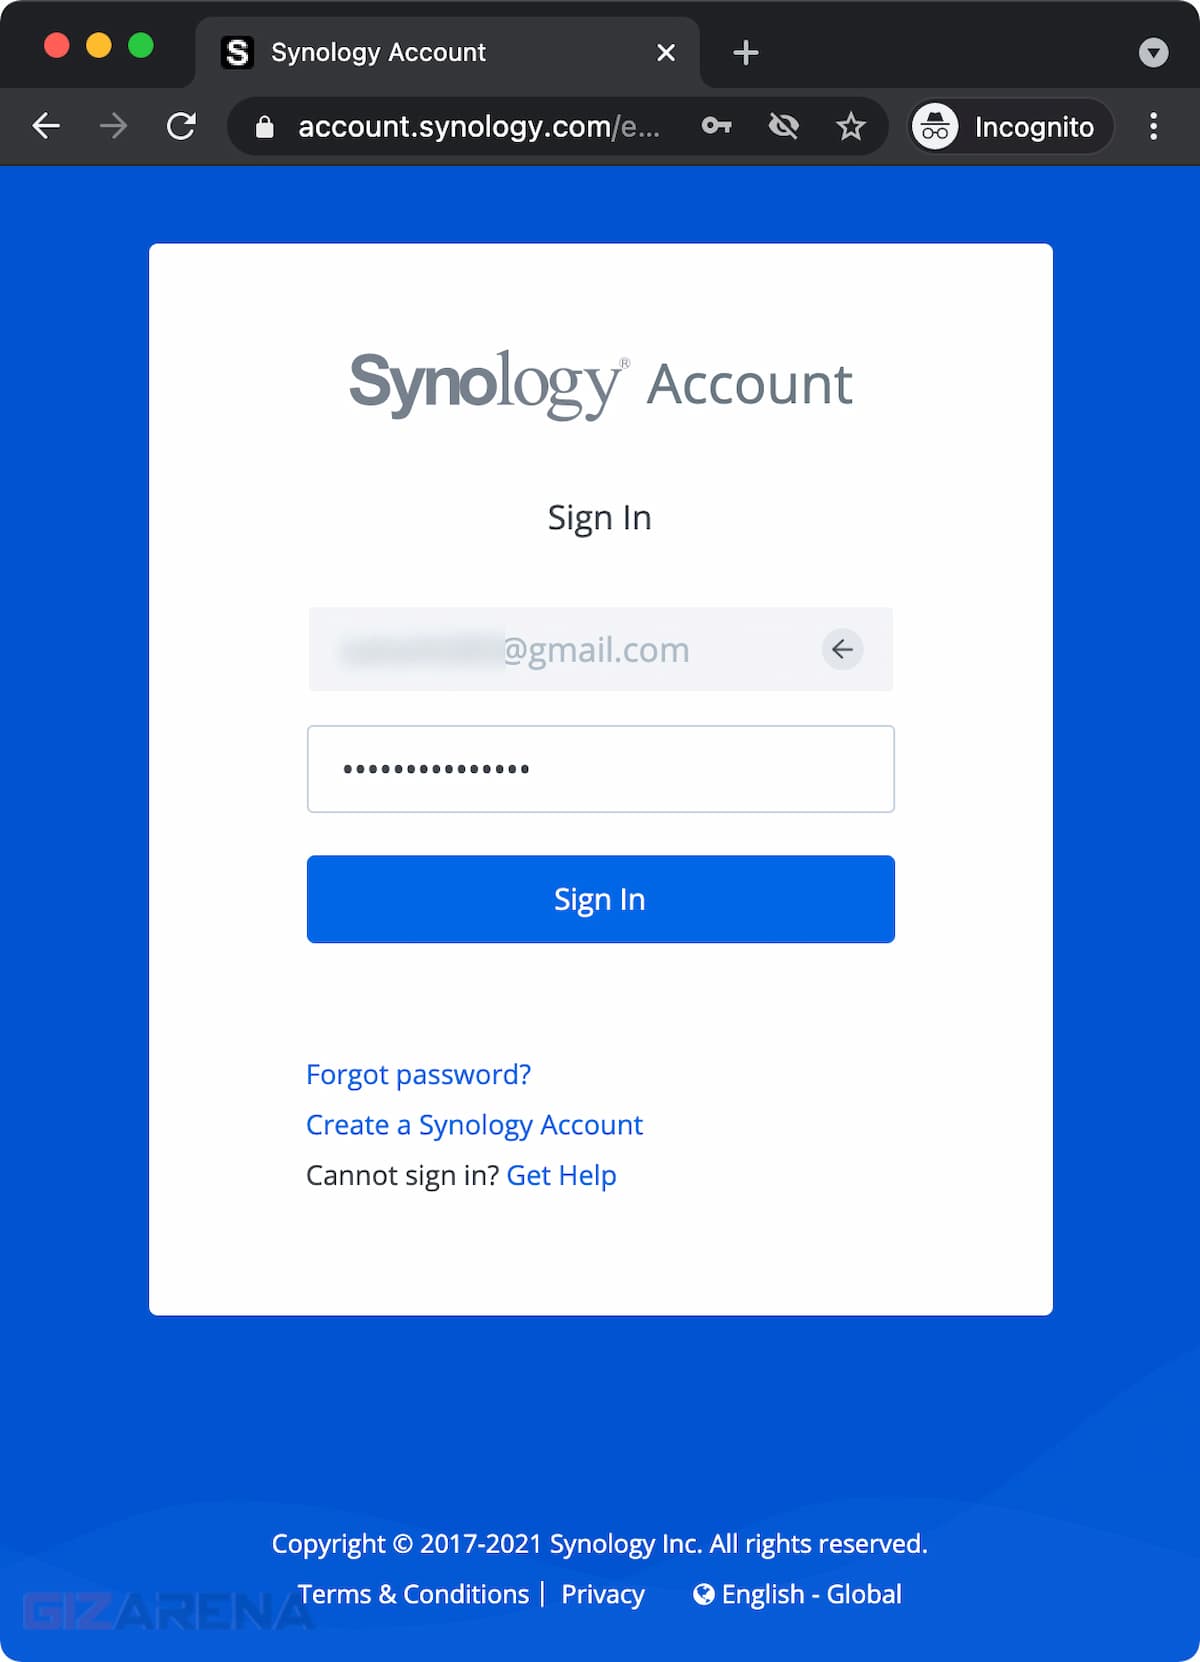
Once you create the Synology account or log into the existing account, you need to create a QuickConnect ID. For example, Backup-Mobile, NAS1, YourName, etc. Simply enter the ID in the field. Make a note that QuickConnect ID can only include English letters, Numbers, and Dashes (-). Once you enter the QuickConnect ID, click on Next.

Now, you’ll get an URL with the QuickConnect ID you entered in the previous step (Ex: http://QuickConnect.to/Satwik-NAS2). Here Satwik-NAS2 is my QuickConnect ID. Make a note of the URL displayed on the screen. Using this URL, you can access your NAS outside your home if your NAS is powered On and connected to the Internet through the router. Now, click on Next to proceed further.

Note: Synology Admin account and QuickConnect ID are different. Synology Admin is to access your NAS while the QuickConnect ID helps you access the NAS outside the home network through internet or mobile data. QuickConnect ID is linked to your Synology account and you need to enter the Synology account username and password to access the NAS using QuickConnect.
In the Next step, you’ll be asked to install a few apps such as Moments, Hyper Backup, Videos, etc. This step is optional and you can download these apps whenever you need them. Click on Next, Accept the privacy policy and click the install button. If you don’t want to install the apps, simply click on Skip.
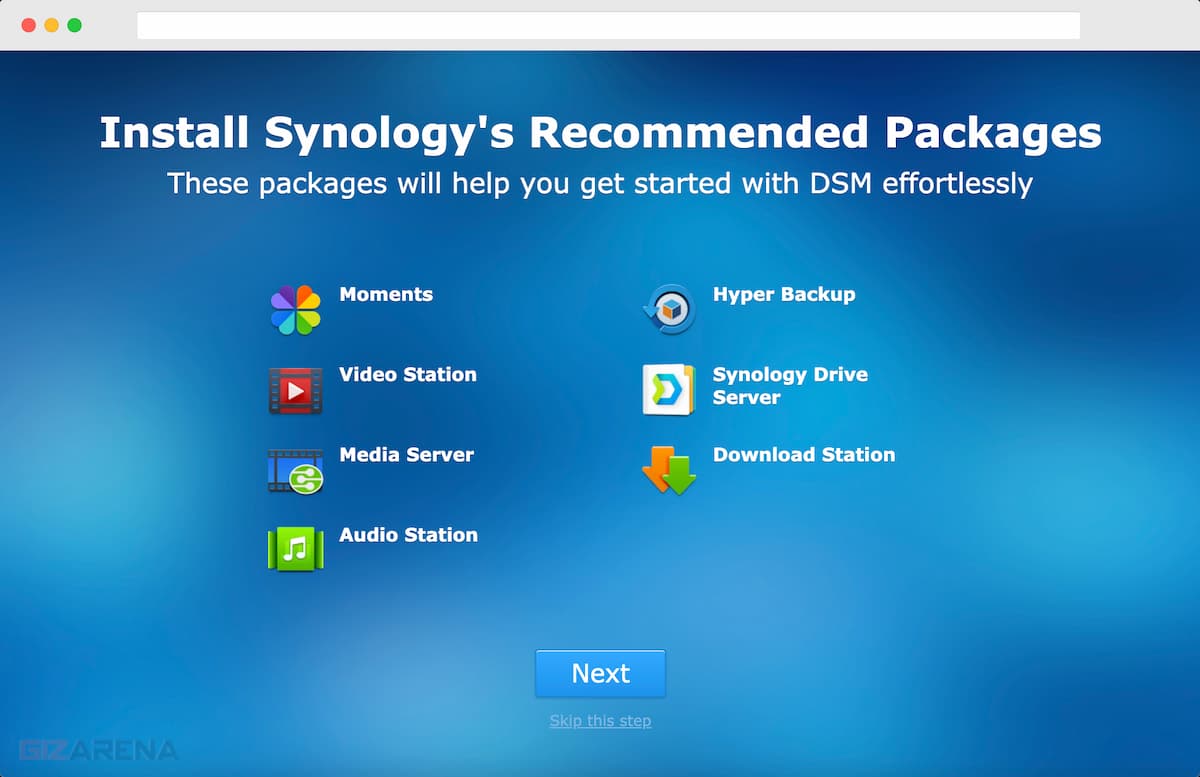
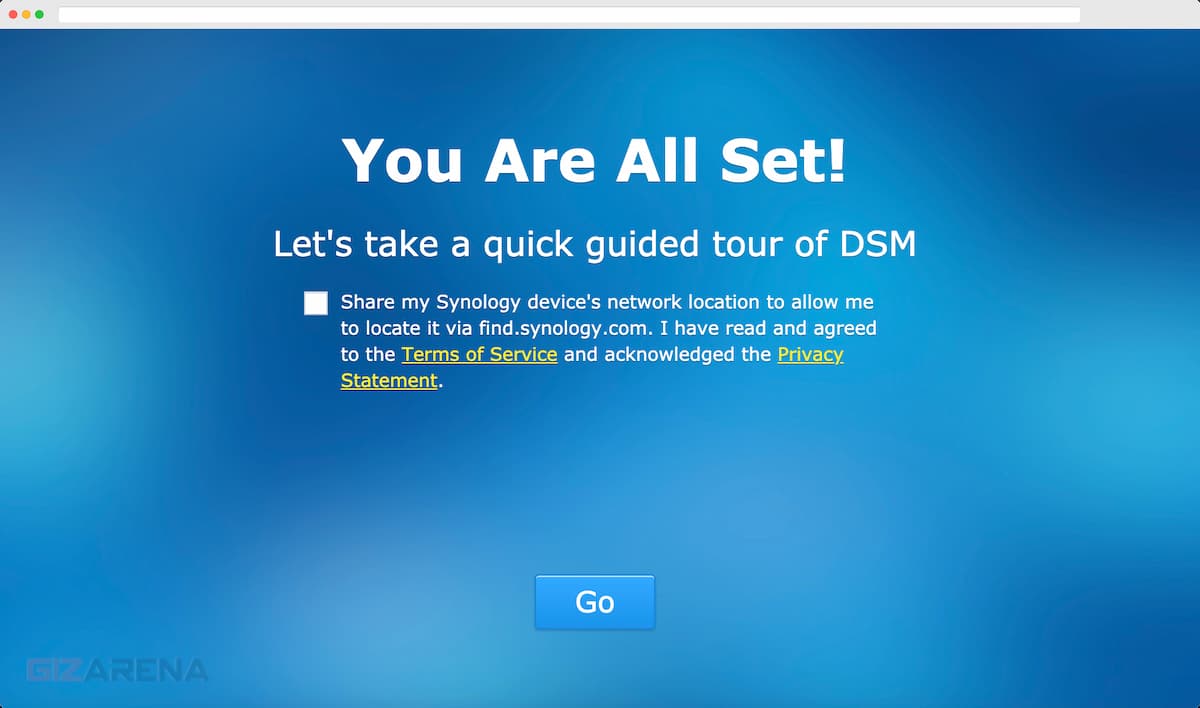
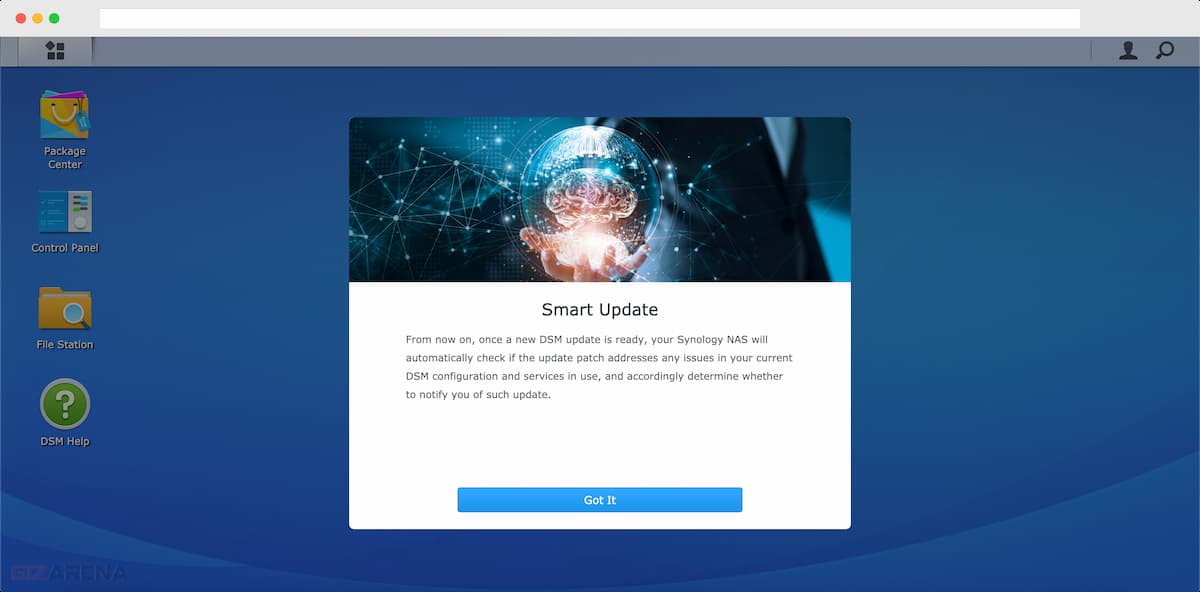
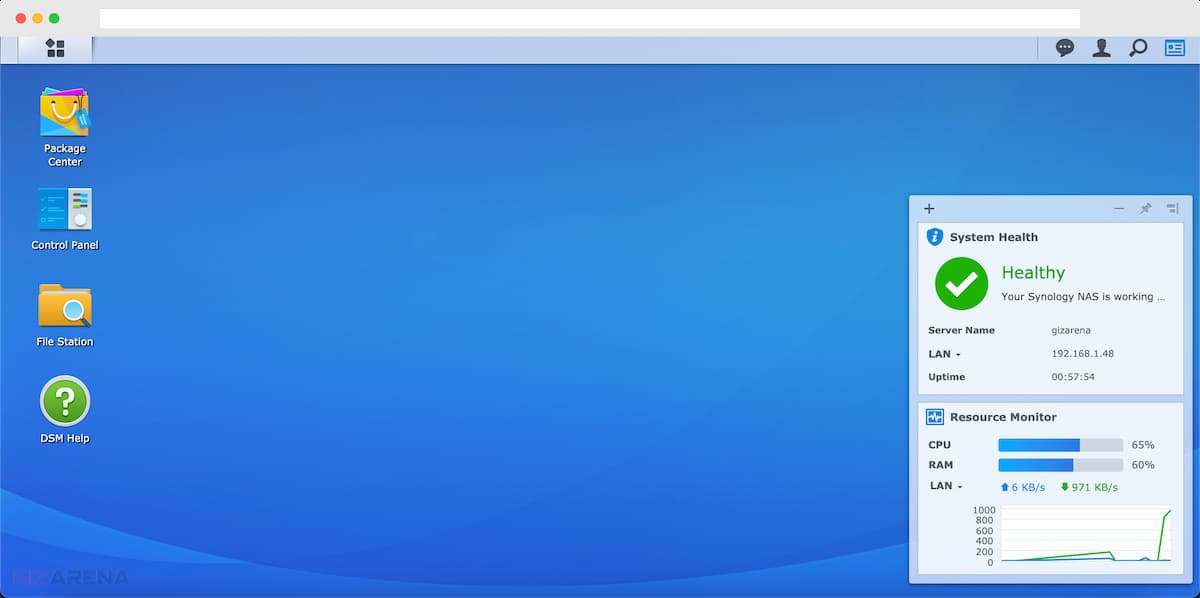
That’s it. Your Synology DS120j is now ready to use. Click on the Go button to get a guided tour.
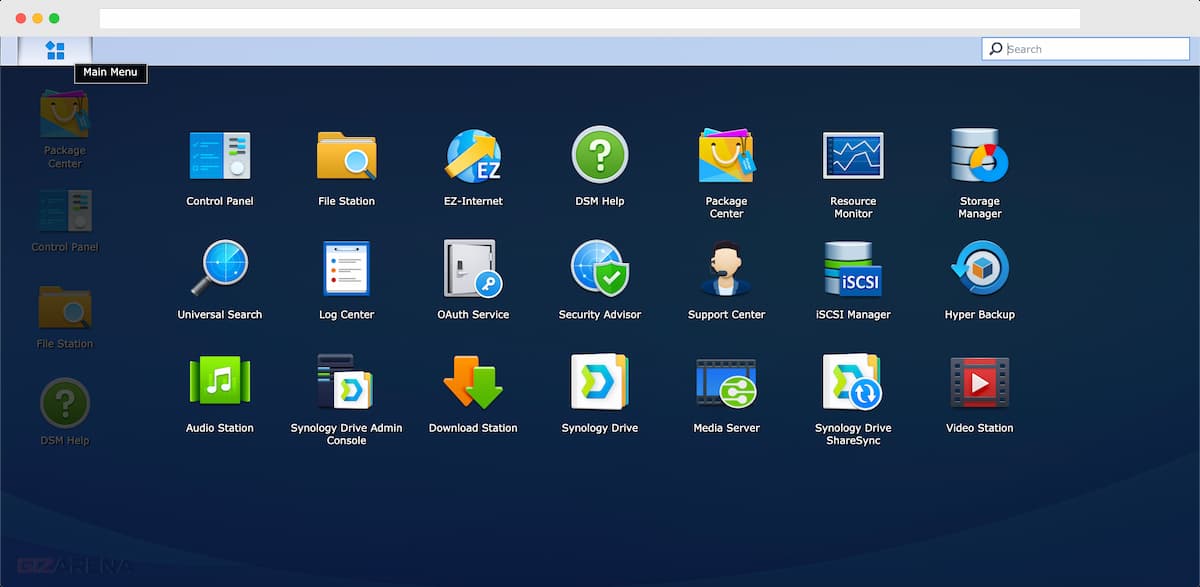
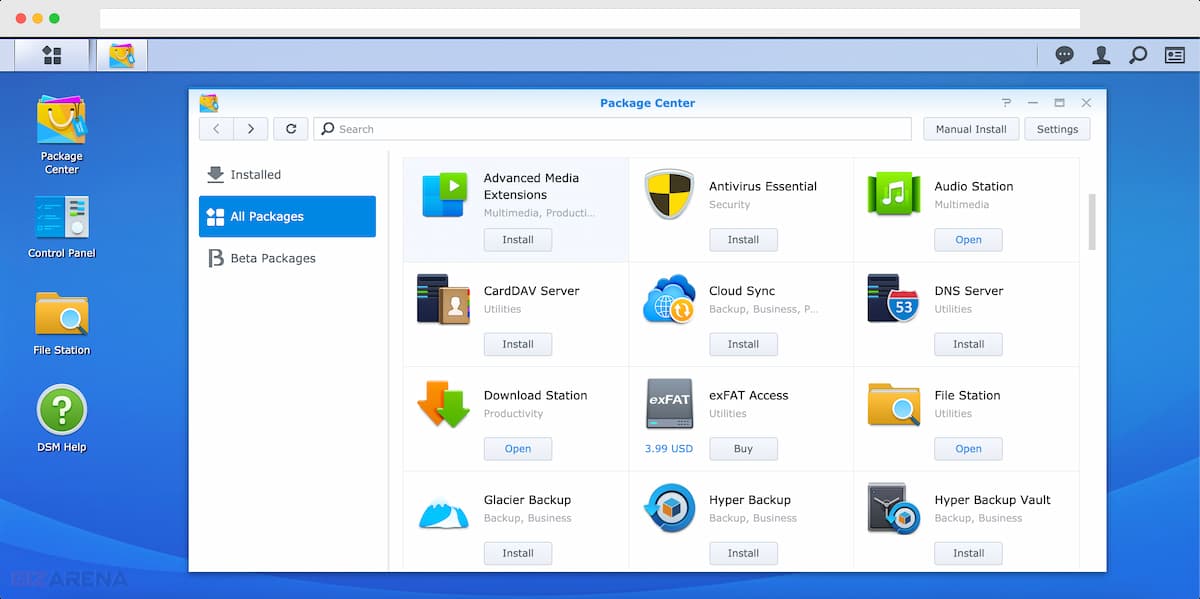
- Menu button on the top left will give you access to installed apps.
- Package Center – It’s an App Store just like Google Play and you can download official Synology apps as well as 3rd party apps.
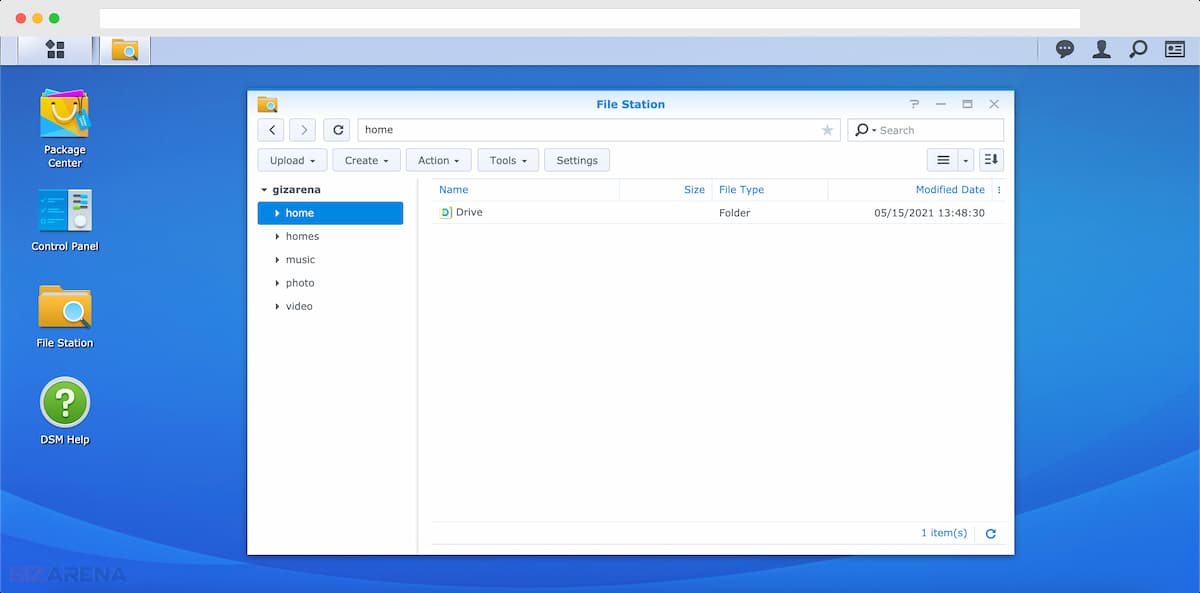
- File station – It’s just like ‘My Computer’ or ‘This PC’ of a Windows computer where you can store your files such as Photos, Videos, Documents, etc.
- Control Panel – It’s nothing Settings where you can change the settings of NAS, update the software, manage permissions, etc.
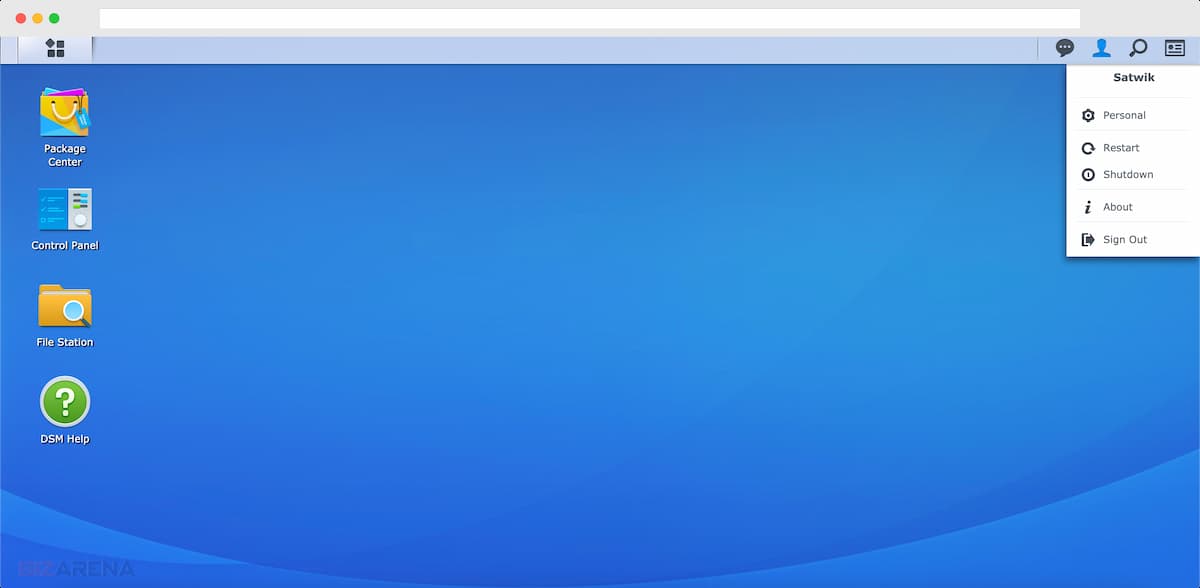
- User controls – Restart or Shutdown the NAS by clicking on the User icon (2nd Icon on the top right of the menu bar).
- Storage manager – Check hard drive status, temperature, errors or update the drive firmware.


Assigning a Static IP Address
By default, the NAS is set to DHCP mode which means the NAS will get the IP address automatically. In this tutorial, the IP address is 192.168.1.47 (Refer to the first picture). In DHCP mode, the IP address may change and you may not be able to login to the NAS using the previously assigned IP address. In such cases, again you need to visit find.synology.com to know the IP address of your NAS. To prevent such issues, it’s recommended to assign a static IP Address to the NAS. To assign a static IP address:
- Login to your NAS
- Open Control Panel and click on the Network icon
- Click on the Network Interface (1) and then, LAN (2) entry
- Click on Edit (3)

- In the IPV4 tab, select the option ‘Use Manual configuration‘ and add the following details
- IP Address – 192.168.1.45
- Subnet Mask – 255.255.255.0
- Gateway – 192.168.1.1
- Click on OK
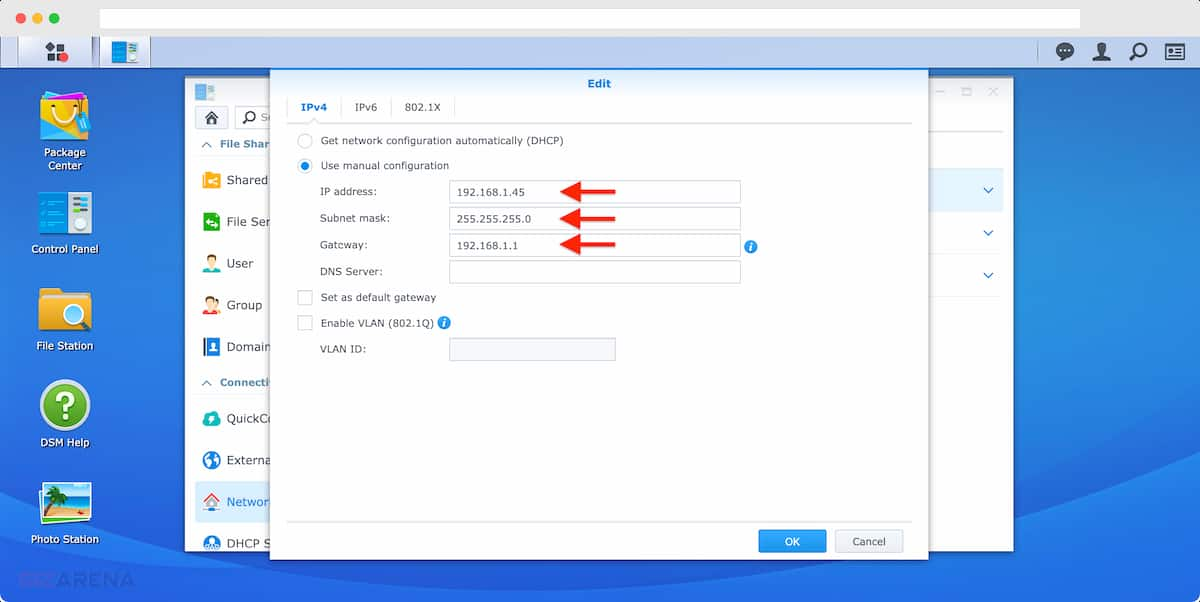
Once you click on OK, the NAS will restart and get the Static IP address 192.168.1.45 as mentioned above. You can assign an IP address as per your choice but make sure the address you entered is not already being used by another device in your local network.
Accessing the NAS in the home network
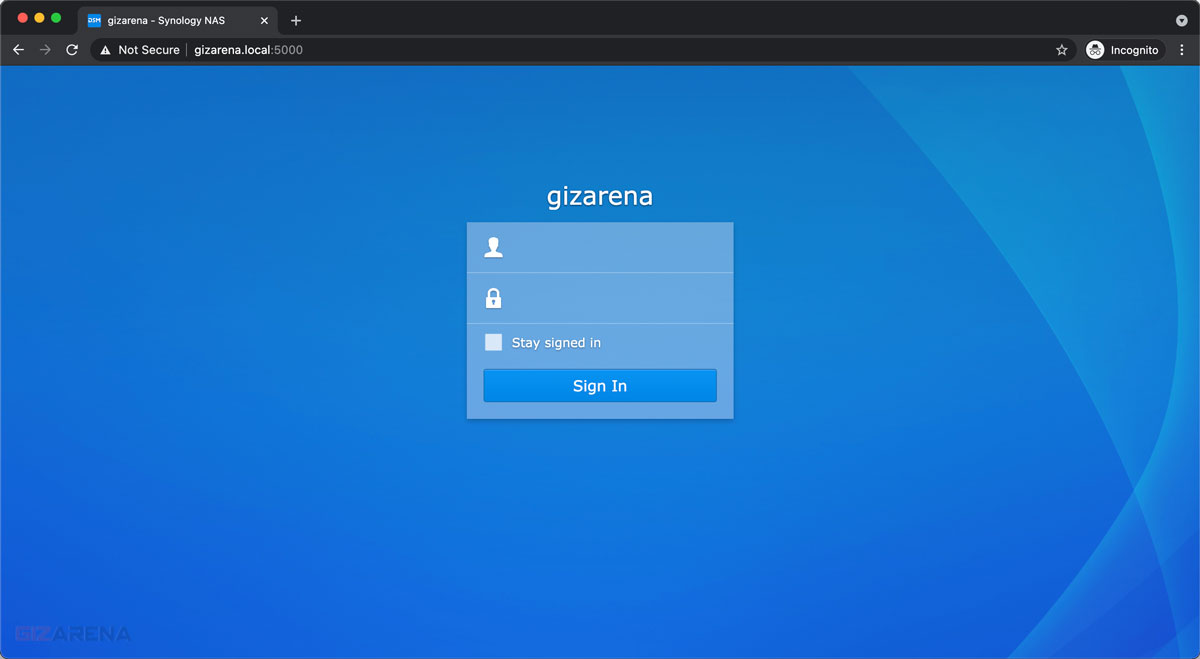
If you want to access the NAS locally, Open the web browser and type the static IP address you created in the previous step – 192.168.1.45. Alternatively, you can type gizarena.local or gizarena.local:5000. Here gizarena is the server’s name created during the Synology admin setup. Once you enter any of these IDs in the URL field on the browser, you’ll get the DS120j login screen. Enter the Username and Password (Synology admin) to get access to the NAS.
Accessing the NAS using Synology Assistant
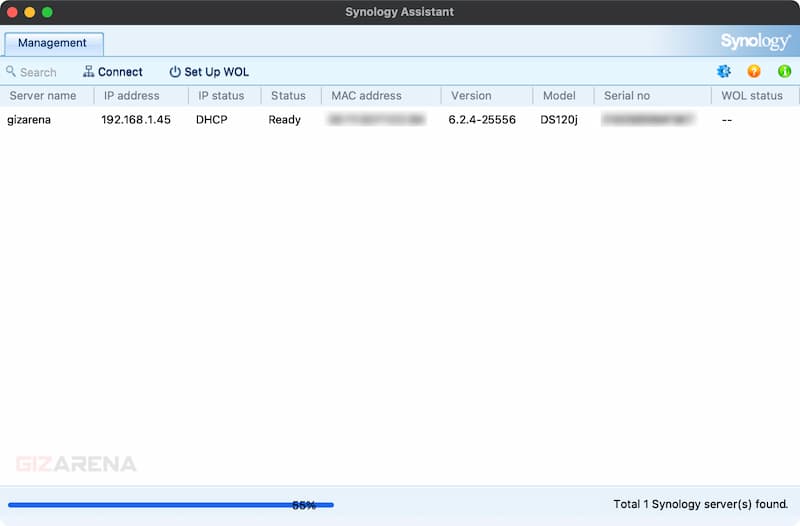
You can also access the NAS using the Synology Assistant. Simply download the app from Synology’s official website and install it.
- Open the Synology Assistant app.
- The app will scan and show you the NAS details.
- Click on the NAS entry.
- Log into the NAS by entering the Username and Password.
Accessing the NAS using QuickConnect ID
You can log in using Synology QuickConnect in case you are out of the home. Using Mobile Data or Public WI-FI, you can copy files such as photos or files from your phone to your NAS. The NAS should be powered ON and connected to the Internet. To login using QuickConnect:
- Open any web browser and go to https://quickconnect.to/
- Enter your QuickConnect ID. (In this tutorial the QuickConnect ID is Satwik-NAS2).
- Enter Synology account Username and Password
- Enter the Synology Admin Username and Password.
Quick recap
- Server Name – Identifies your Synology Server
- Synology Admin – Used to Log into your NAS
- Synology Account – To generate QuickConnect ID and Register NAS
- QuickConnect ID – To connect to NAS when you’re out of the home network
- Static IP Address – Address to Login to NAS
- How to Copy Photos from Google Photos to Synology NAS?
- How to Copy Photos from Your Phone or PC to Synology NAS?
Things to remember
- Always use strong passwords to prevent unauthorized access.
- Do not disconnect or switch off the Power source when the NAS is ON and performing any operation. This will affect the hard drive performance.
- Always turn off the NAS by Shutdown option just like how you turn off your computer. Menu bar -> User icon -> Shutdown.
- Make sure an uninterrupted power supply is available. Power surges are the common reason for hard drive failure and may result in severe data loss.
- Synology recommends using a UPS or USB UPS for an uninterrupted power supply.
- Do not move the NAS from one location to another when it is powered ON.
- Use only the power adapter that comes bundled with the NAS. 3rd party power adapters could result in safety issues and may damage the NAS or the hard drive.
- Always keep the DSM up to date. You can check for updates using the Control Panel.
- Turn off the NAS when not in use or use the Power Schedule feature to Turn ON or Off the NAS at a particular time. Power Schedule feature can automatically turn off the NAS at night and turn it On in the morning.
This completes the setup process and a quick walk-through. You can now install apps, copy files from your computer or phone to NAS, etc. New tutorials and guides will be posted in this section. Do let me know in the comments if you have any questions or need help.