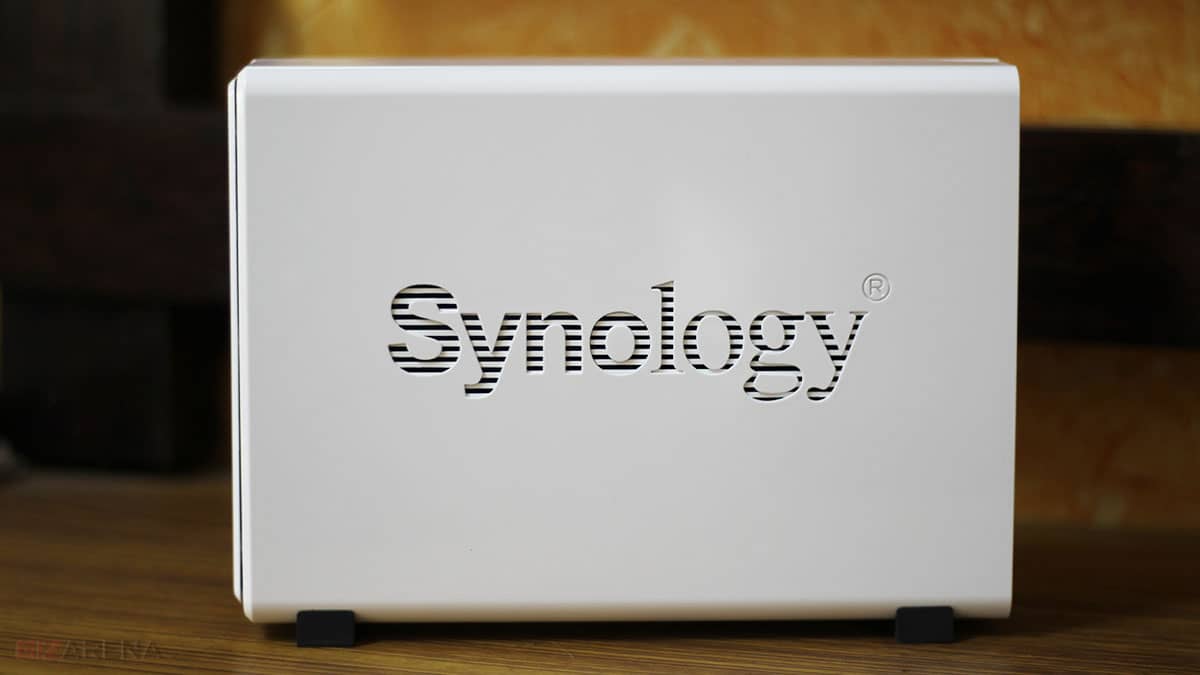
Starting 1st June 2021, Google’s unlimited high-quality storage is going away (read more). Once you exhaust your free 15 GB quota, you’ll have to pay for the additional storage plan to store your photos or files in the cloud or Google Drive. So, if you have already purchased a NAS or planning to purchase one, this tutorial will help you transfer photos stored in Google Photos to your NAS.
You can access all your photos stored in Google Photos through photos.google.com or from the Google Photos app on your smartphone. You can easily save or download a single photo from Google Photos Web or Google Photos app. But Google doesn’t allow you to download all the photos in one go. Even though you can manually select photos one by one, it takes a lot of time to select if the numbers are in thousands.
But there is an official way to download all the photos in one go. Google has provided an official tool called Google Takeout that allows you to download all your photos stored in Google Photos in one shot. Let’s see how to download all photos from Google Photos to your hard drive.
Synology DS120j Review: NAS for Every Home
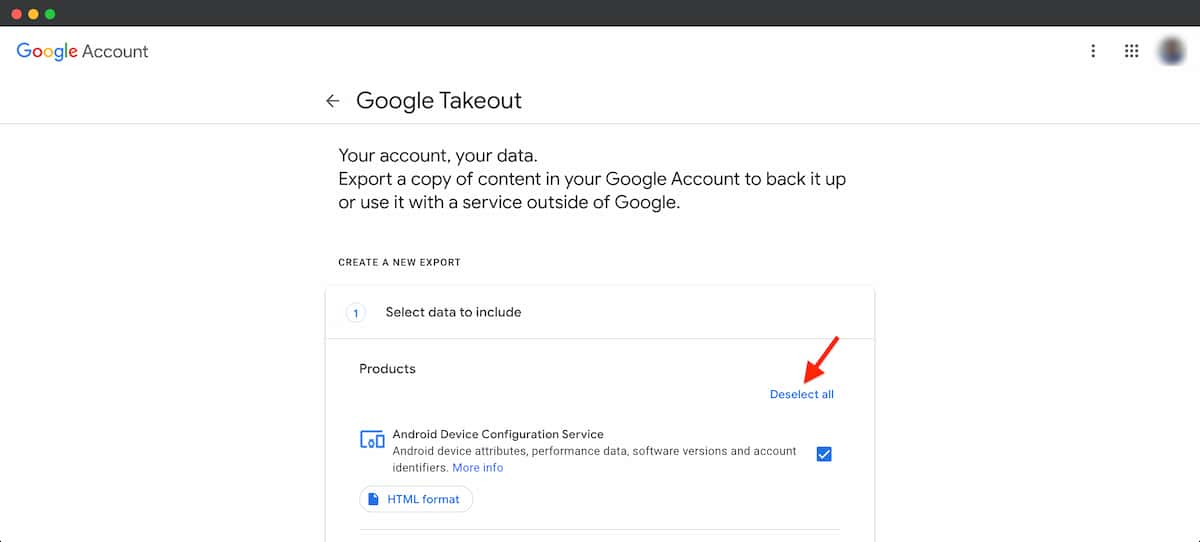
In the first step go to https://takeout.google.com/ and sign in using your Google account credentials. Make sure you are using the same Google account in which your photos are stored. Once you log in, tap on Deselect All.
- Now, scroll down and search for Google Photos
- Select it by clicking the empty box
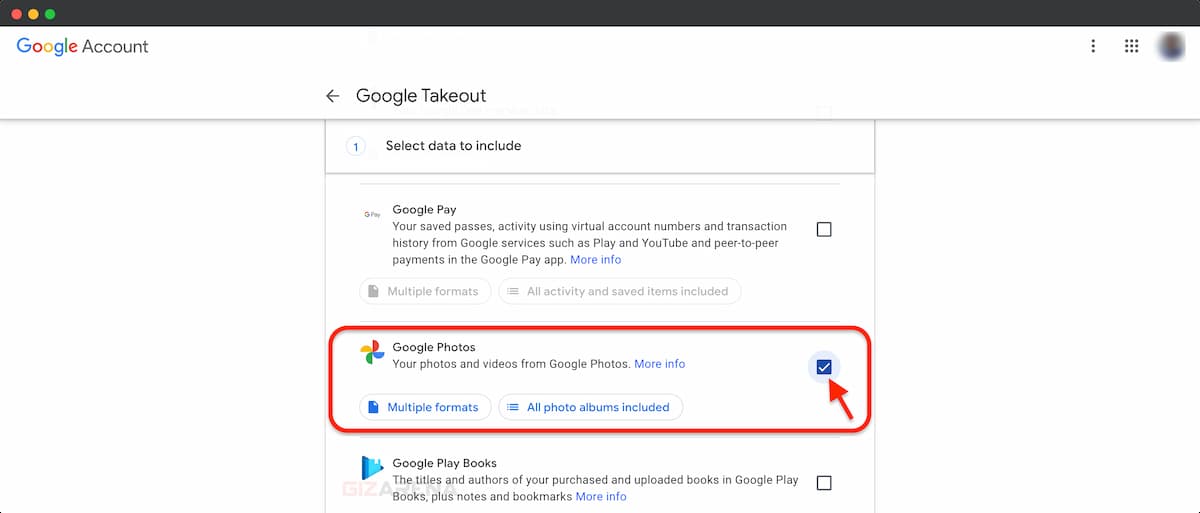
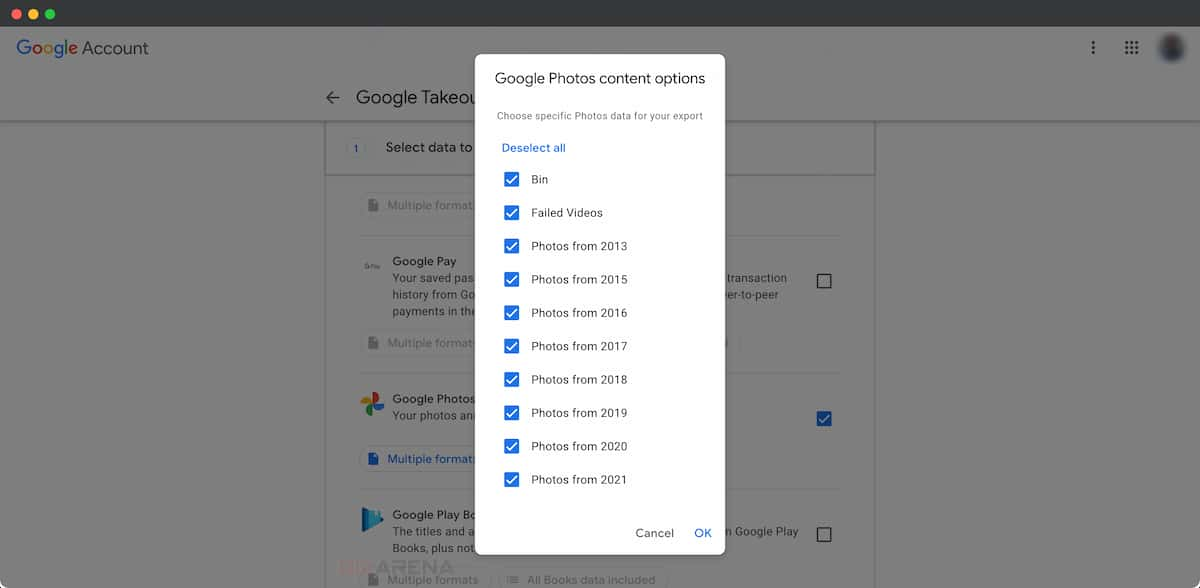
If you want to export all photos no need to do anything. By default, all photos will be selected automatically. If you want to select the photos, click on ‘All photos albums included‘ and deselect the folders or albums you don’t want to include in the export. Select Ok to continue. Then, scroll down and select Next.
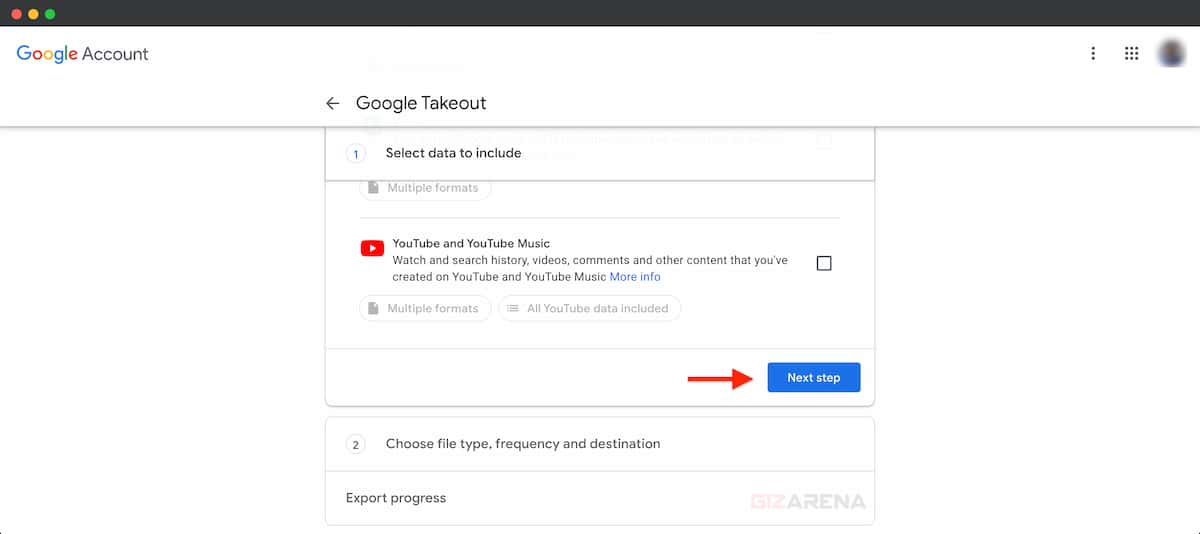
- Now, you’ll be asked the file type, frequency, and destination.
- Delivery method – Select send the download link via email
- Frequency – Export once
- File type & size – ZIP
- Export size – 1GB, 2GB, 4GB, 10GB, 50GB. Select any size based on the number of photos you stored in Google Photos. 1GB or 2GB is recommended.
- Scroll down and select the Export button at the bottom.
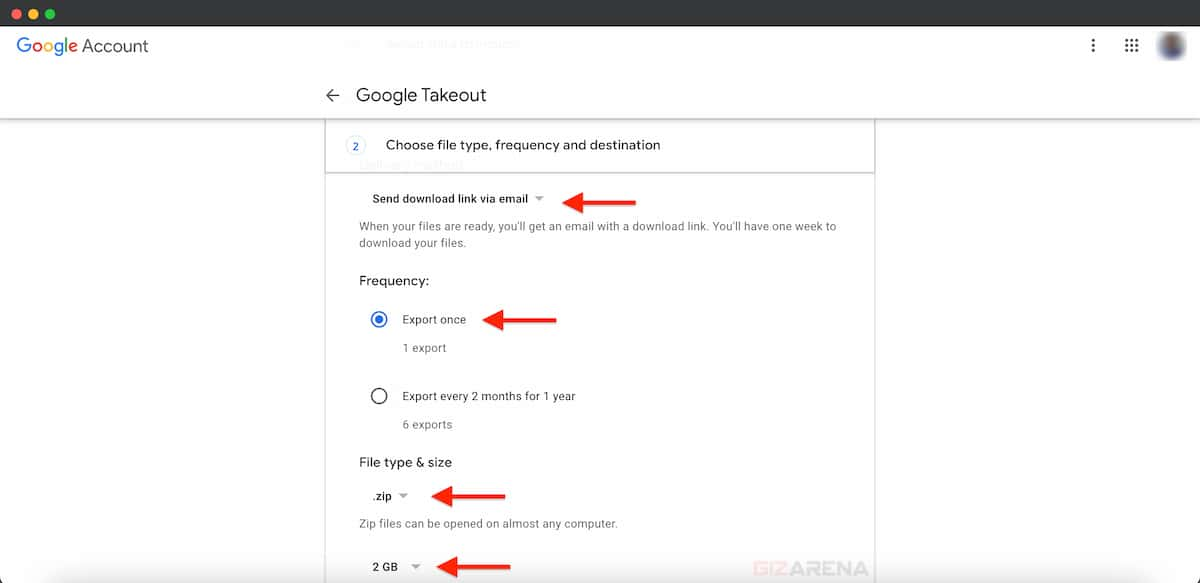
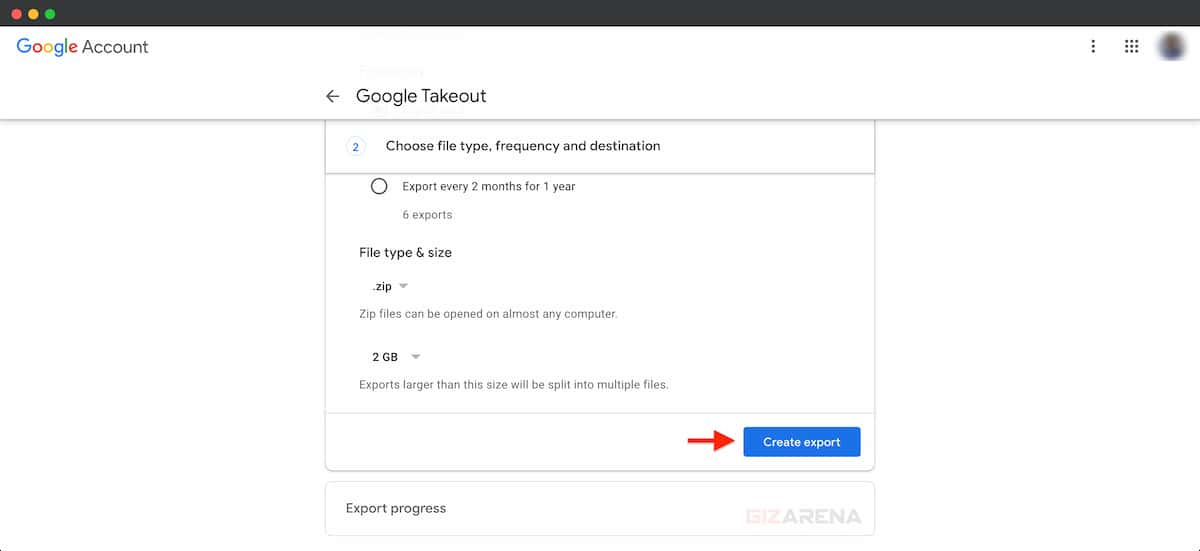
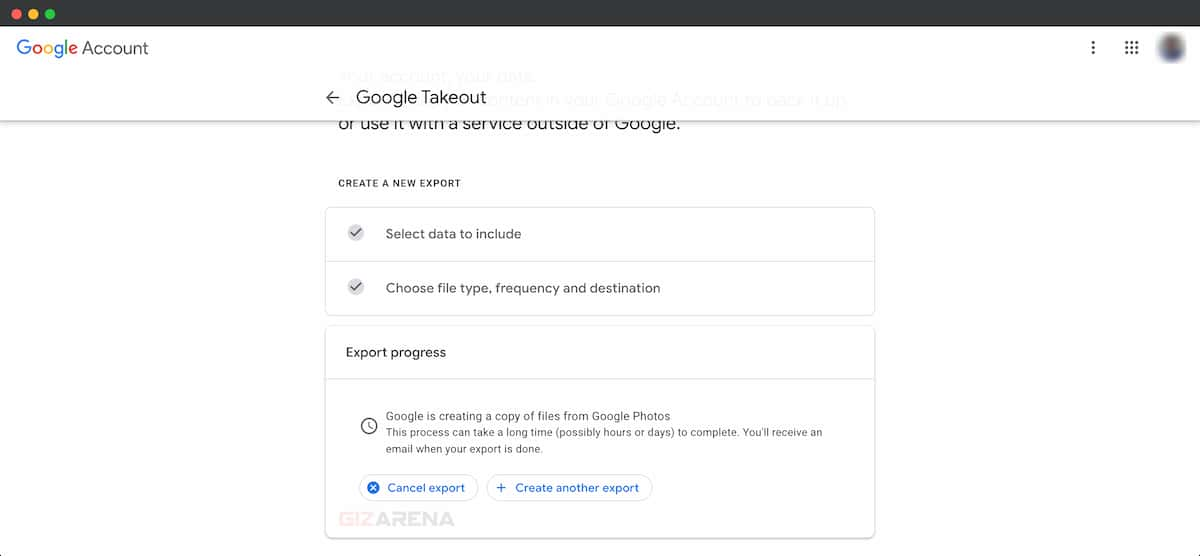
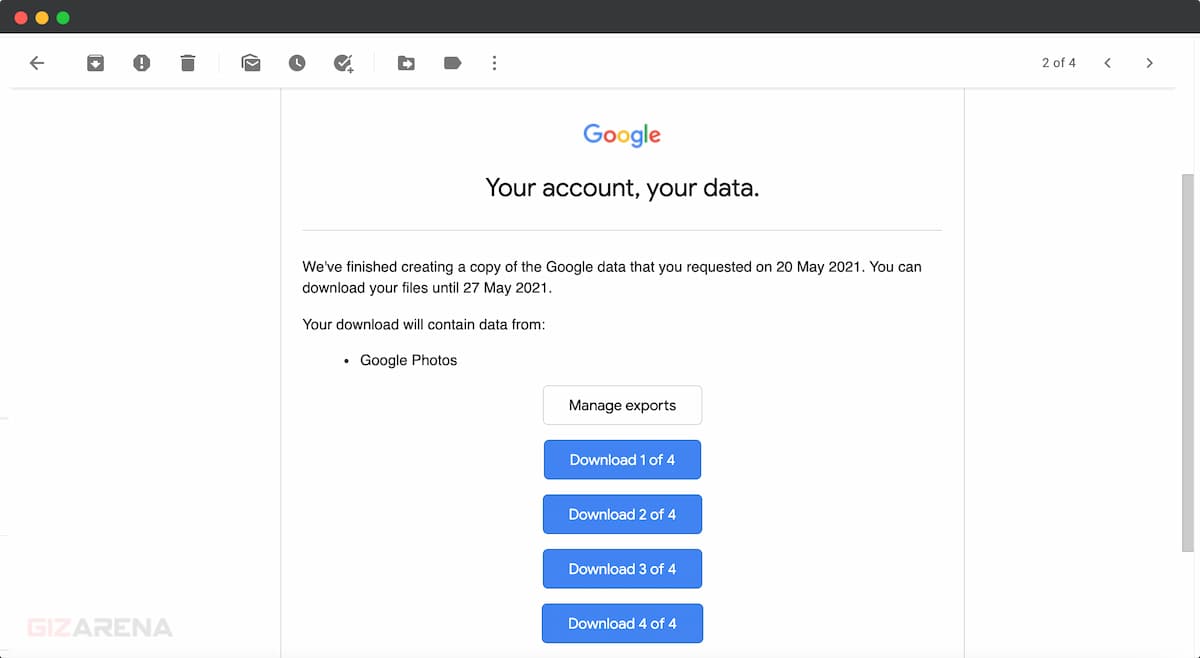
Once you click on Export, Google starts exporting the data. Depending on the number of photos, it may take a few hours or even days. Once the export is done, you’ll receive an email from Google with a link to download the ZIP file that includes all your Google Photos.
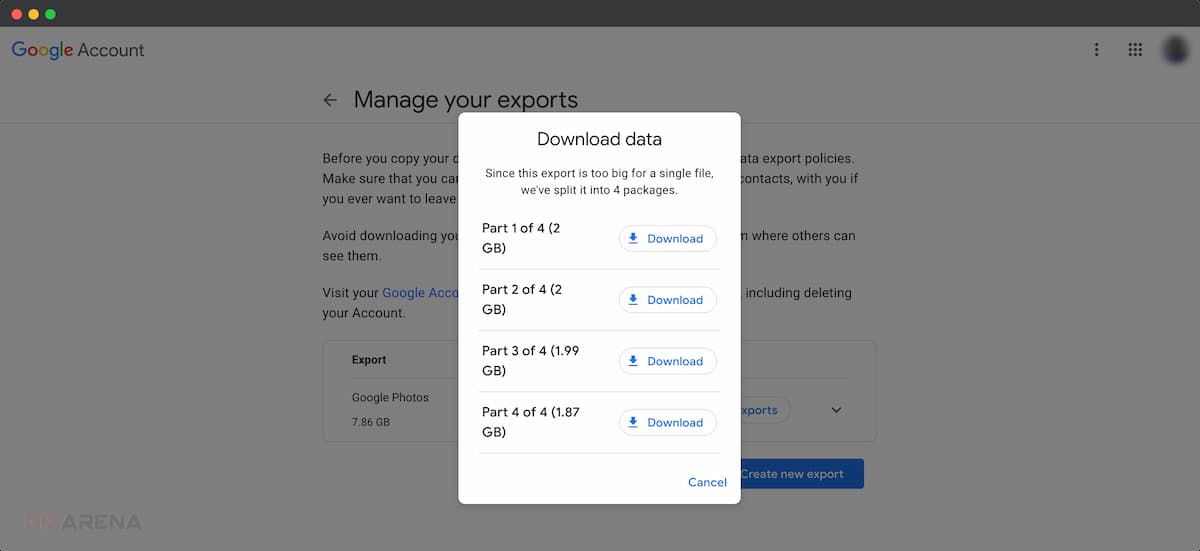
I received the email in less than 15 minutes. The e-mail includes direct download links of Google Photos backup. My Google Photos backup size was around 7.86GB and I selected the 2GB file size limit during the export. So, Google split the backup into 4 parts. Once you click on the link, you’ll be asked to sign in to your Google account. Once you sign in, the file starts downloading.
Alternatively, you can also go to https://takeout.google.com/takeout/downloads and download the Google Photos backup you have requested. Go to the above-mentioned URL and click on Show Exports. Click on the download button. You may be asked to sign in to your Google account. Complete all the downloads.
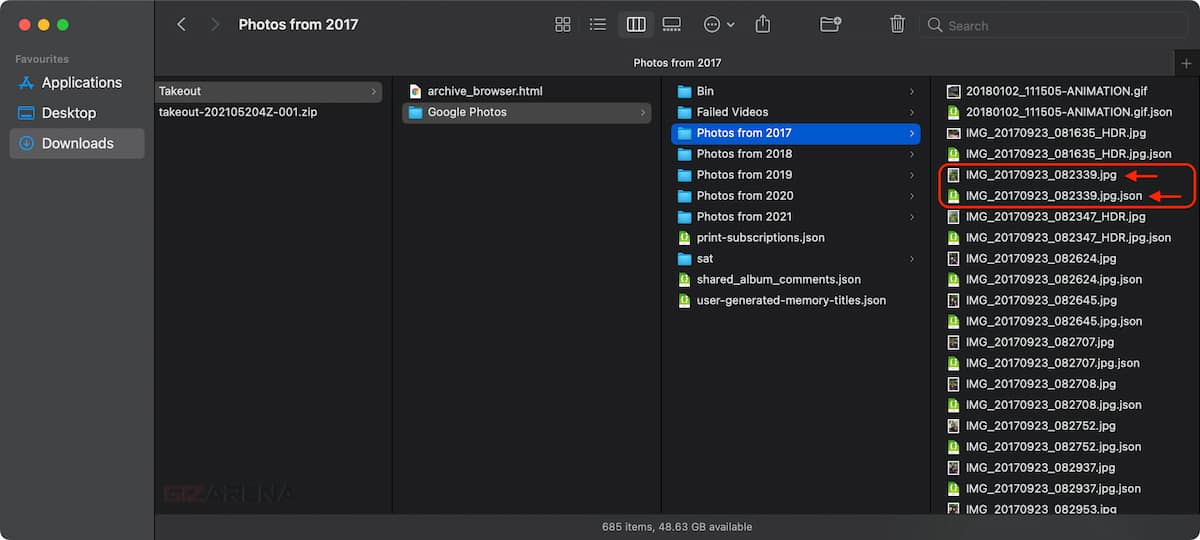
Once you download the Zip files, you need to extract those Zip files. in macOS, you need to double click on the file to extract it. On a Windows computer, right-click on the Zip file and select Extract All. Repeat this for all downloaded Zip files. Once you extract, you’ll find multiple folders inside the extracted file, such as Albums, Photos grouped by year (Ex: Photos from 2020), etc.
In the extracted folder, Google will also provide a .json file with EXIF data such as Location, Camera Type, ISO, Aperture, etc. Each photo comes with its own .json file. This means if there are 100 photos, you’ll get 100 additional .json files. You need to segregate these files before moving them to the NAS.
It takes a lot of time if you delete the .json files one by one. The quickest way is to segregate these files by sorting them. In macOS, go to view and sort by Kind. In Windows computer, Right-click on the empty space and click sort by Type. This will bring all .json files in one place. Select all the .json files and delete them. Repeat the process for all folders. Once you select all the .json files, ensure there are no images and only .json files are selected.
Note: If you want the EXIF data for every image, then you’ll have to merge it using a 3rd party tool. The process is not covered in this tutorial.
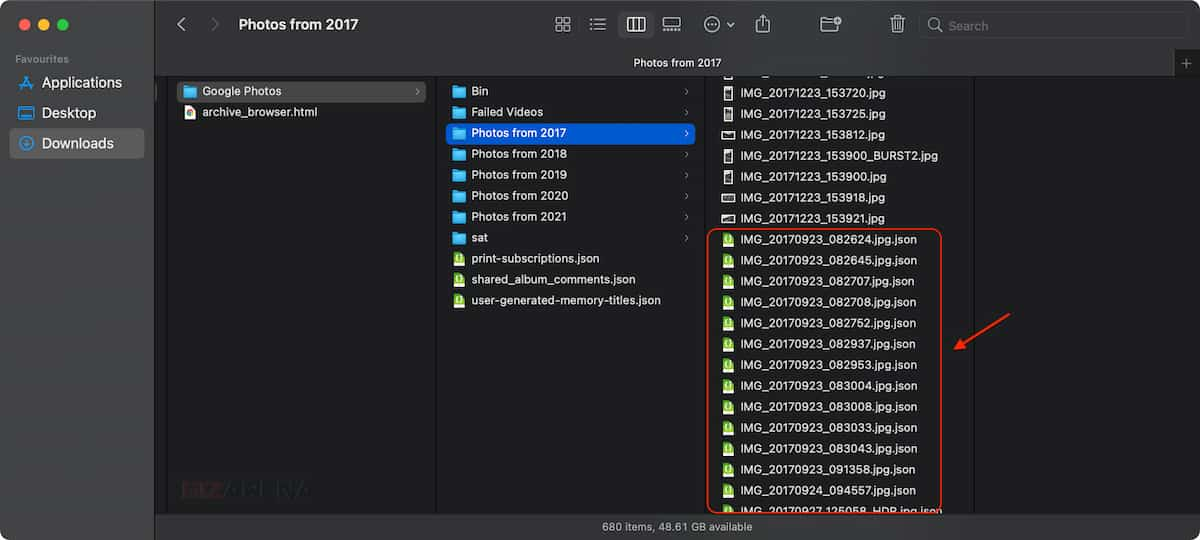
Once you remove all the .json files, you’ll be left with .jpg (or other photo or video files with extensions like .mp4, .png, etc.). As stated above, you can copy all the photos to a single folder or keep the photos in different folders. But make sure you copy all folders to NAS-> File Station -> Home -> Drive -> Moments. Check out this link to learn how to copy photos to Synology NAS manually.
The above-mentioned method is only recommended if you have thousands of photos. If you have fewer photos, usually in hundreds, you can directly download the photos from Google Photos by manually selecting them individually. When you download photos directly from Google Photos, you’ll not receive any .json files. All download images include the EXIF data. To download photos:
- Select the first photo by clicking the circle with a tick mark on the top left of the photo
- Press the Shift button on your keyboard
- Select other photos one by one
- Select the three-dot menu on the top right
- Click the Download button

Extract the downloaded Zip file and copy the folder to the NAS. That’s it. A quick tutorial to download all your photos from Google Photos. If you have any queries, do let me know in the comments.
- Synology DS120j Setup: Installing DSM, Creating Synology Admin & QuickConnect, Assigning a Static IP Address
- How to Copy Photos from Your Phone or PC to Synology NAS?