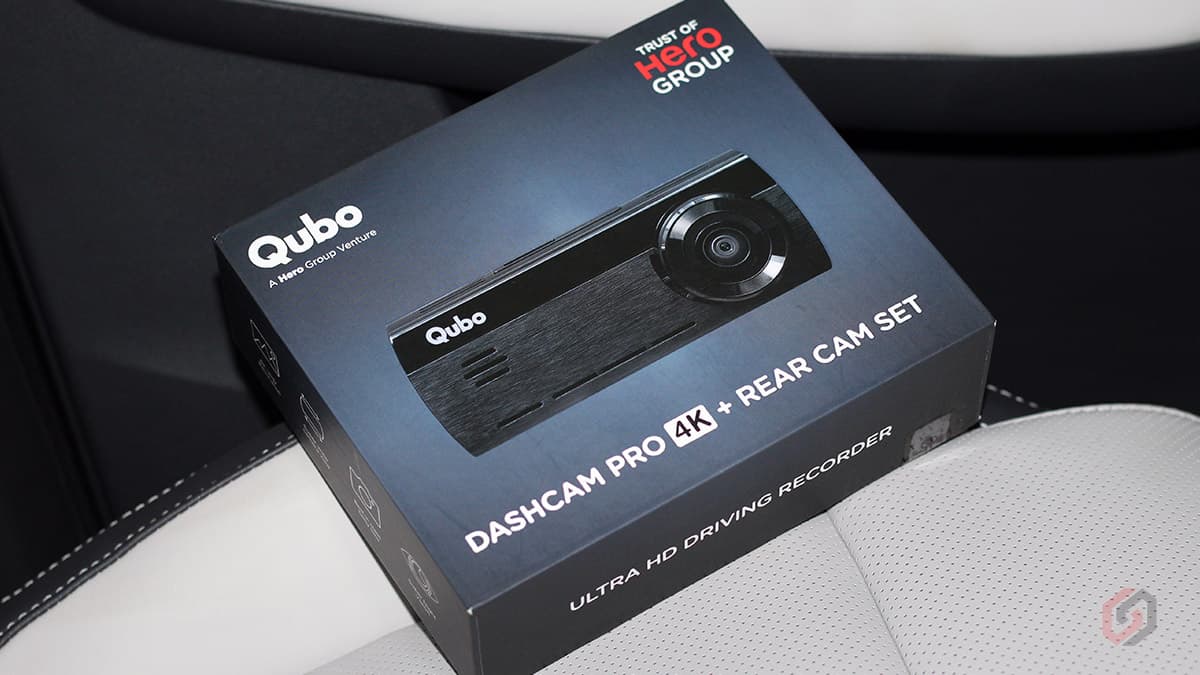
After launching an affordable full HD dashcam, Qubo Dashcam Pro (review), Qubo has now launched an all-new 4K car dash camera called Qubo Dashcam Pro 4K in India. Like the 1080p variant, the newly launched 4K variant is also fully manufactured and assembled in India. The Qubo Dashcam Pro 4K has an 8MP Sony IMX415 front camera with a 2.8-inch LCD, a 2MP optional rear camera, a Suction mount, Built-in GPS, ADAS functionality, etc. I have been using this dashcam for the past few days, and find my details review below. Don’t forget to check the exclusive PROMO CODE at the end of the post.
Qubo Dashcam Pro 4K Full Specifications
| Front Camera | Max Resolution 4K 3840 x 2160 Pixels 8MP Camera, f/1.8 Sony IMX415 140° FOV |
| Rear Camera | Max Resolution 1K 1920 x 1080 Pixels 2MP Camera 126° FOV |
| Recording Type | Single / Dual |
| Encoding | H.265 and H.264 |
| Display (Front Camera) | 2.8-inches LCD IPS Control Buttons |
| Connectivity | IEEE 802.11 b/g/n 2.4GHz Built-in GPS |
| Mounting Type | Front Camera – Suction Type Rear Camera – Double-sided Adhesive Tape |
| Storage | MicroSD Card Supports Upto 1 TB Recommended: C10, U3, V30, 4K UHDSD |
| Parking Mode | Yes, with an Optional Hardwire Kit |
| ADAS | Lane Departure Warning Beware of Vehicle Ahead Warning Forward Vehicle Motion Warning Pedestrian Ahead Warning |
| Power and Ports | Input: (5V/2A) Connected to: 12V Car Power Socket Mini USB Port (Front Camera) Micro USB Port (Rear Camera) |
| Dimensions | 103.6 x 26.07 x 43 mm |
| Weight | 115 g |
| Country of Origin | India |
| Manufactured At | Andhra Pradesh, India – 517526 |
In the Box
| Front Camera | Micro USB Power Cable for Rear Camera (Short) |
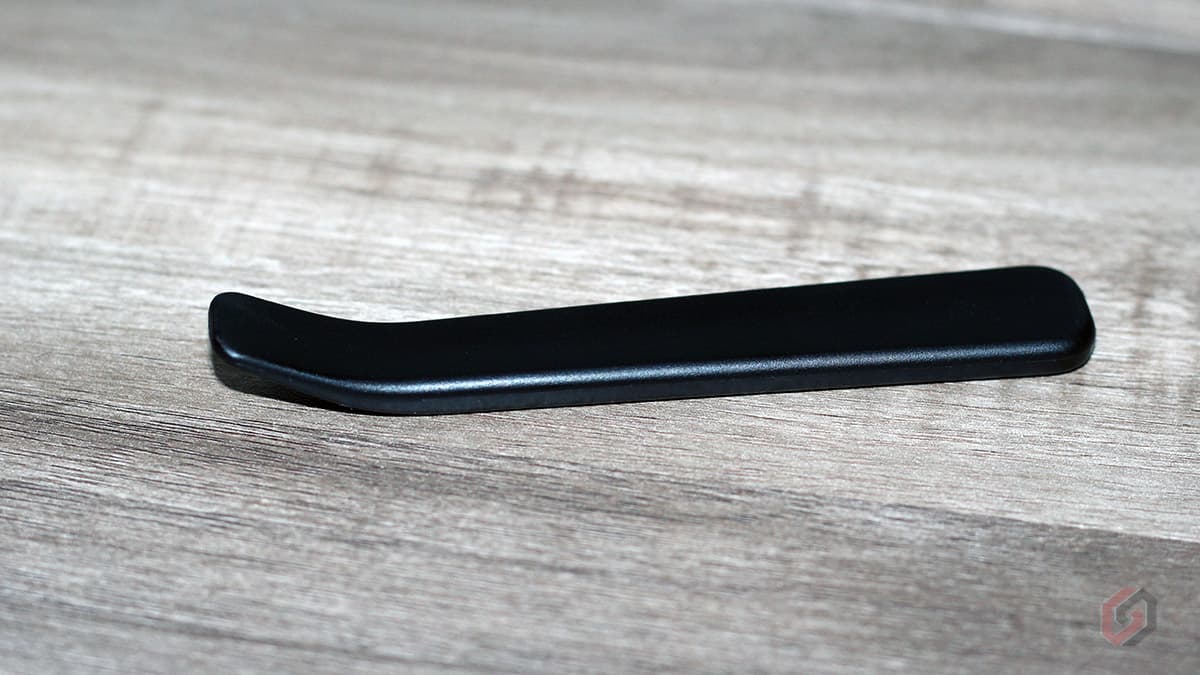
| Rear Camera | Installation Pry Tool |
| Suction Mount for Front Camera | USB Power Adapter (Dual Port) |
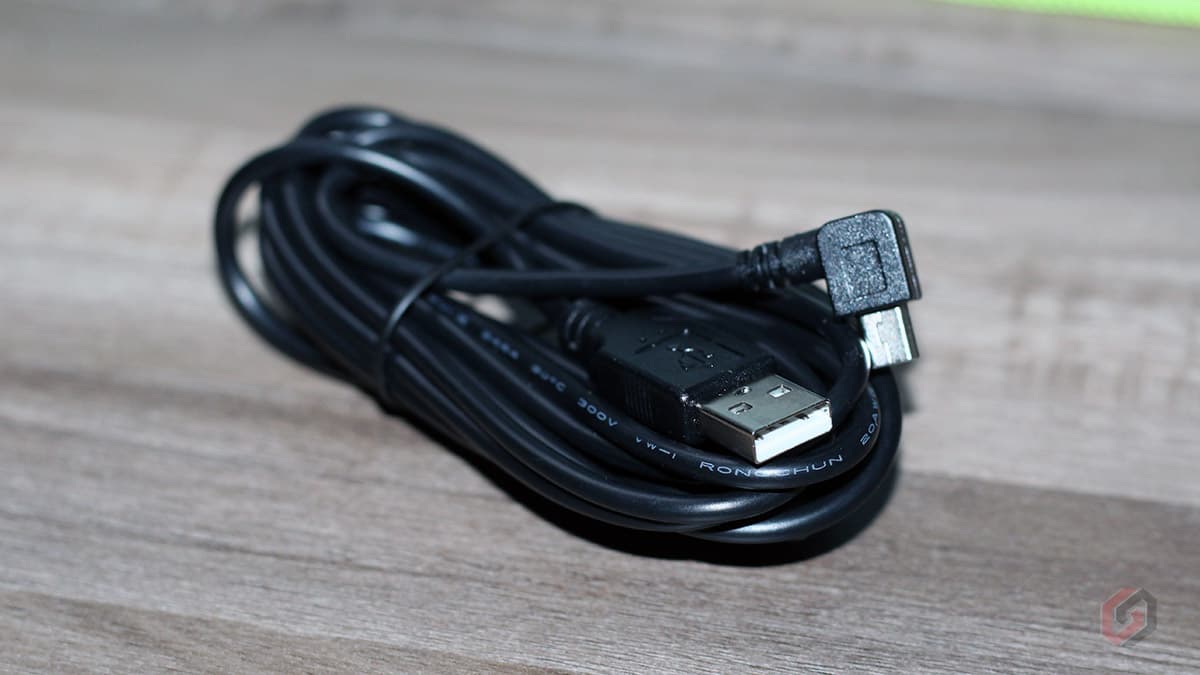
| 3.5 Meter Mini USB Power Cable for Front Camera | Electrostatic Rear Camera Mounting Sticker |
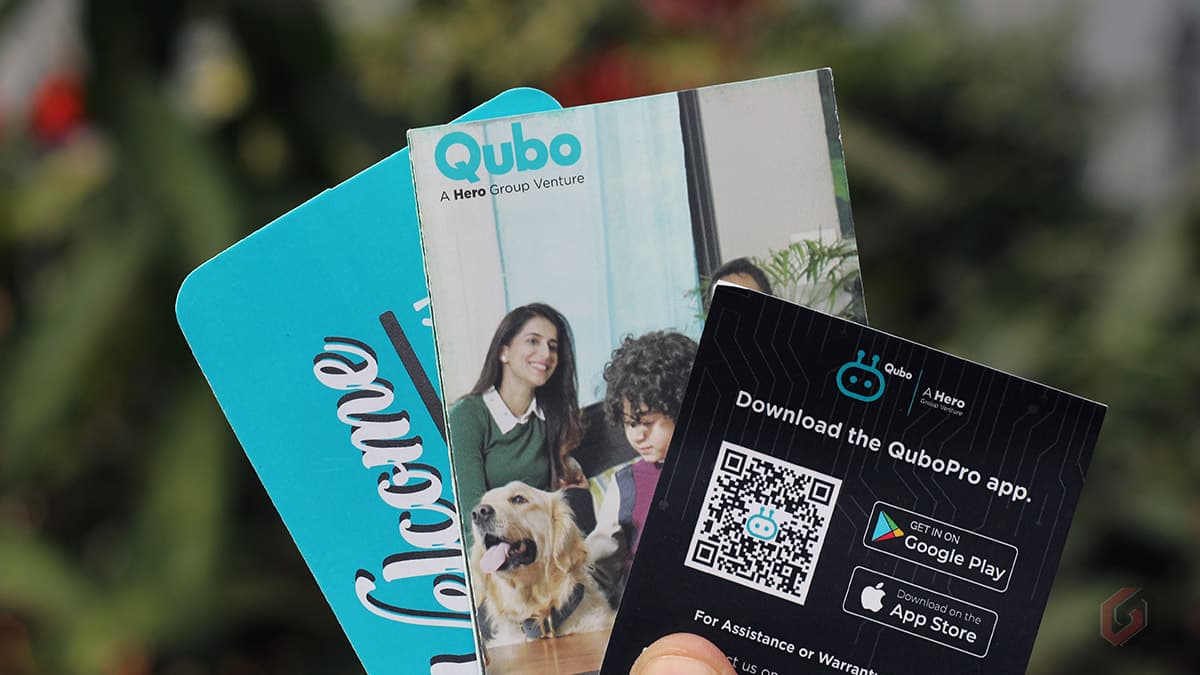
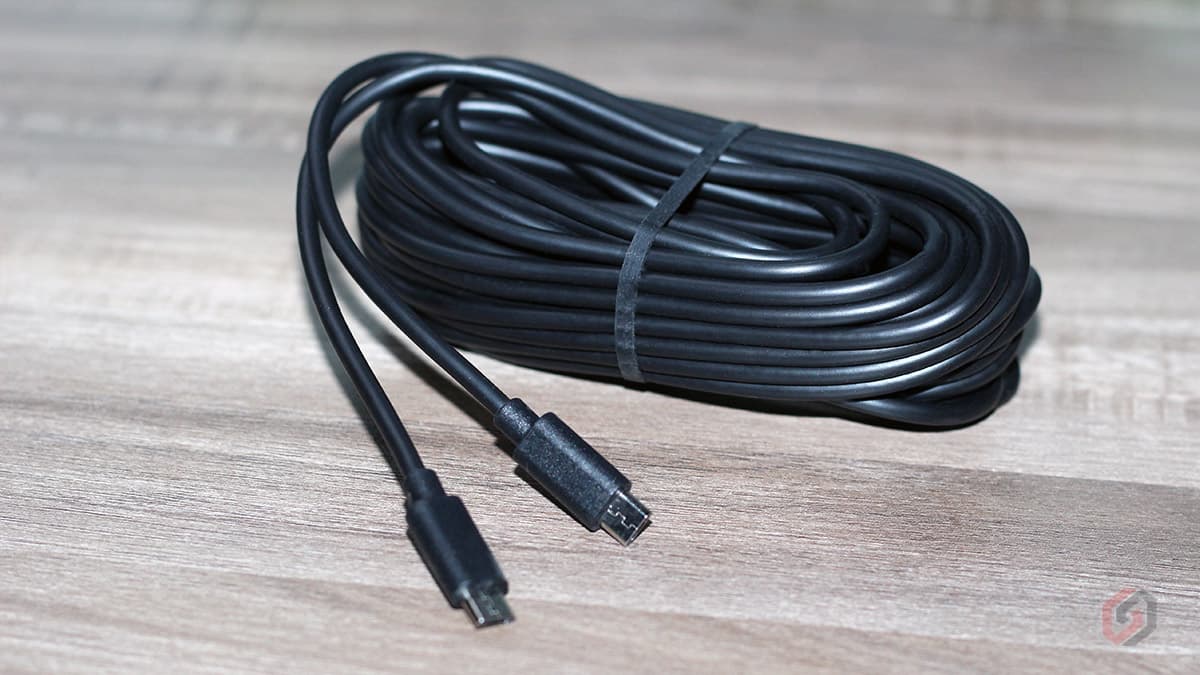
| 8 Meter Micro USB Power Cable for Rear Camera | Leaflets |



Qubo Dashcam Pro 4K Variants
The Qubo Dashcam Pro 4K is offered in two variants – Dashcam Pro 4K (Front camera only) and Dashcam Pro 4K + Rear Cam. The Dashcam Pro 4K is priced at ₹9,990, while the dual-camera variant costs you ₹12,990. Note that the rear camera draws the power from the front camera, and you’ll have to connect the rear camera to the front camera through the supplied Micro USB to Micro USB cable.
You cannot connect the rear camera to any other power outlet. Also, you cannot purchase the rear camera separately. So, just make sure you are buying the right variant. I recommend you go with the Dual-camera variant, which can also be used as a Cabin camera to record in-cabin moments.
Qubo Dashcam Pro 4K Design (Front)
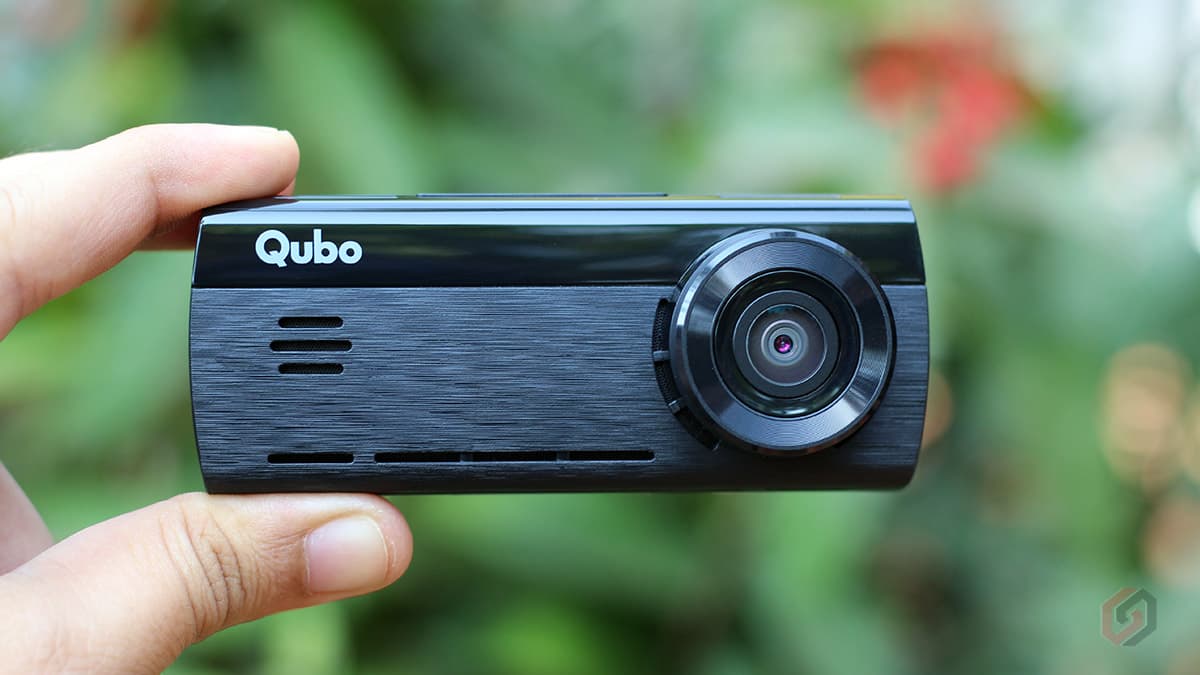
The front camera has a rectangular slab-like design that resembles a traditional digital camera. The device is made from high-quality materials and feels very premium. Most part of the dashcam is coated with matte, while some parts have a glossy finish. Qubo has also provided sufficient air vents on the front and sides to keep the device cool during long drives. You’ll find the speaker grills on the front and the microphone on the camera’s bottom.
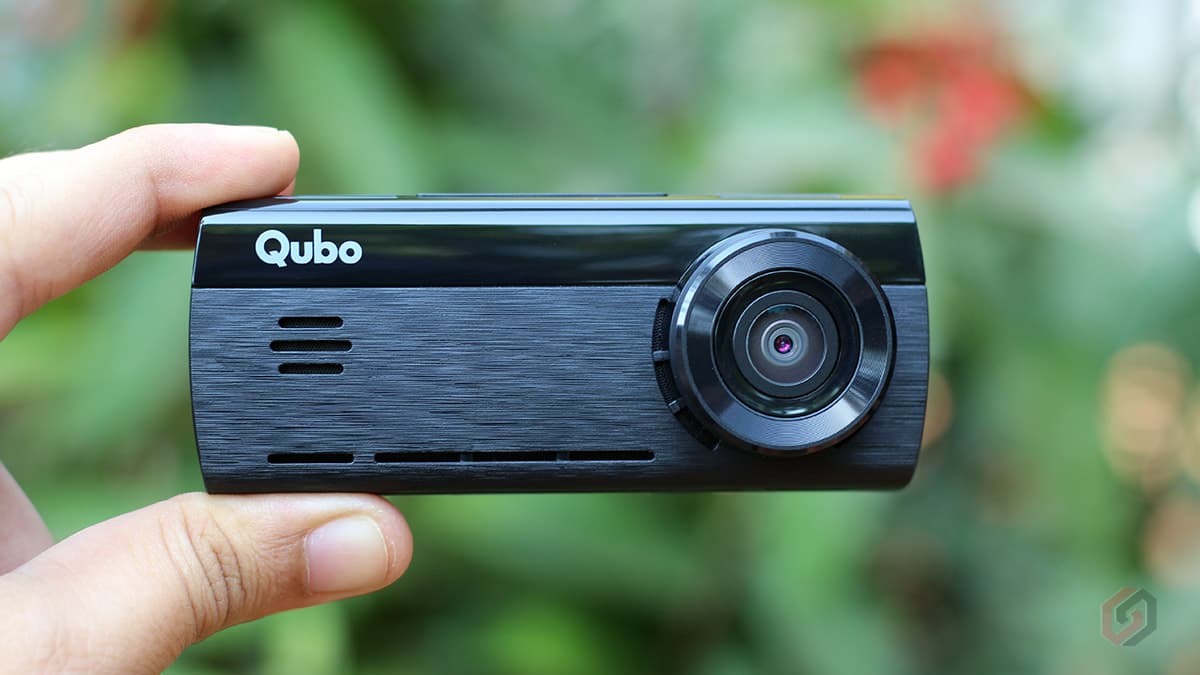
Similarly, the Power key is positioned on the left side, while the microSD card slot and the Mini USB ports are placed on the camera’s right side. The sd card slot supports Class 10 MicroSD cards up to 1TB. Qubo has also provided a Reset button placed just above the power button to restart the device if it hangs or functions abnormally.


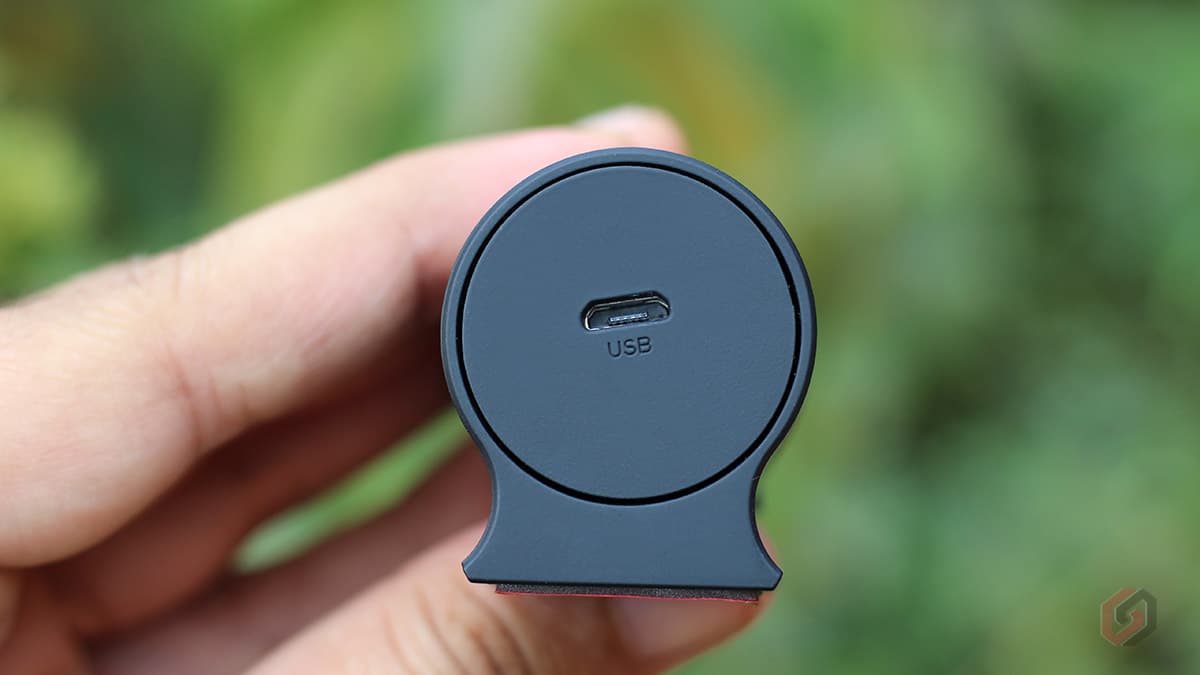
You’ll find a Micro USB port on the top to connect the rear camera. As stated above, the Micro USB port can be used only to connect the rear camera and doesn’t support other inputs. Do not connect any power source to the Micro USB port, it is intended only to fix the rear camera module.

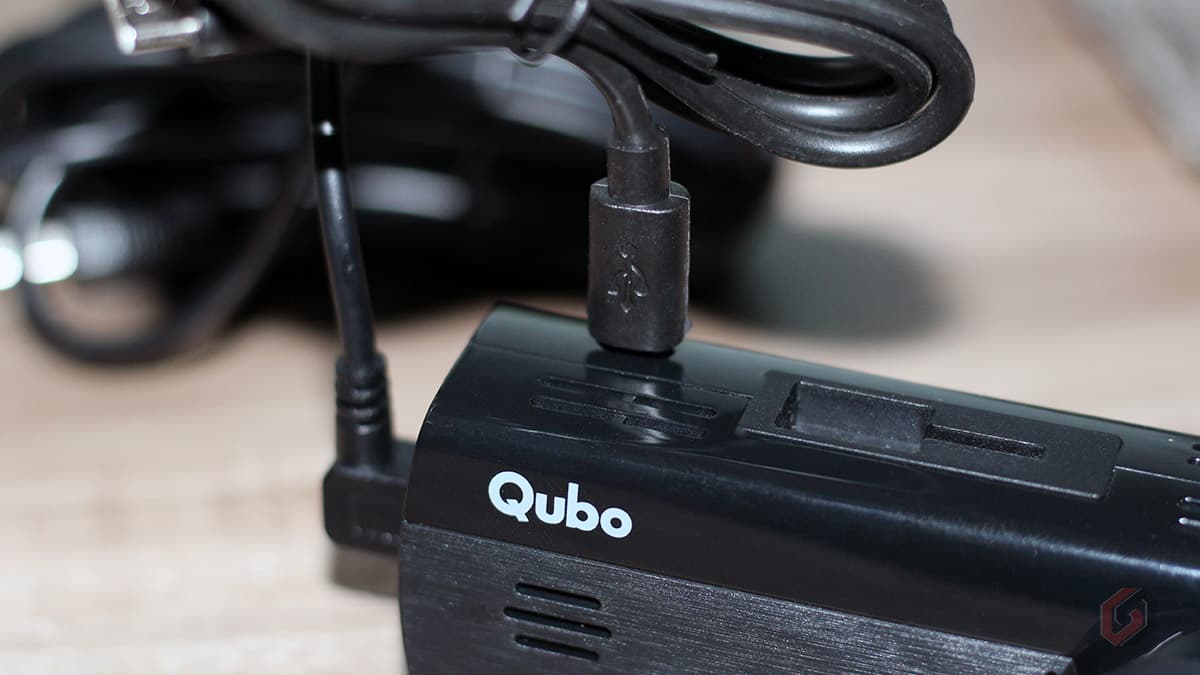
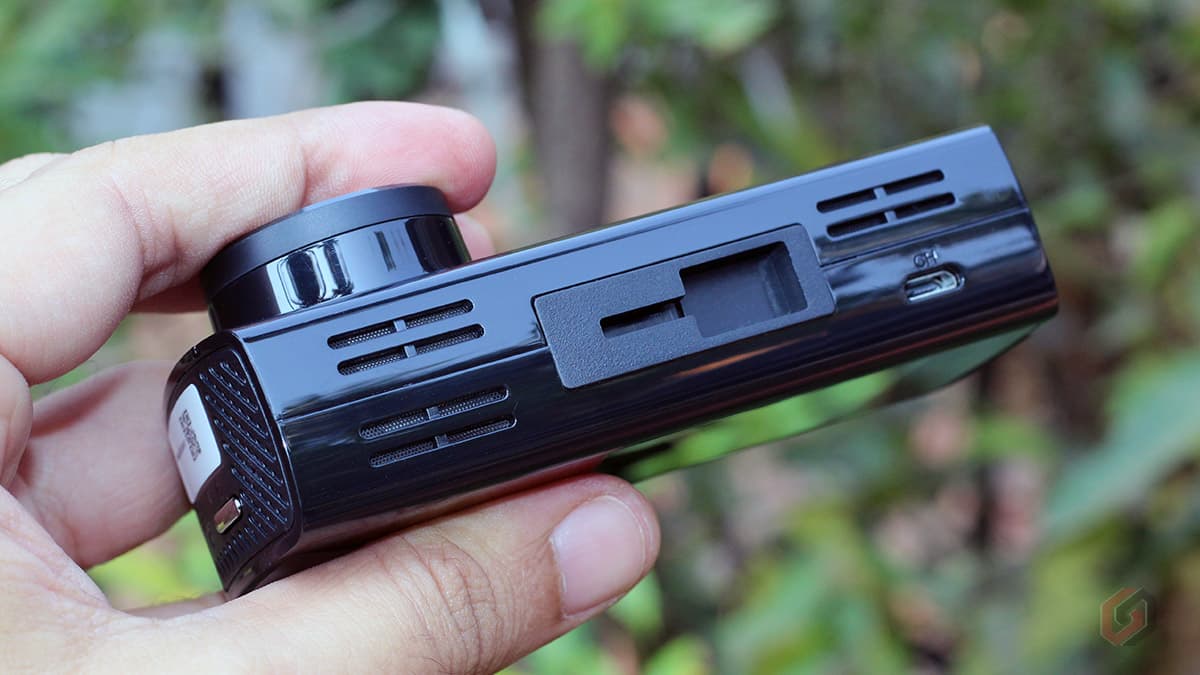
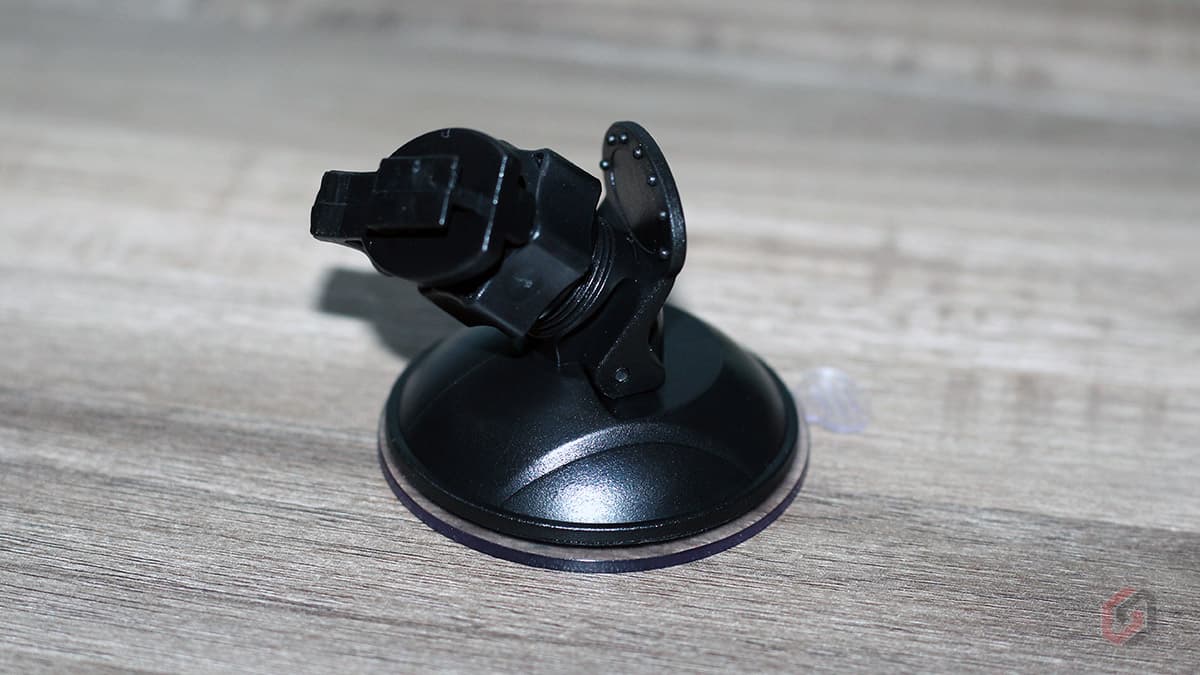
Qubo has significantly improved the design compared to the previously launched 1080p variant. The most important change is the camera mount. The Qubo Dashcam Pro 4K has a suction camera mount that lets you quickly and easily remove the camera when needed.
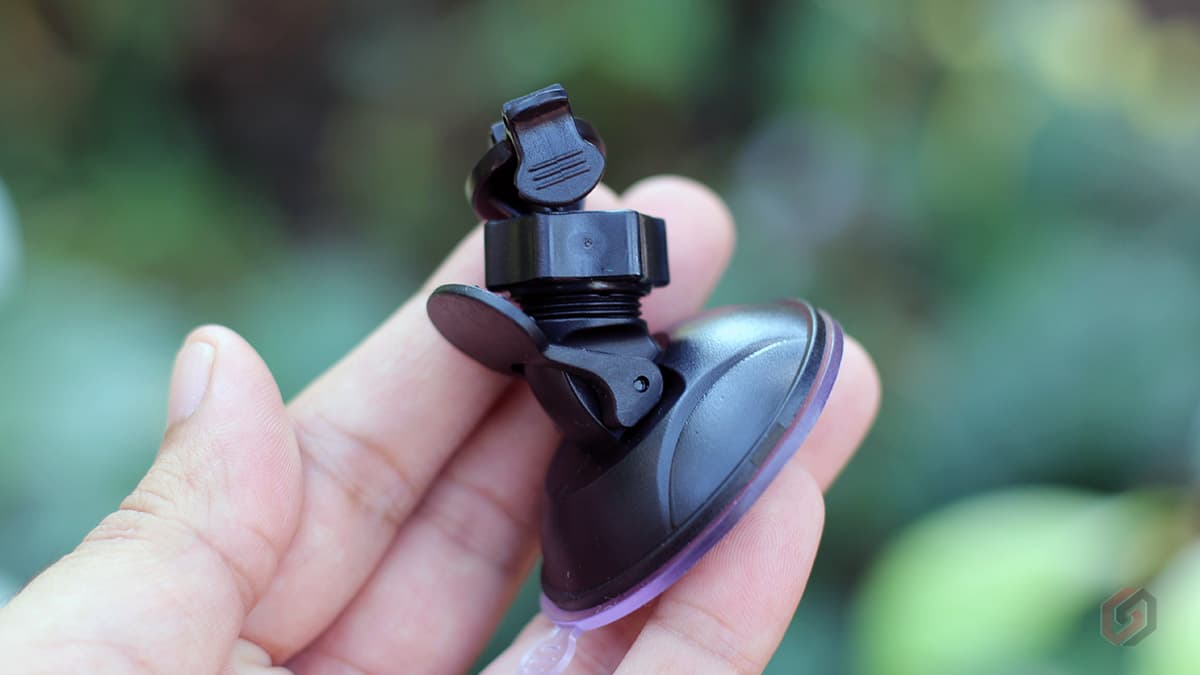
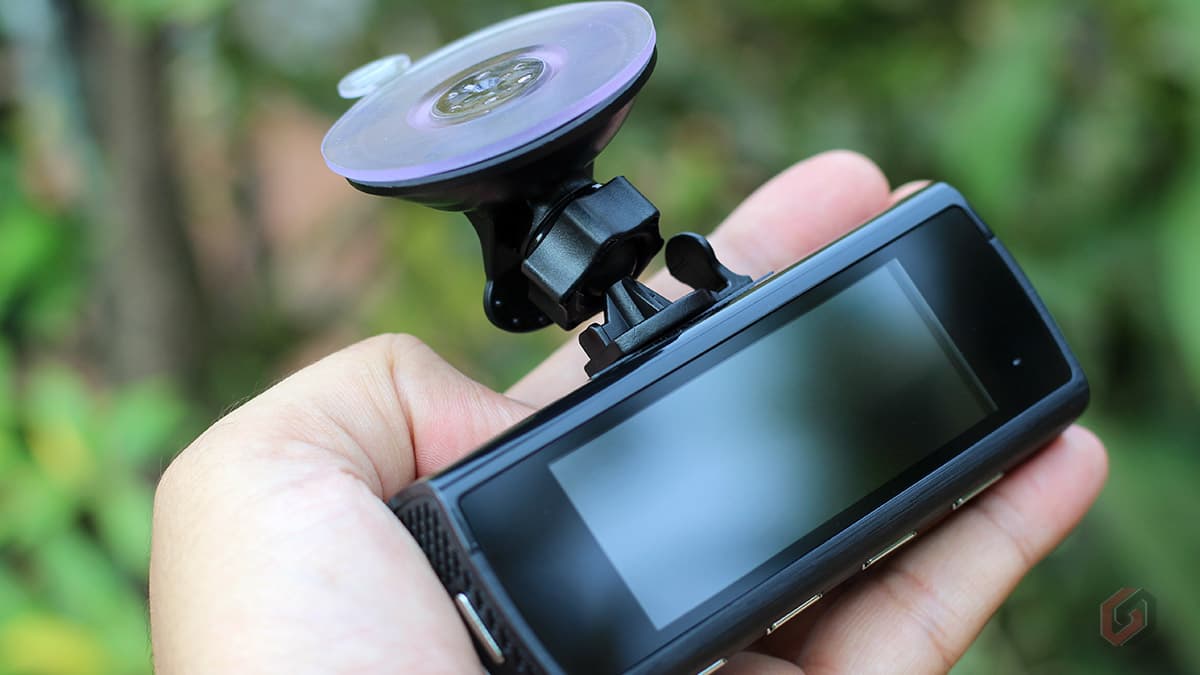
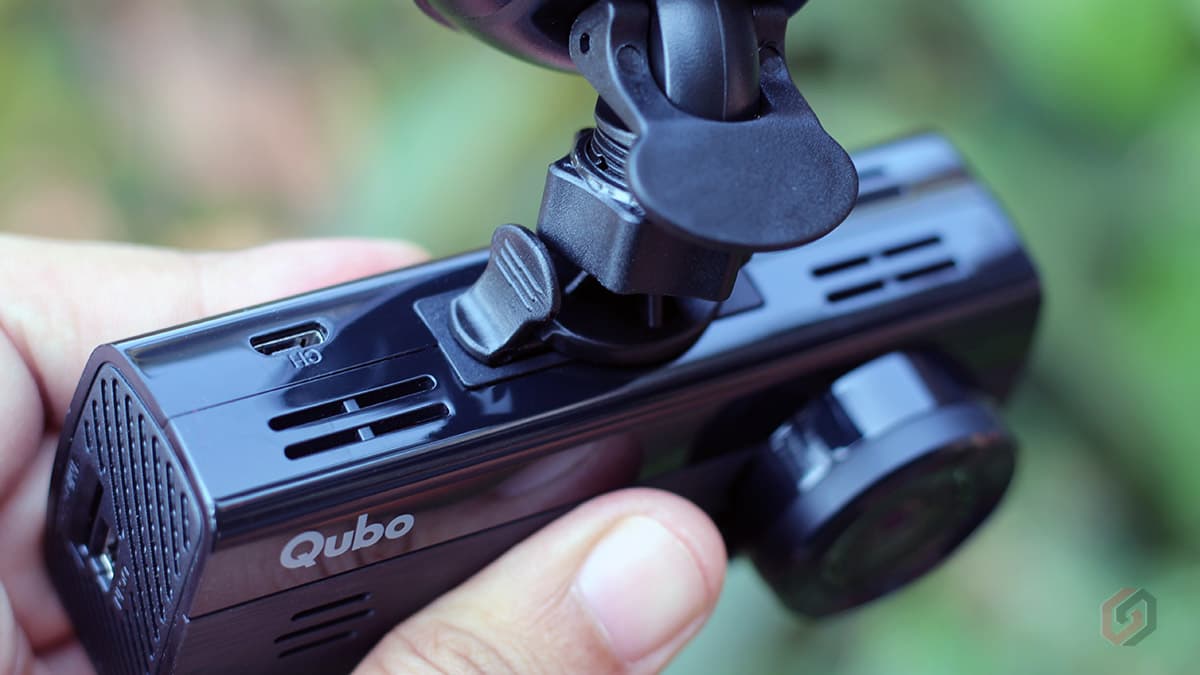
The suction mount also makes adjusting the camera’s position easy to get the perfect view of the road ahead. The suction mount is versatile and can be used in various situations. For example, it can be used to attach a camera to your car’s windshield or fix it over the dashboard if needed.
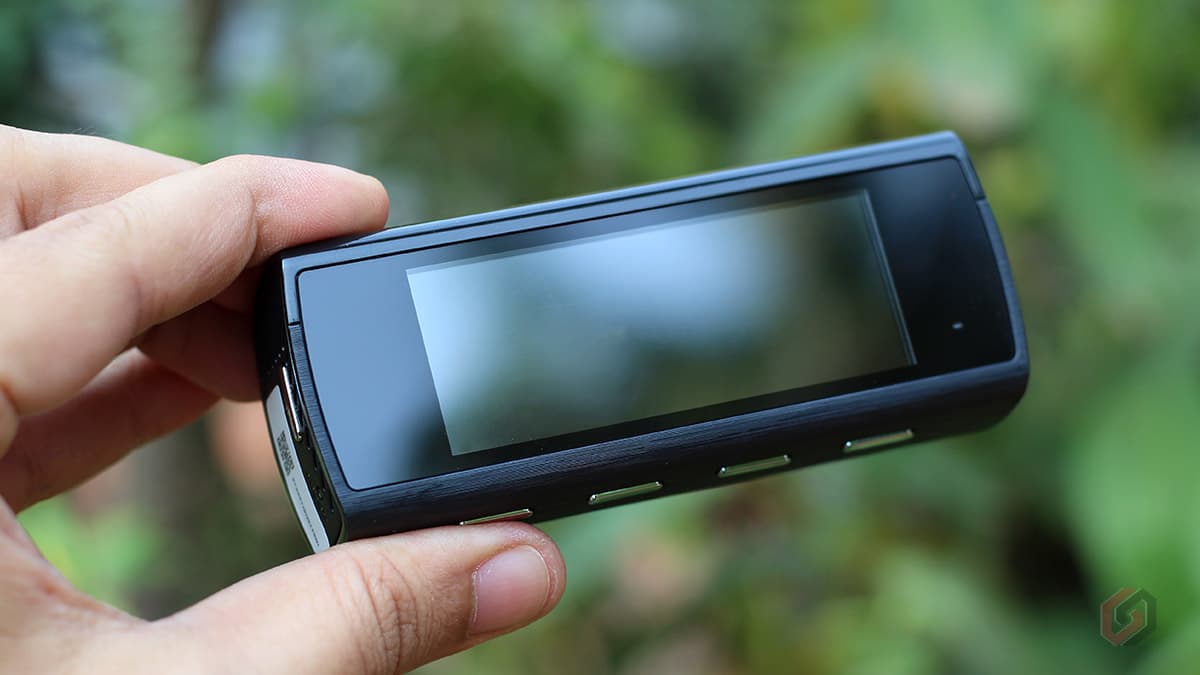
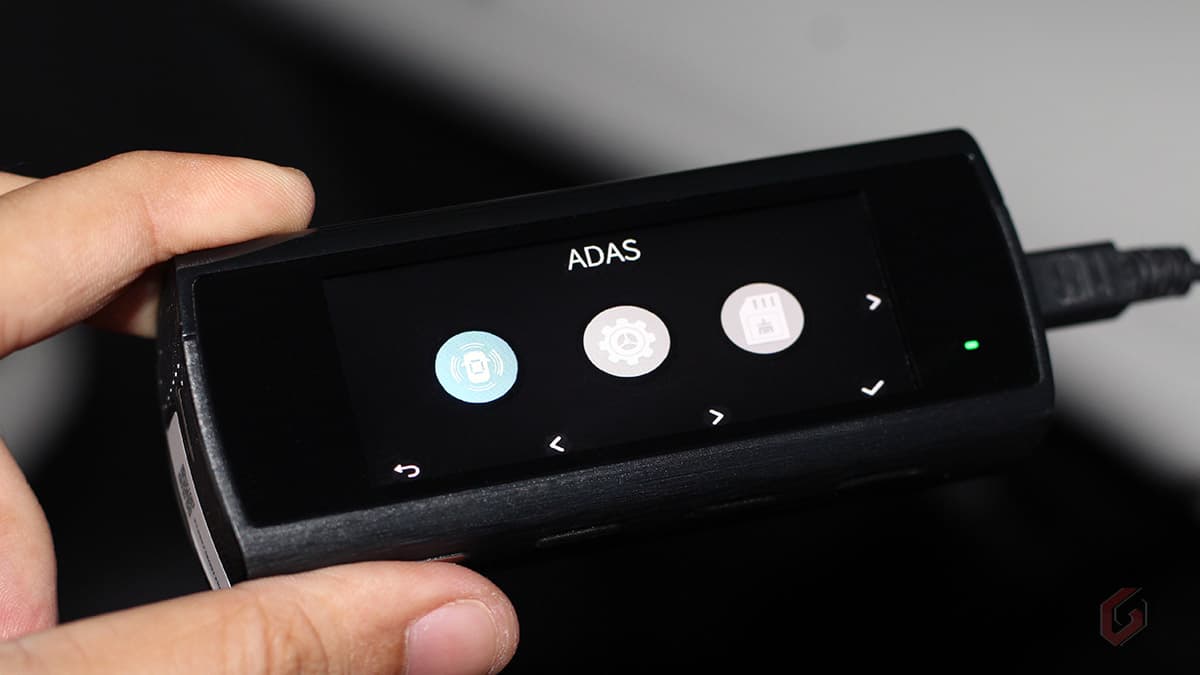
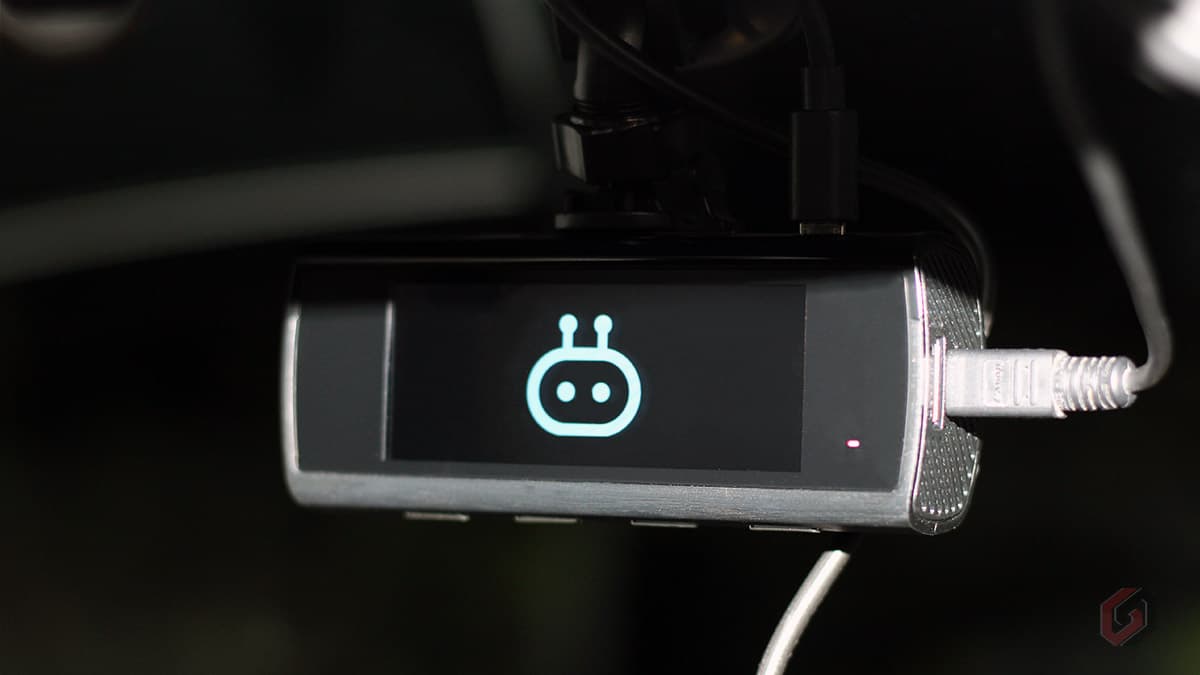
One of the key highlights of the Qubo Dashcam Pro 4K is the built-in display. The dashcam has a built-in 2.8-inch LCD IPS display that lets you check the live footage on the camera without opening your phone. You can also configure a few dashcam settings through the display, such as enable/disable ADAS, Change recording resolution, Muta/unmute, Format microSD card, Switch between the front and rear camera, etc.
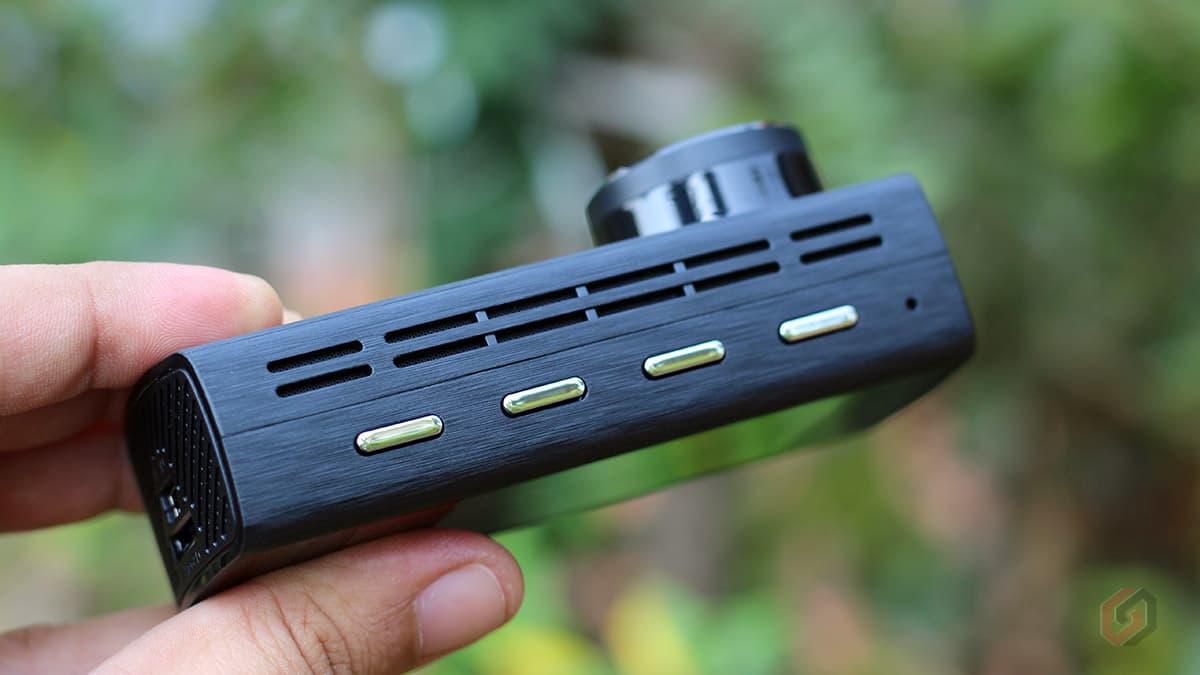
The display doesn’t support touch, and you have to use the four control buttons mounted below the display. The display shows you various statuses such as SD card, GPS, ADAS, recording video resolution, Recording status, Speaker status, and WiFI status. The display is very useful in most cases, but unfortunately, you can only check the live footage and not already recorded footage. If you want to check recorded footage, you need to check it through the Qubo Pro app on your phone.
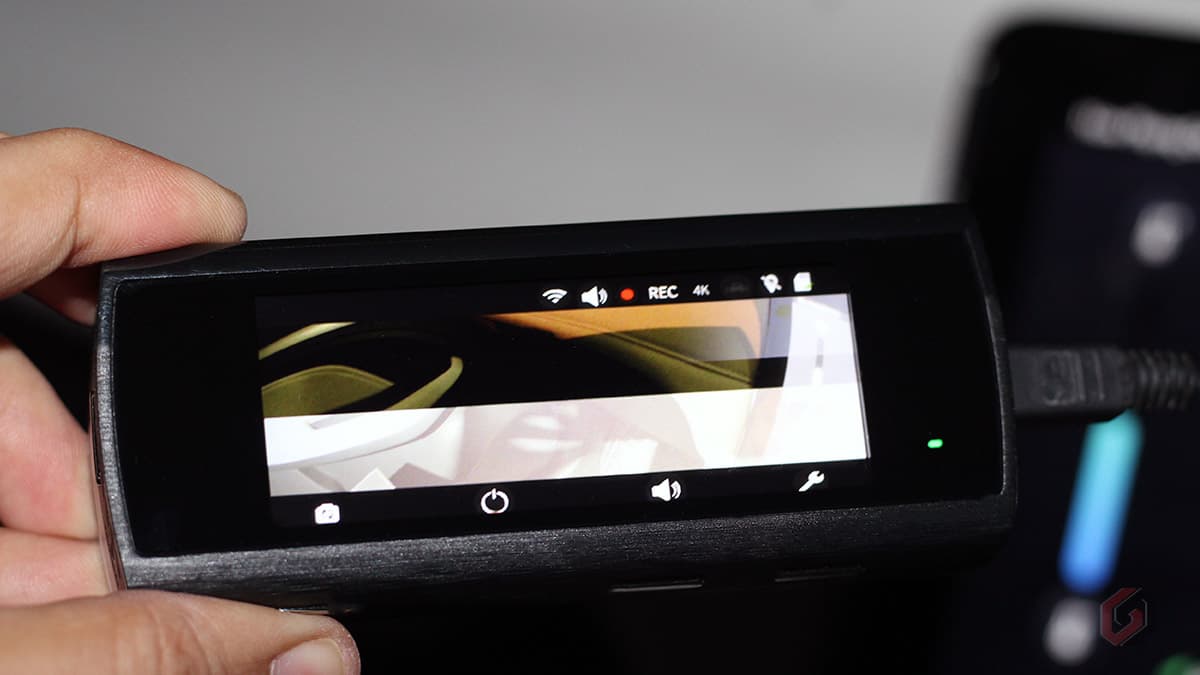
There is also a multi-colored LED indicator placed on the right side of the display that shows you the following conditions.
| Power On | Steady Red |
| Ready to pair | Red Blink |
| If pairing is not initiated for a long time | Red Blink |
| Factory reset started | Steady Green |
| Factory reset completed | Steady Red than Red Blink |
| Formatting microSD | Steady Green |
| Memory card not present or corrupted | Red Blink |
| Any issues or alerts on the device | Red Blink |
Qubo Dashcam Pro 4K Keys and Functionalities
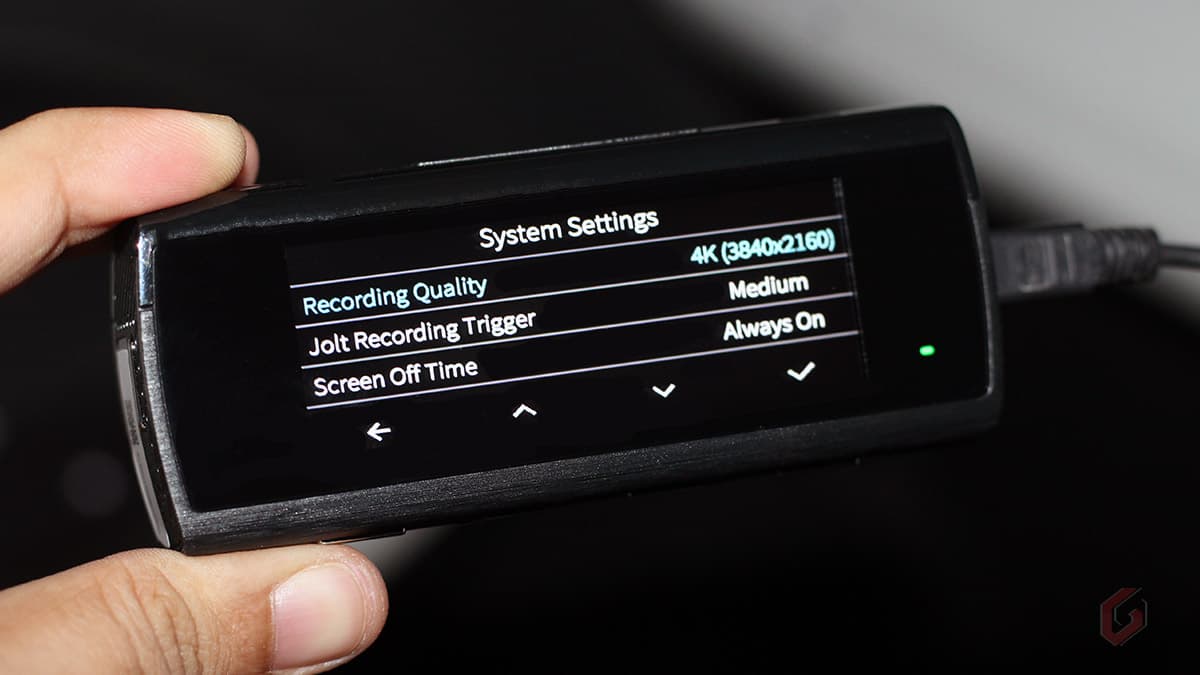
| Power Button | Display On: Single Press Display Off: Single Press Factory Reset: Long Press and Hold for 10 Seconds |
| Button 1 (First from the Left) | Switch Between the Front and Rear Cameras |
| Button 2 | Sleep Mode Left and Up Navigation |
| Button 3 | Mute and Unmute Right and Down Navigation |
| Button 4 | Steady Green |
| Reset | To Restart the Dashcam |
Qubo Dashcam Pro 4K Battery
The Qubo Dashcam Pro 4K has no built-in battery and uses your car’s battery to draw power through the supplied power adapter or a USB port. The camera turns off when you turn off your car. When you turn on the car, the camera automatically turns to record mode. If you want an offline recording (Parking mode), purchase the hardwire kit, which is sold separately. This helps the dashcam record the video even when the ignition is off.
This is not a good practice as it may drain your car’s battery if you keep it Off for a few days. Alternatively, you can use a power bank to record the video when the car is off. You can turn on the dashcam using any power bank. When the vehicle is parked, disconnect the dashcam from its USB port and connect it to the power bank to start the recording. Even a 5,000mAh power bank can give power to a dashcam for at least two days. This is better than the hardwire kit.
Fixing the Qubo Dashcam Pro 4K to Your Car
Installing the front camera is very easy as it comes with a suction mount. You don’t need any special tool for installation if your car has a dedicated dashcam USB port, just like MG Astor. Simply mount the dashcam on the windshield of your car and connect the dashcam to the dedicated dashcam port. Note that the supplied Power cable is long, and you might need to buy a short Mini USB Cable separately if you want to connect the dashcam to the dedicated Dashcam port. Short Mini USB cables are available for as low as ₹140 on Amazon India.
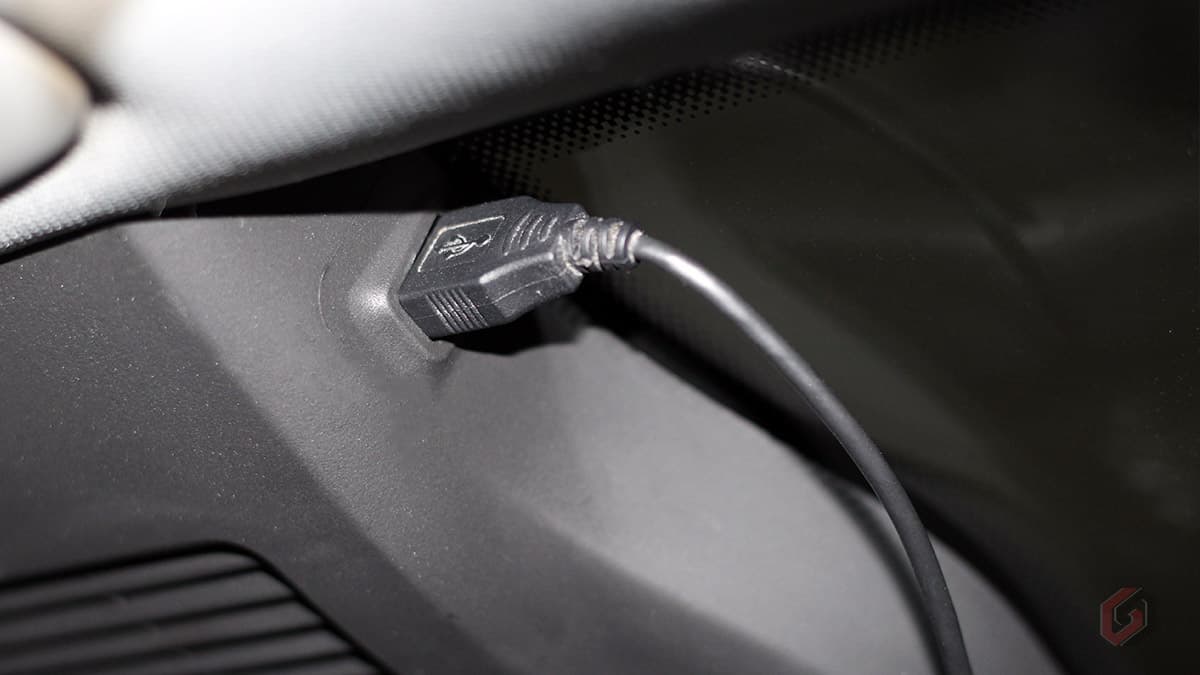
If your car doesn’t have a dedicated USB port, you might need help from a car technician to tug the cables inside the interior trims. Qubo has provided a Pry tool in the box to hide the cable inside the trims. To fix the front camera:
- Clean the windshield area where the Dashcam is to be installed.
- Remove the protective film from the device and fix the function mount to the dashcam.
- Place your device on the windshield and lock it.
- Attach the USB cable to the Dashcam, and with the help of the Pry tool, tuck in the cable properly by lifting the Roof Cover.
- Connect the other end of the cable to the car’s 12V charger socket using the provided power adapter. You can also connect the cable directly to the USB port of your car if you have multiple USB ports.
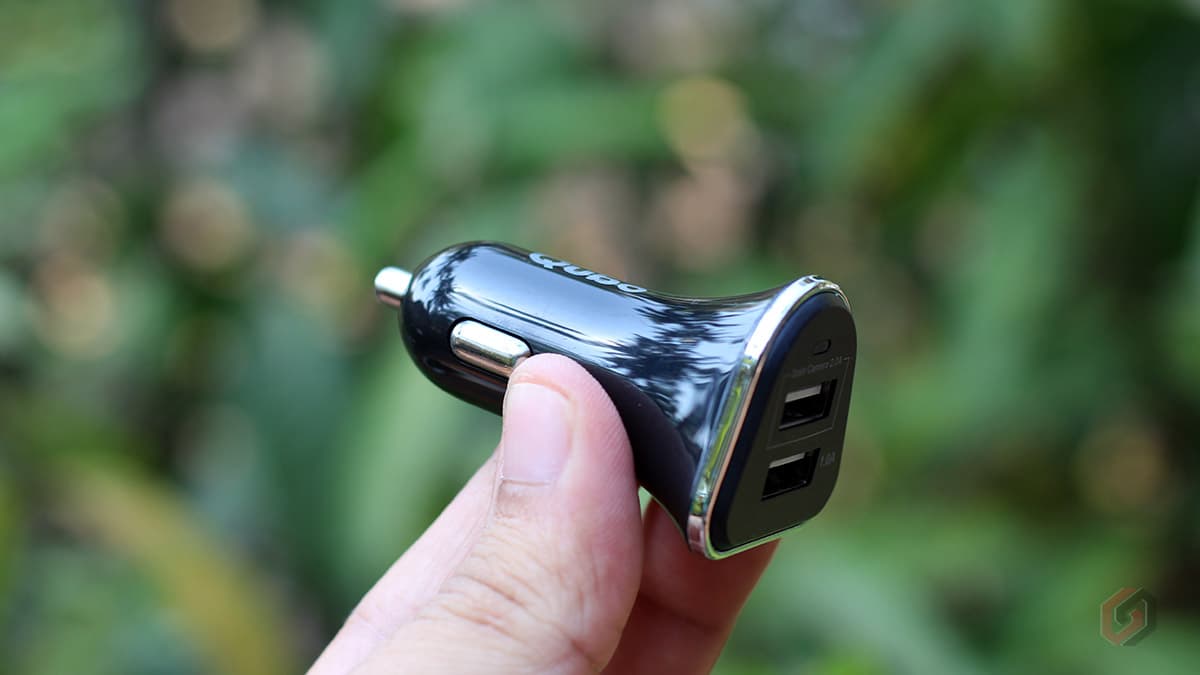
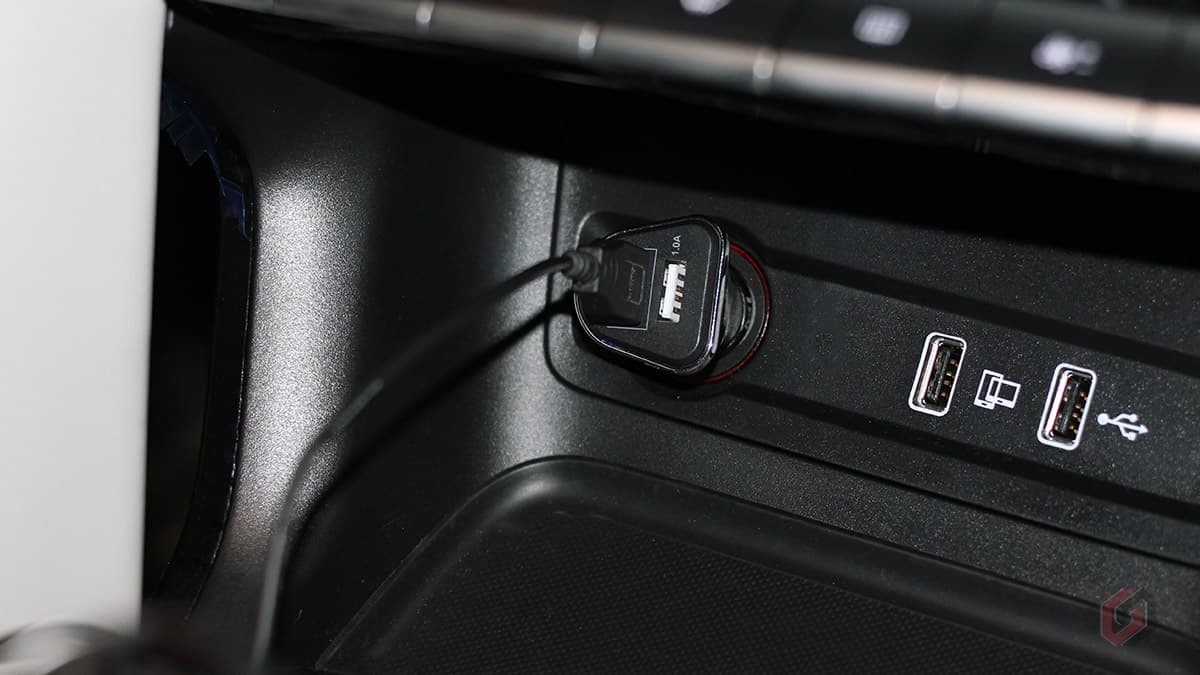
- Turn on the car’s ignition and check if the LED indicator on the dashcam turns RED.
- If the device turns On, you’ll get voice feedback from the camera saying, “Qubo dashcam is ready for setup.”
- Insert the microSD card. (Explained in the later part of the review)
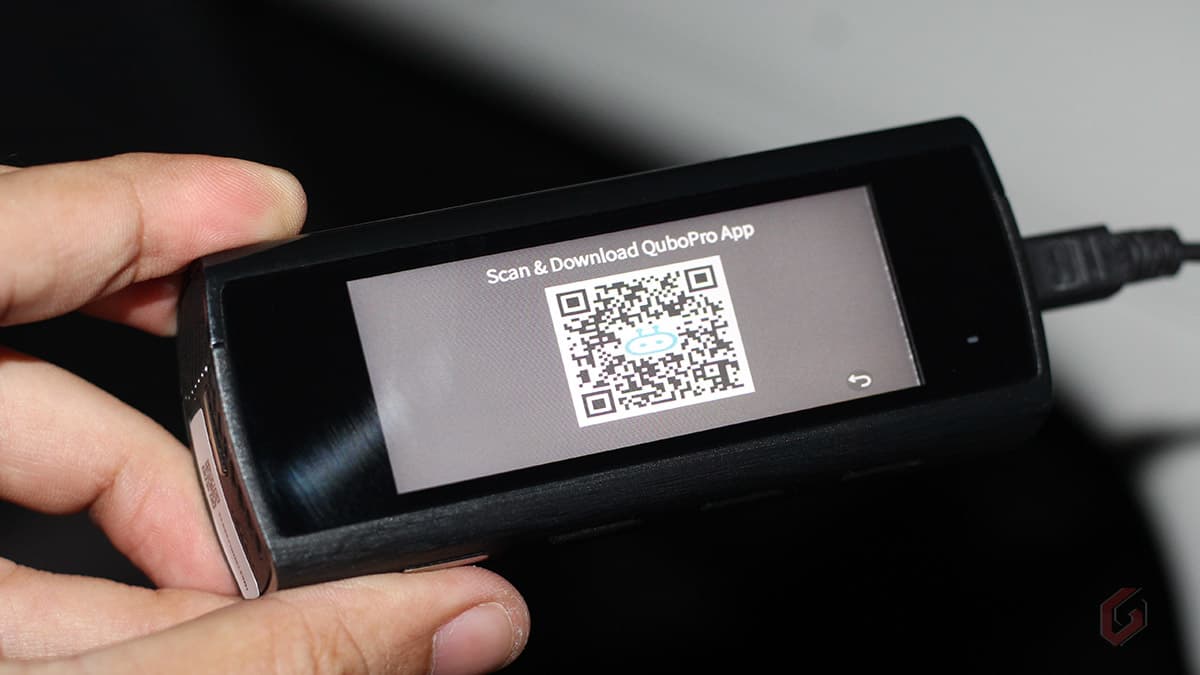
- Download the Qubo Pro App and setup the dashcam ((Explained in the later part of the review)
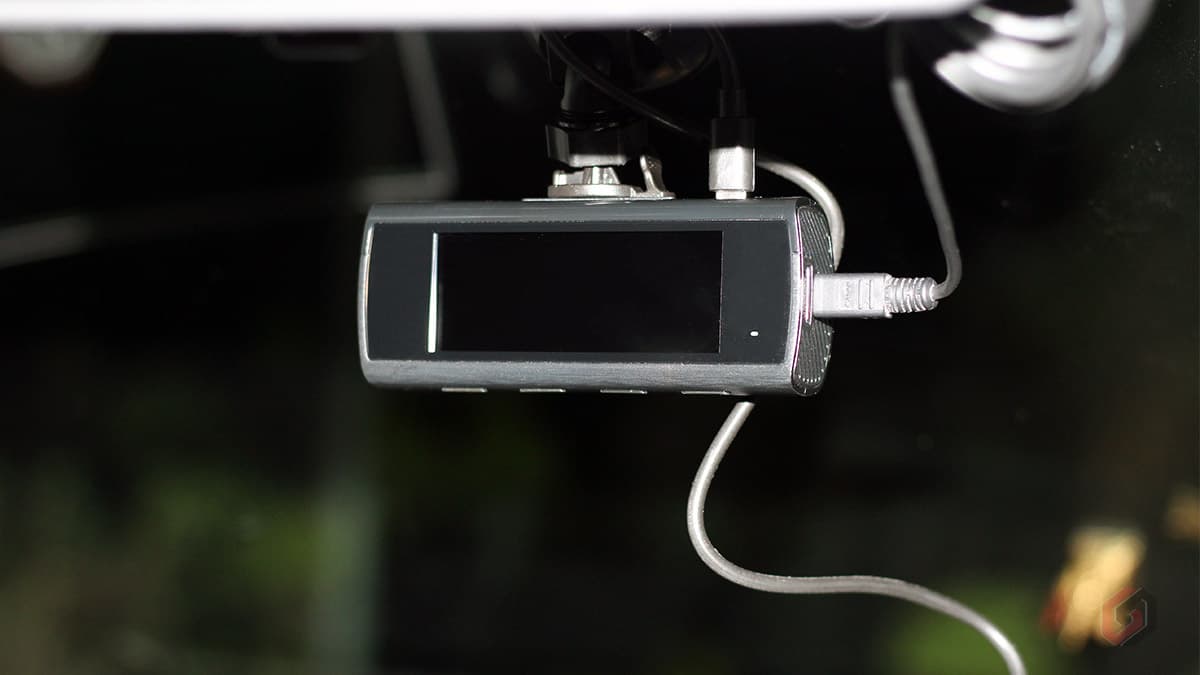
Note: You can also set up the dashcam at home and install it in your car later. You can power the dashcam using your phone charger or a power bank.
Qubo Dashcam Pro Rear Camera
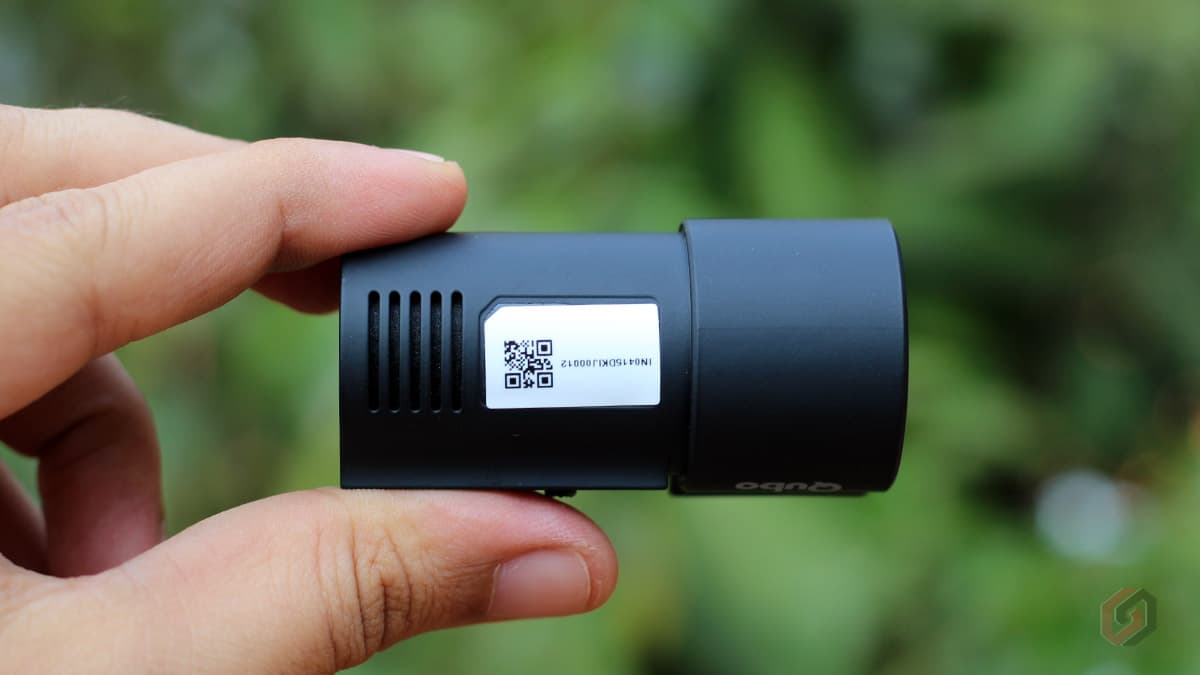
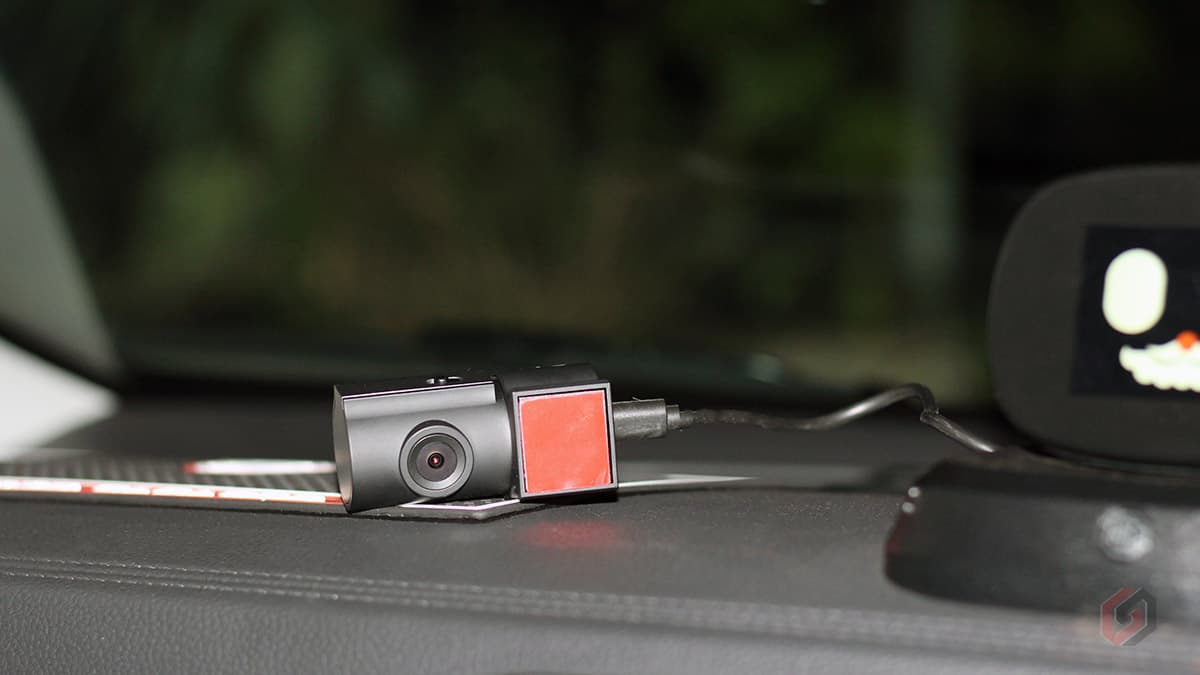
Regarding the rear camera, it almost looks like the miniature version of the Qubo Dashcam Pro 1080p variant with a few changes in the design. It’s a compact camera that comes with a 360˚rotatable hinge. You can easily rotate the camera hinge and adjust the view. The rear camera is not a separate unit but part of the front camera. There is no SD card slot in the rear camera, and all the recorded videos are stored in the microSD card of the front camera.
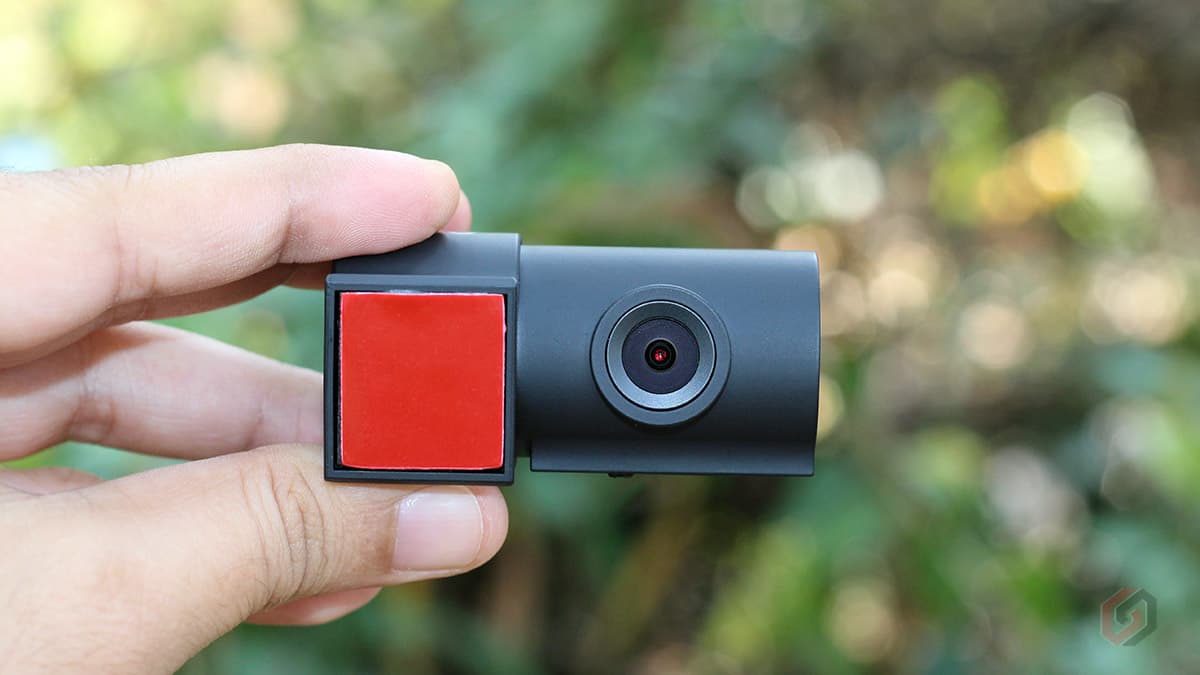
The rear camera support full HD 1080p video recording. Unlike the front camera, the rear has a Micro USB port that draws power from the front camera. Qubo has supplied a very long Micro USB Cable (About 3.5 meters), which is more than enough even if you have a 7-seater SUV like Toyota Innova, Mahindra Scorpio N, Mahindra XUV 700, MG Hector, Maruti Suzuki Ertiga etc.
- When the front camera starts, the rear camera turns on automatically.
- When the front camera is turned off or in sleep mode, the rear camera also turns off automatically.
- The front camera provides power to the rear camera only when the front camera receives power from an external power source.
- If the storage limit is reached on the microSD card, the earliest front-recorded and rear-recorded footage will be overwritten by the latest footage.
- There is a toggle switch on the rear camera that helps to flip the image. You can fix the camera on the windshield with a camera hinge on the left or right. If the image is upside down, simply toggle the switch to change the orientation of the image.

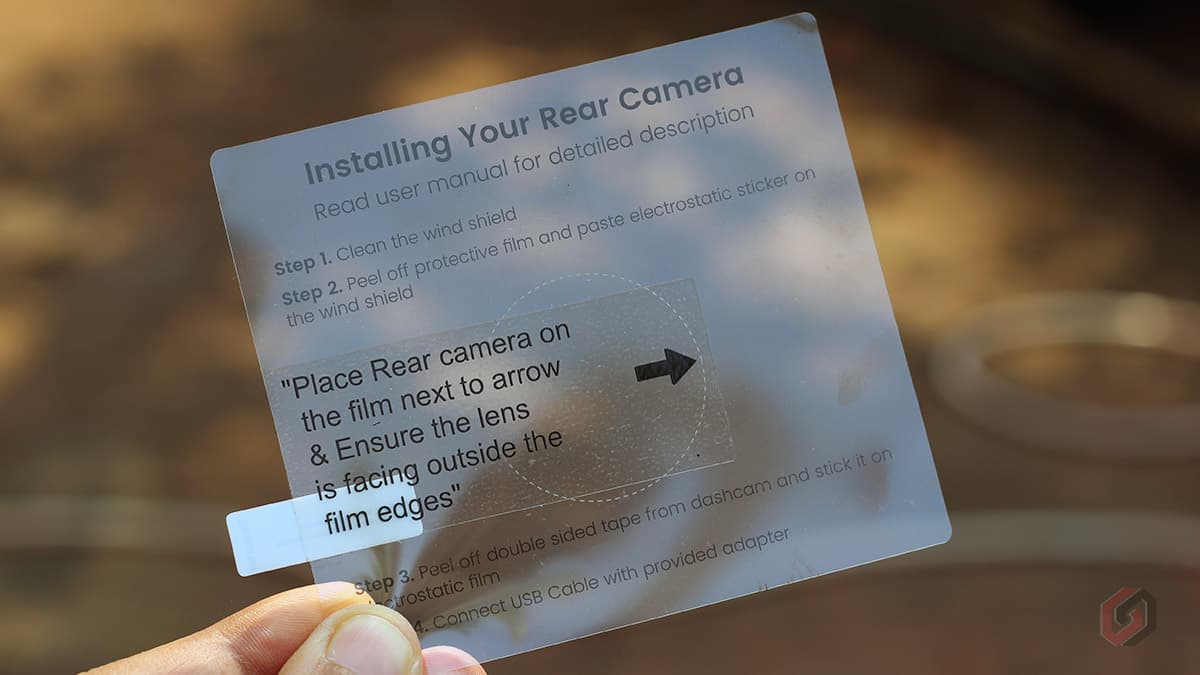
The rear camera doesn’t have a suction mount, and you’ll have to mount it on the rear windshield using the supplied electrostatic sticker. The electrostatic sticker is a special type of sticker that uses electrostatic charges to adhere to surfaces. This makes it perfect for smooth surfaces like windshields, as it will adhere like a magnet. Once the sticker is applied, you can fix your dash cam in place with double-sided tape. This ensures that your camera will stay in place no matter what.

Do not mount the rear camera directly on the windshield using double-sided tape, as it may damage the windshield while removing the camera. Even though it keeps the dashcam in place, it’s a bit hard to remove the dashcam from the windshield. So always use the electrostatic sticker to mount the rear camera. Note that the electrostatic sticker is one-time usable, and you need to purchase a new sticker if you want to mount the camera again to the windshield.
Fixing the rear camera
- Paste the electrostatic sticker on the windshield: Clean the rear windshield and apply
electrostatic sticker on the top center of the windshield. - Installing the rear camera: Peel off the protective film from the sticker on the base of the dashcam, and paste the rear camera onto the electrostatic sticker in the dotted area.
- Connecting the power supply: Connect the rear camera to the front camera with the help of supplied Micro USB cable.
- Adjust the camera angle: Turn on the front camera and switch to rear camera mode (Press Button 1). Adjust the camera angle based on the preview screen to ensure the camera faces the back of the vehicle. If the image is upside down, toggle the switch to flip the image.
You can also use the rear camera as an in-cabin camera to record the in-cabin footage. This is very helpful if you are on vacation and want to record the fun talks and videos inside the cabin.
Qubo Dashcam Pro 4K Setup and App Configuration
- Connect the Dashcam to the Car’s power socket and Turn on the Car’s ignition.
- Download the QuboPro App – Android | iOS.
- Open the QuboPro App and allow access to the Location services.
- Next, you’ll be asked to sign up for a Qubo account. Click on the Signup button at the bottom. If you already have a Qubo account, log in using the existing credentials.
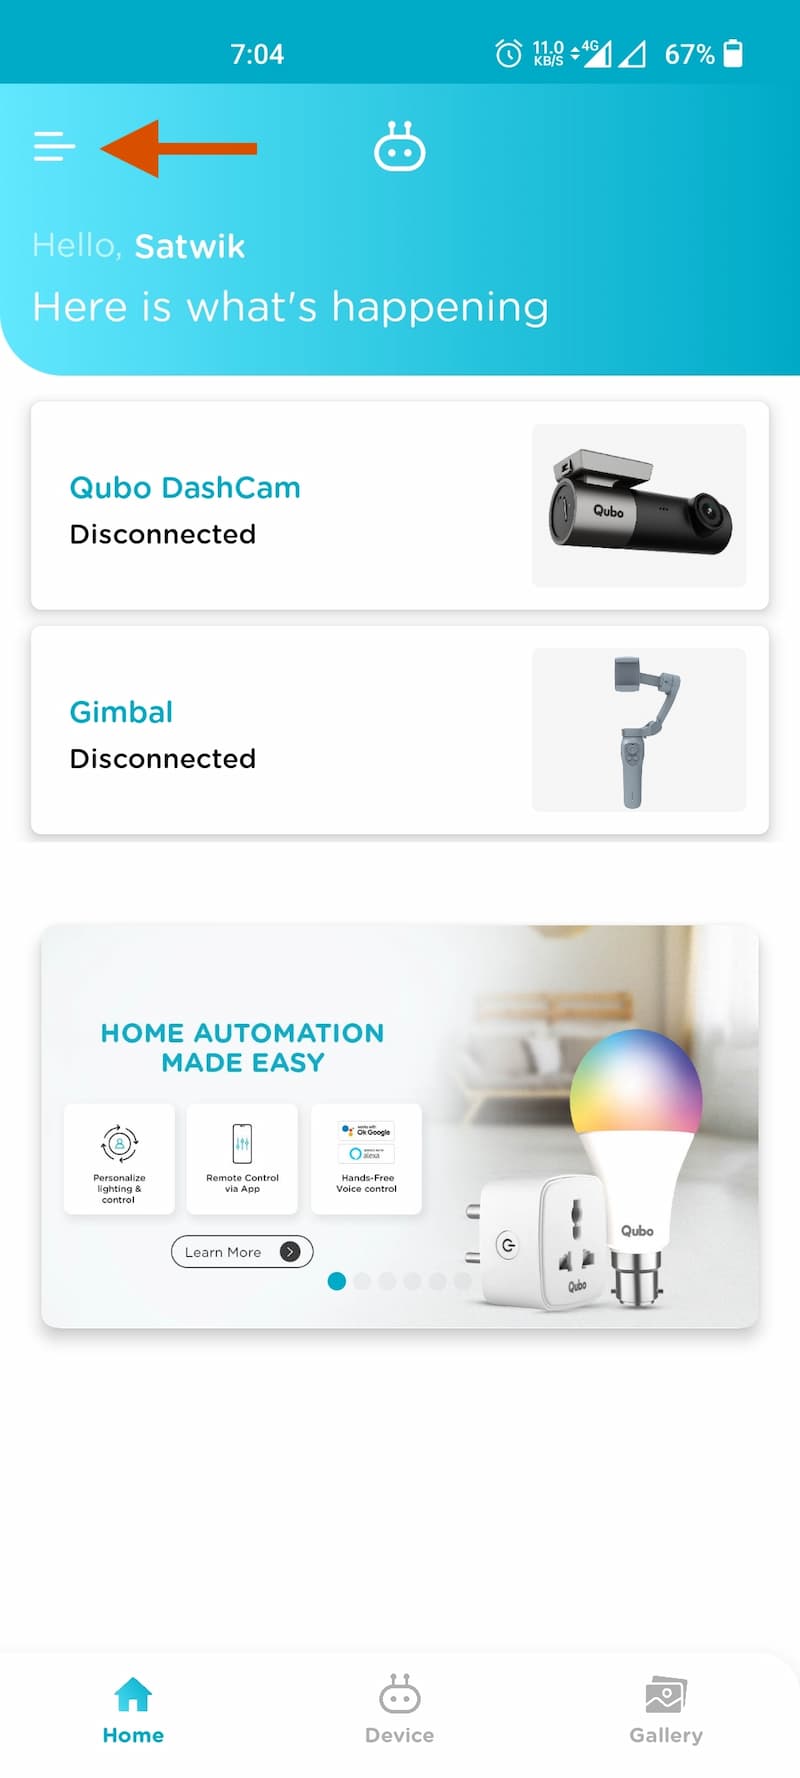
- Post login, click the Menu icon on the top left.
- Select Add Device.
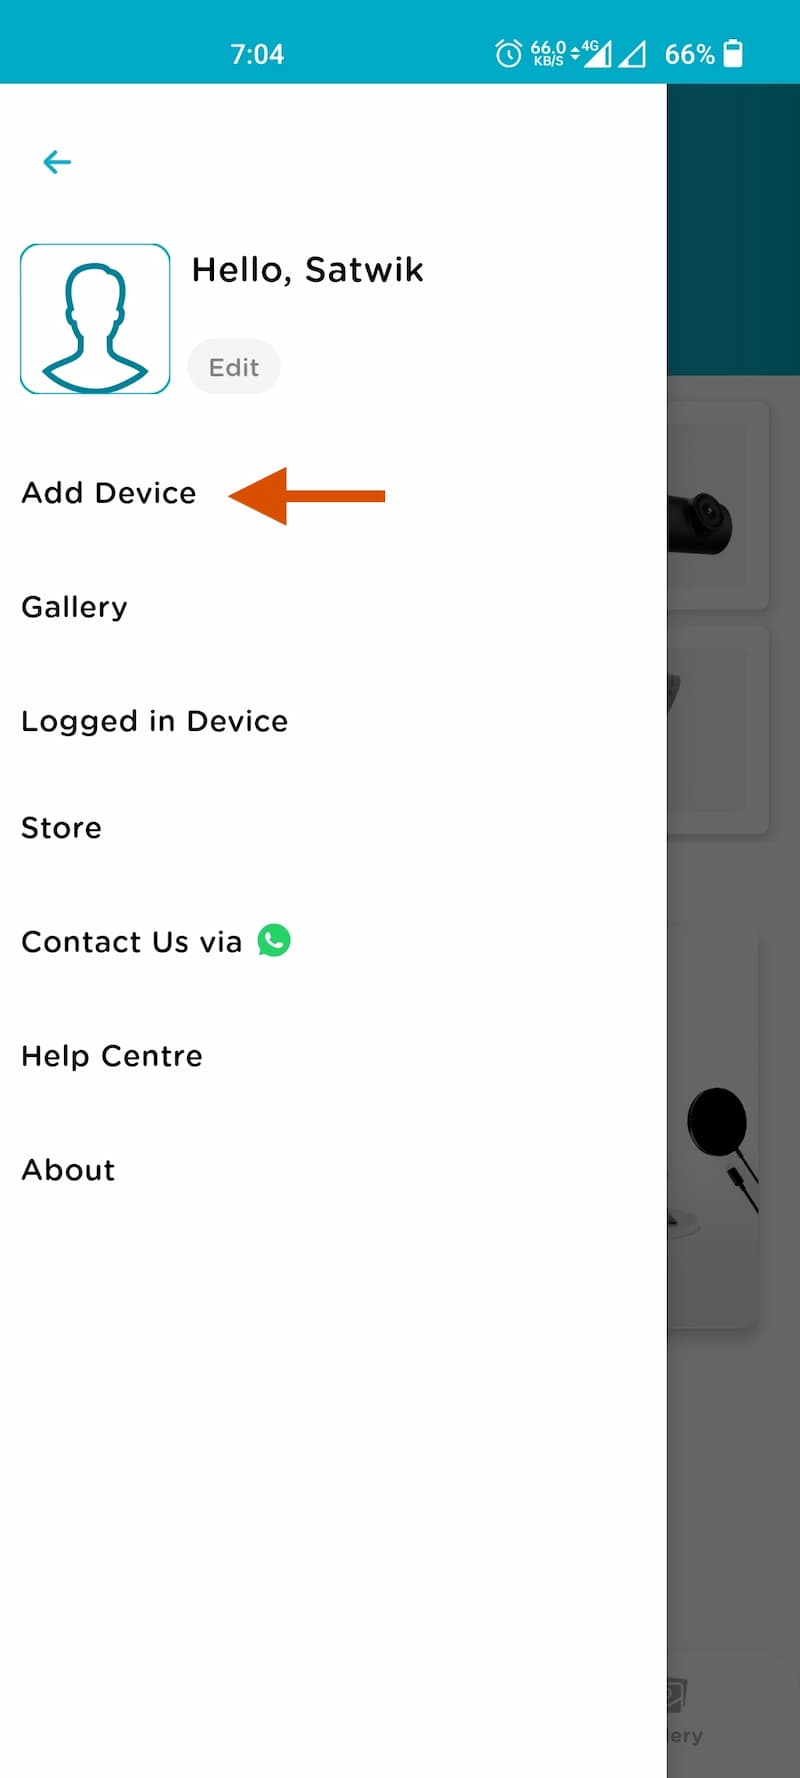
- Select Dashcam 4K from the list of available devices.
- If the Red light on the dashcam blinks, select Yes.

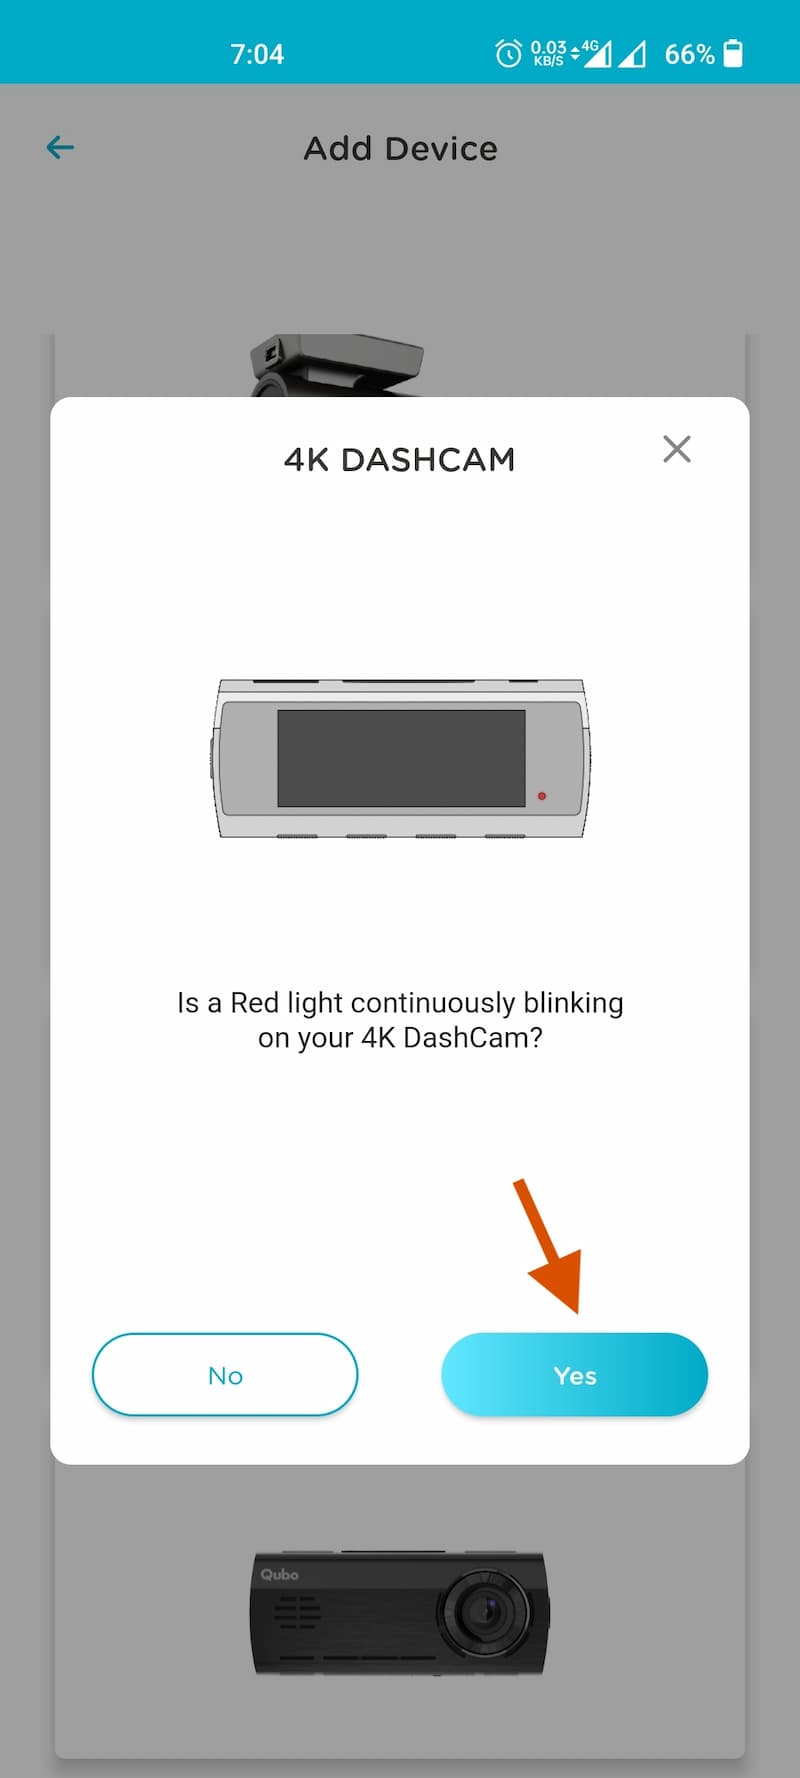
- You’ll get the System Permission Request – Location and Read/Write Storage. Approve it. It’s mandatory.
- Select the dashcam. The default password will be 12345678
- In the next screen, enter the Name of the dashcam (optional) and Password. The password will be 12345678. You can also set a different password if needed.
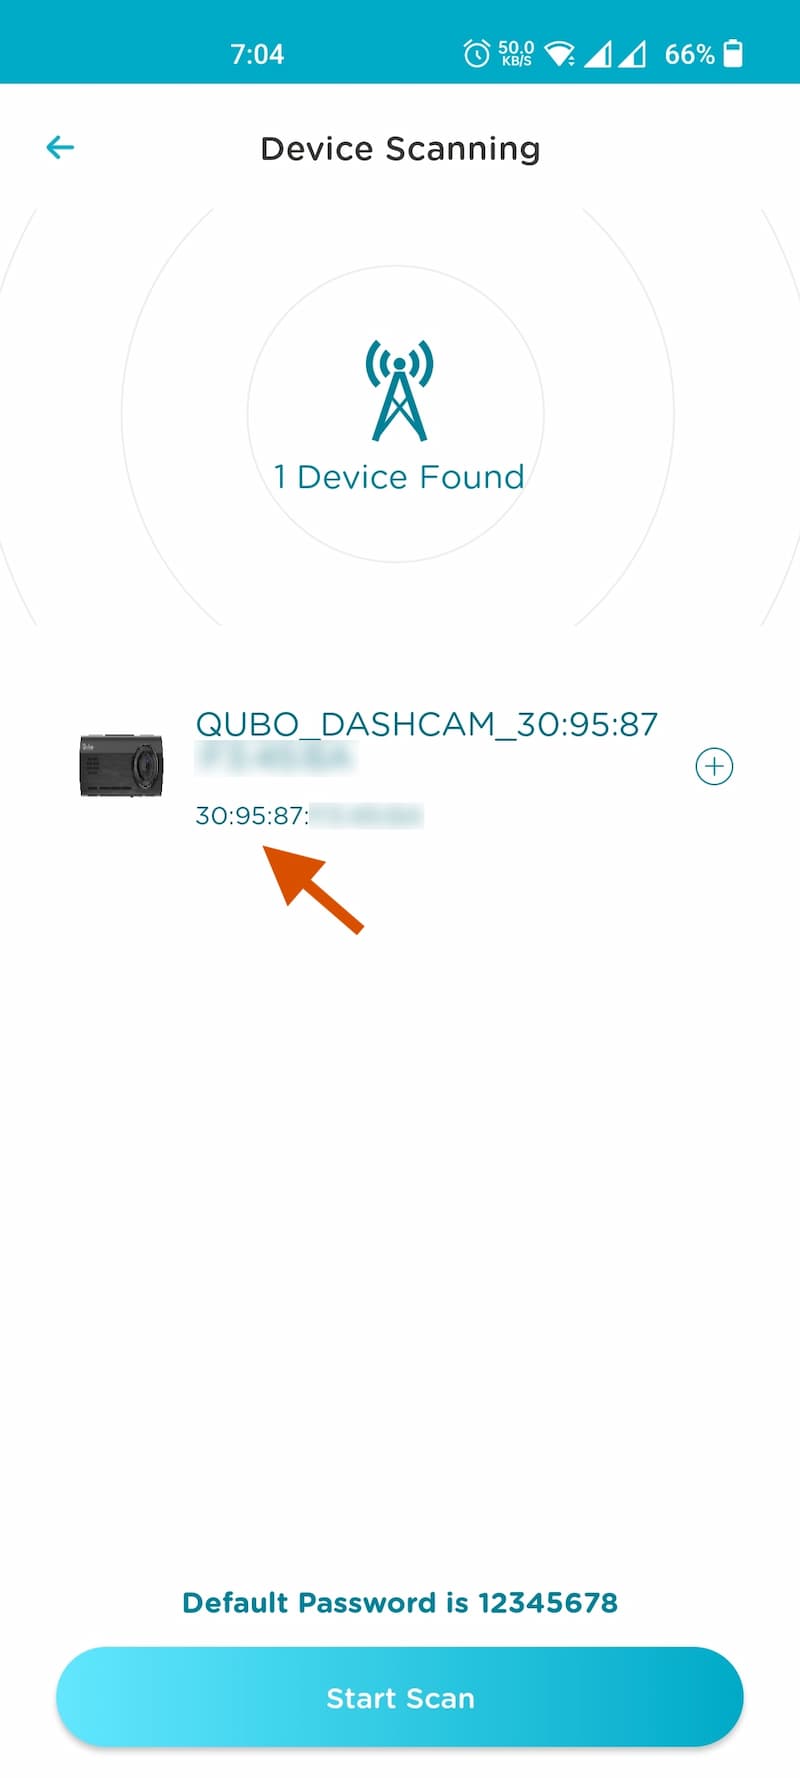
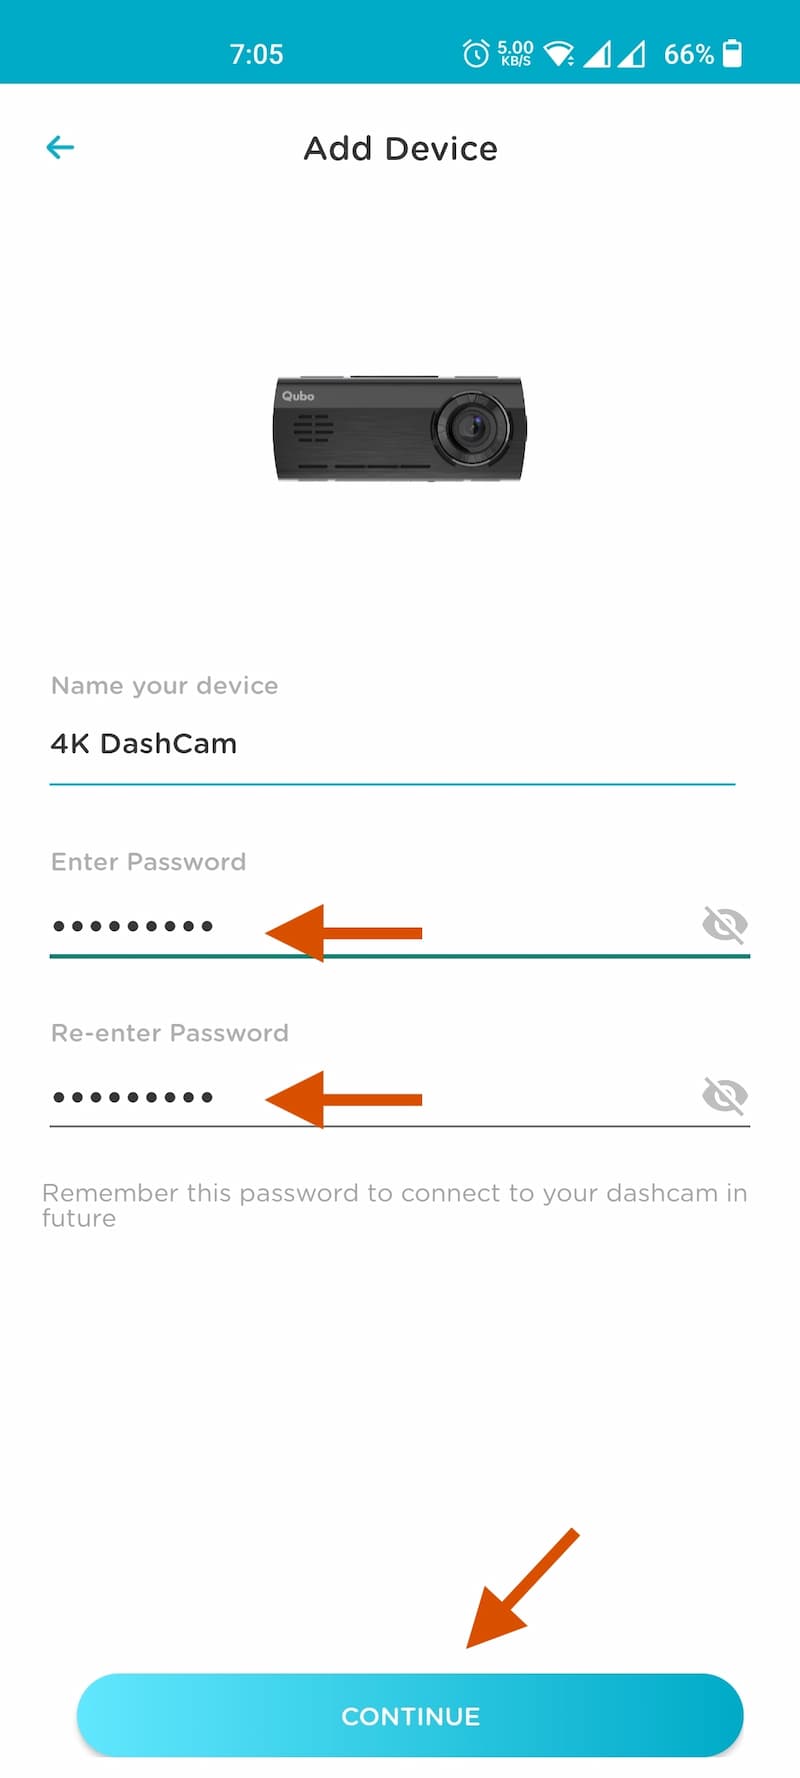
- Next, you’ll be asked to connect your phone to the Dashcam’s Wi-Fi network. Click on Setting‘.
- Connect to the Dashcam Wi-Fi network (Name starts with Qubo) and enter the Password.
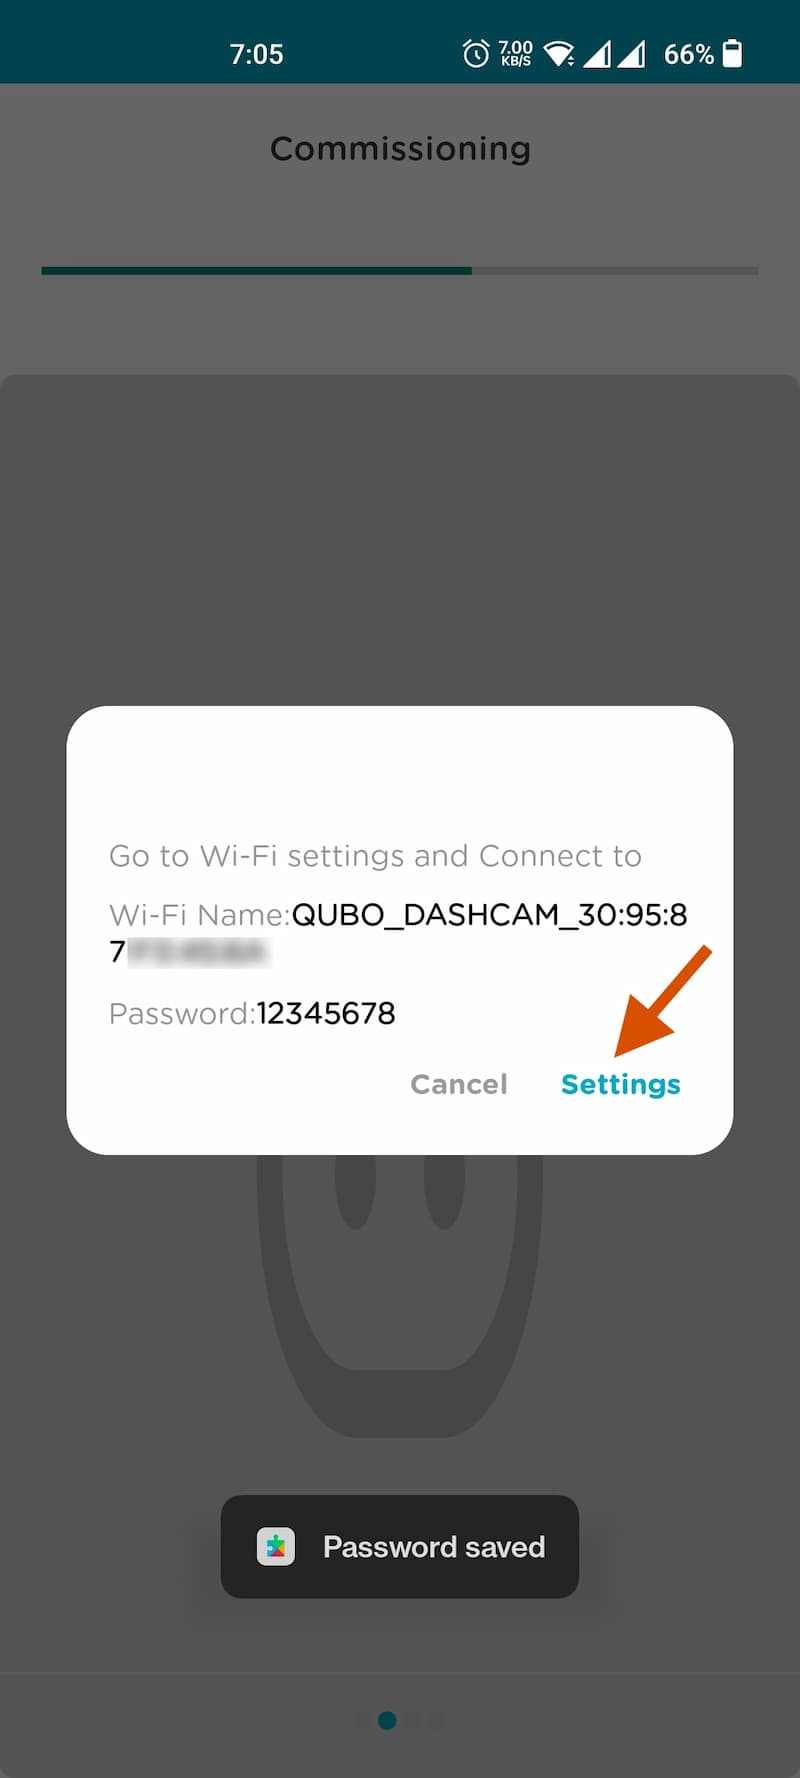
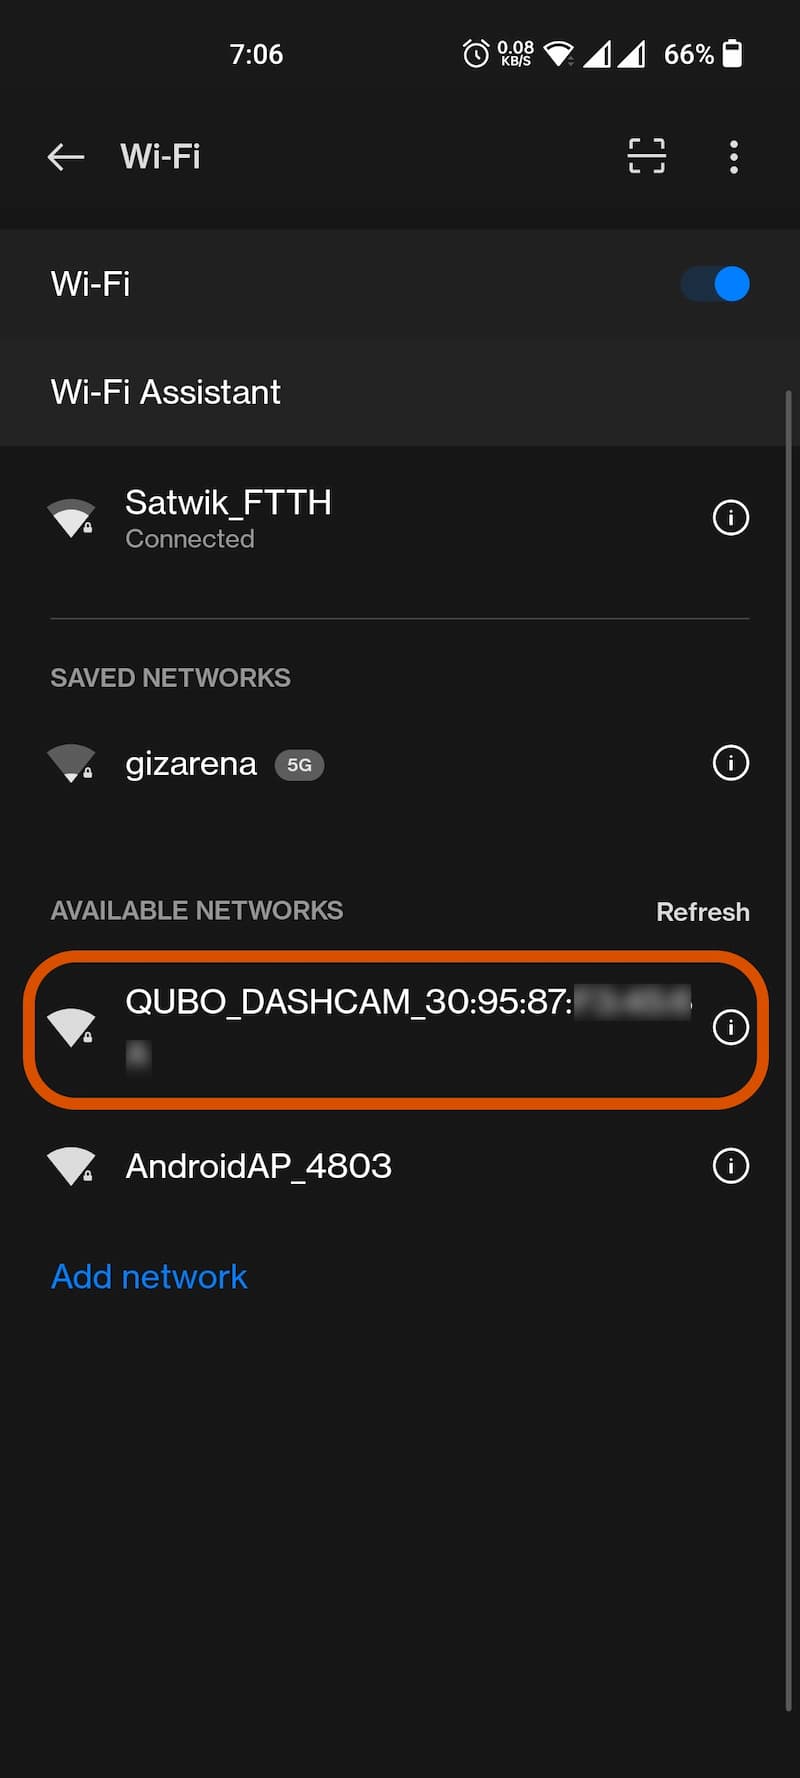
- After a successful connection, you’ll get voice feedback from Dashcam saying, Qubo dashcam is ready to use now.
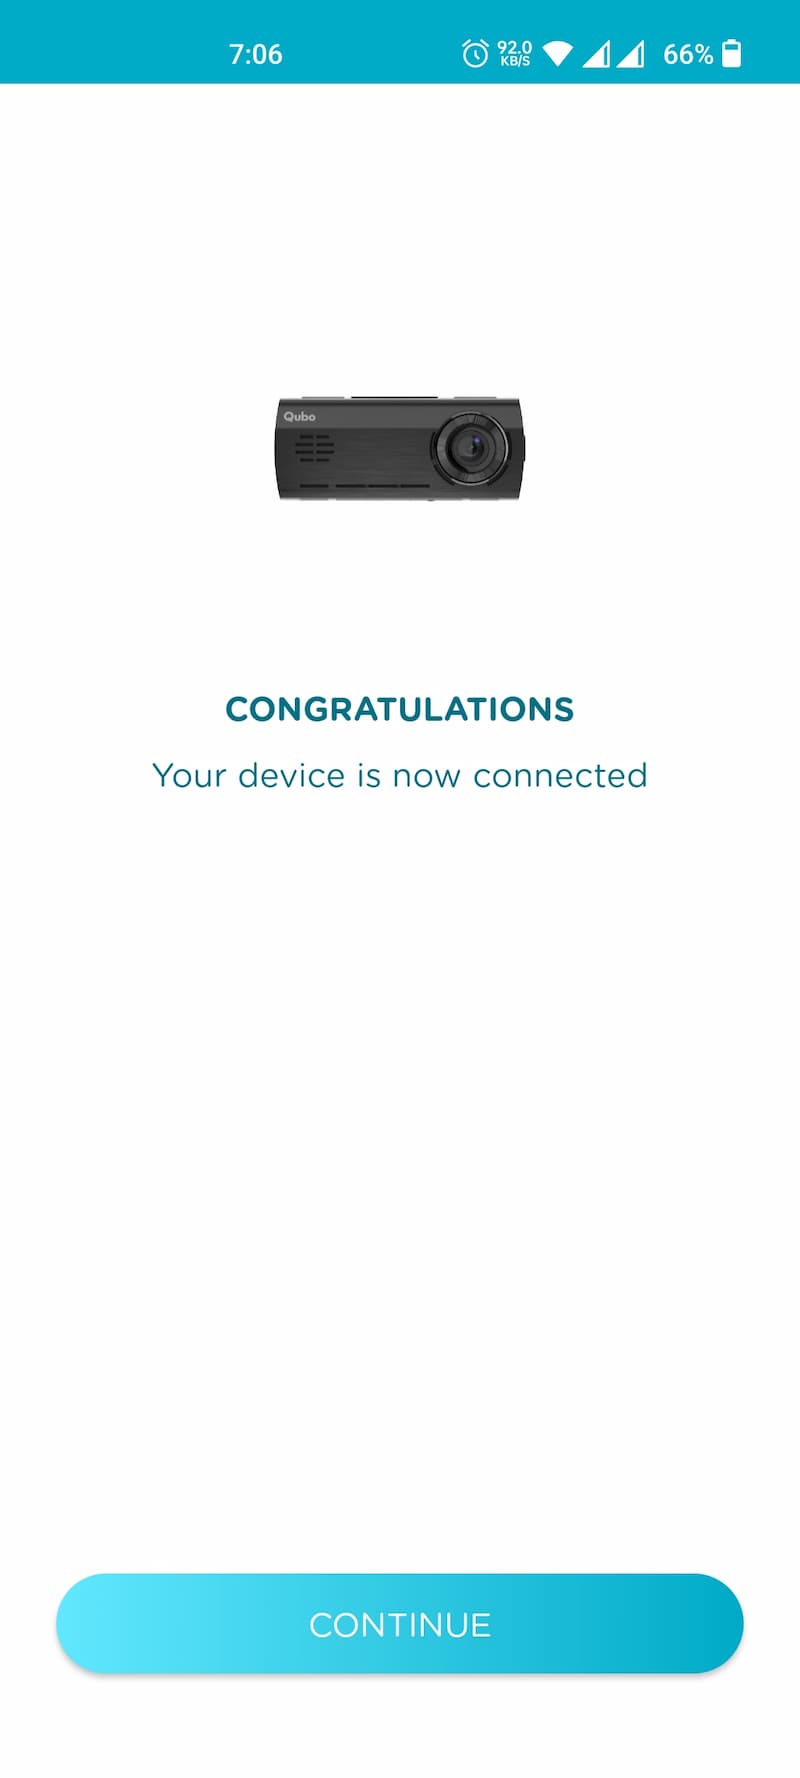
- You can also see the confirmation on the app’s screen. Select Continue.
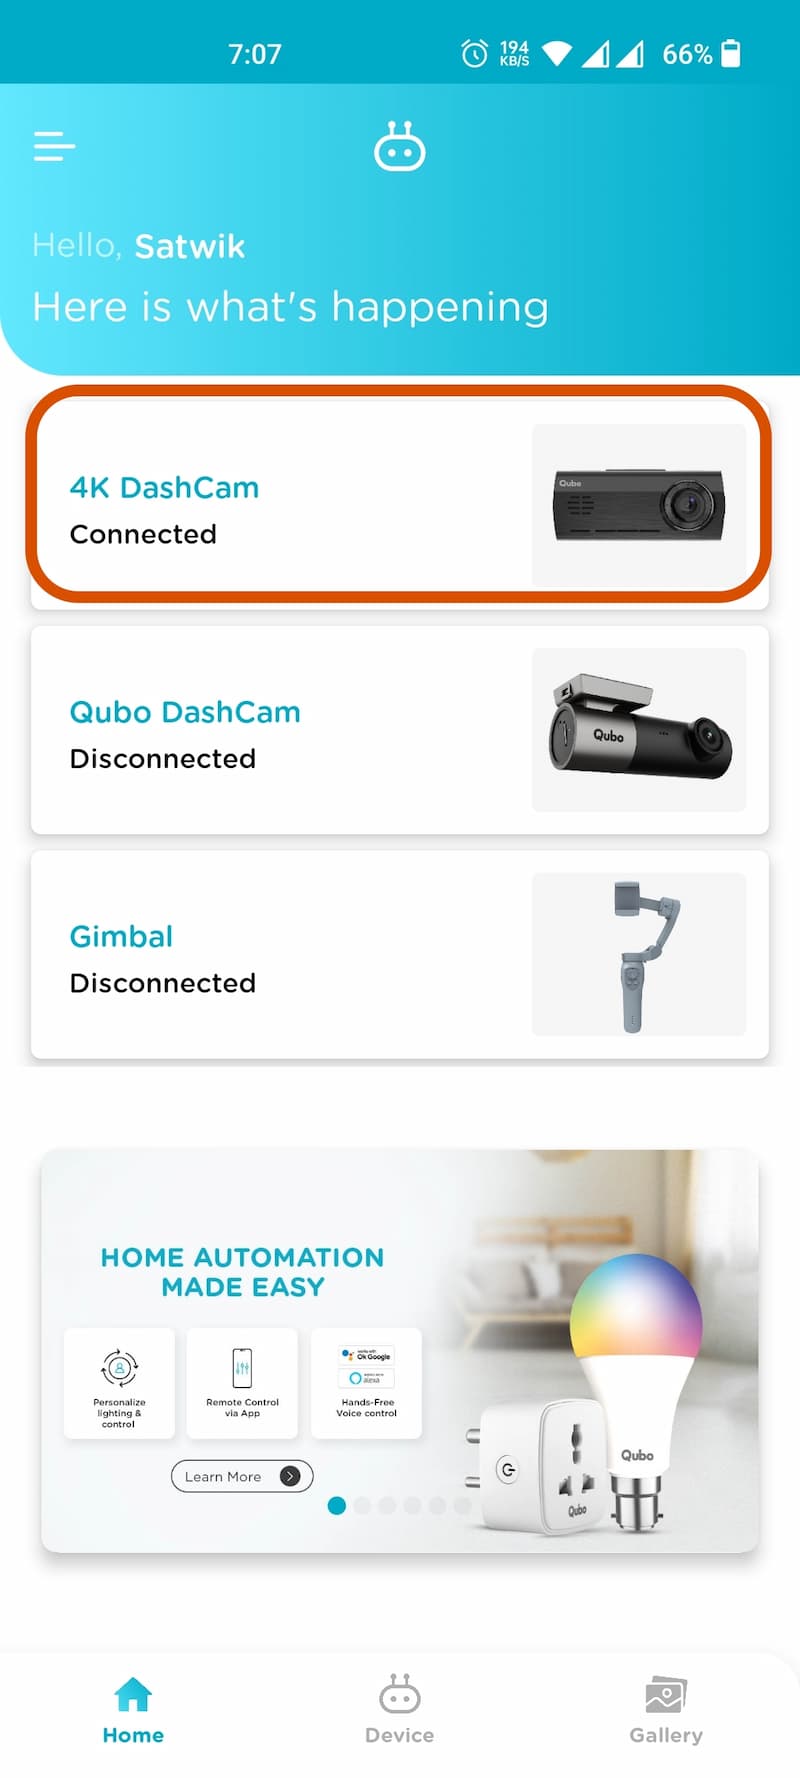
- That’s it. This completes the setup process.
Qubo Dashcam Pro 4K microSD Card
You need to insert the microSD card during the process or before starting the setup. The dashcam supports C10, U3, V30, and 4K UHDSD card types with 1 up to 1TB capacities. Ensure the microSD card is Class 10 or above, as the dashcam doesn’t support Class 4 microSD cards. You can use any Class 10 MicroSD card with capacities – 16GB, 32GB, 64GB, 128GB, 256GB, 512GB, and 1TB.
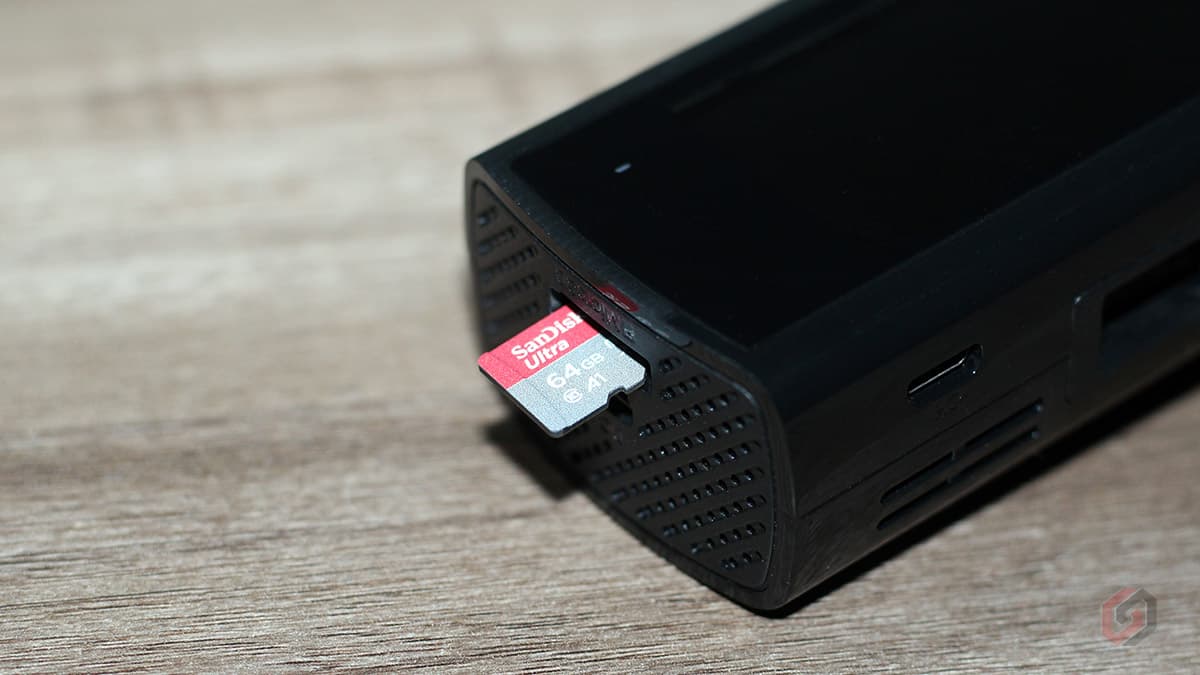
For better performance, use cards that support transfer speeds of at least 100MB/s. I have tested this device with SanDisk Ultra microSD UHS-I Card 64GB, 120MB/s, and the performance is very good. 4K recordings need large storage space, so do not use 16GB or 32GB. Use at least a 64GB card. A 64GB microSD card can store approximately 14 hours of continuous journey footage. The downloaded 1-minute 4K video clip will have an average file size of 160 MB.
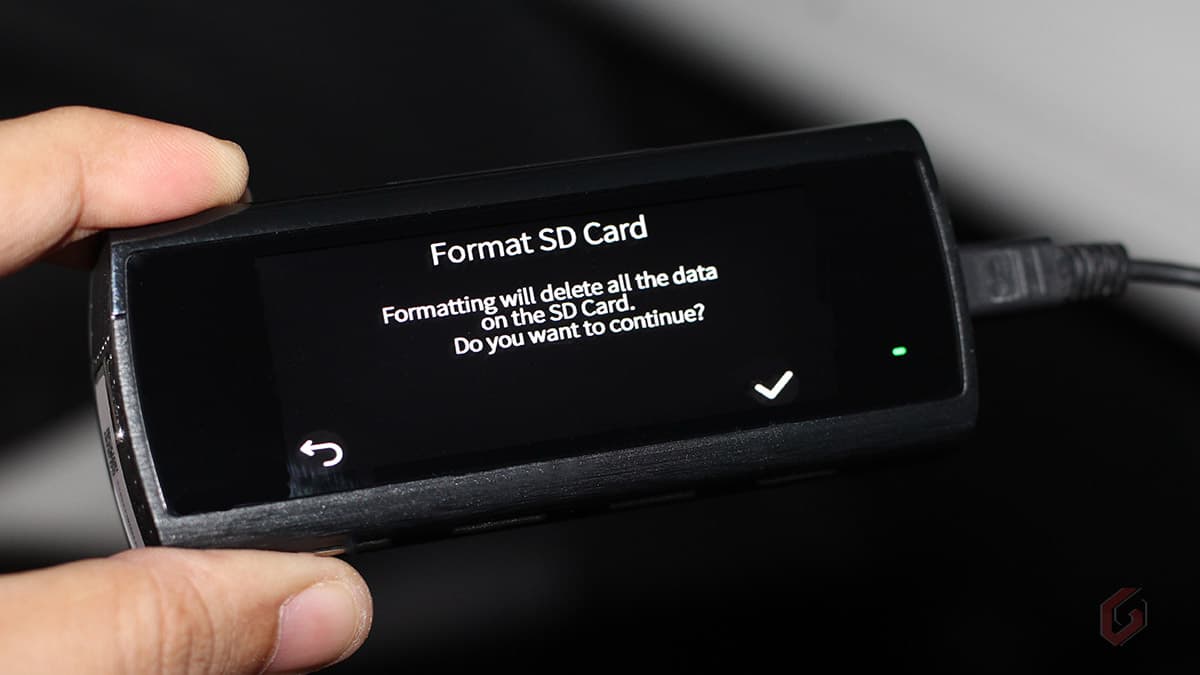
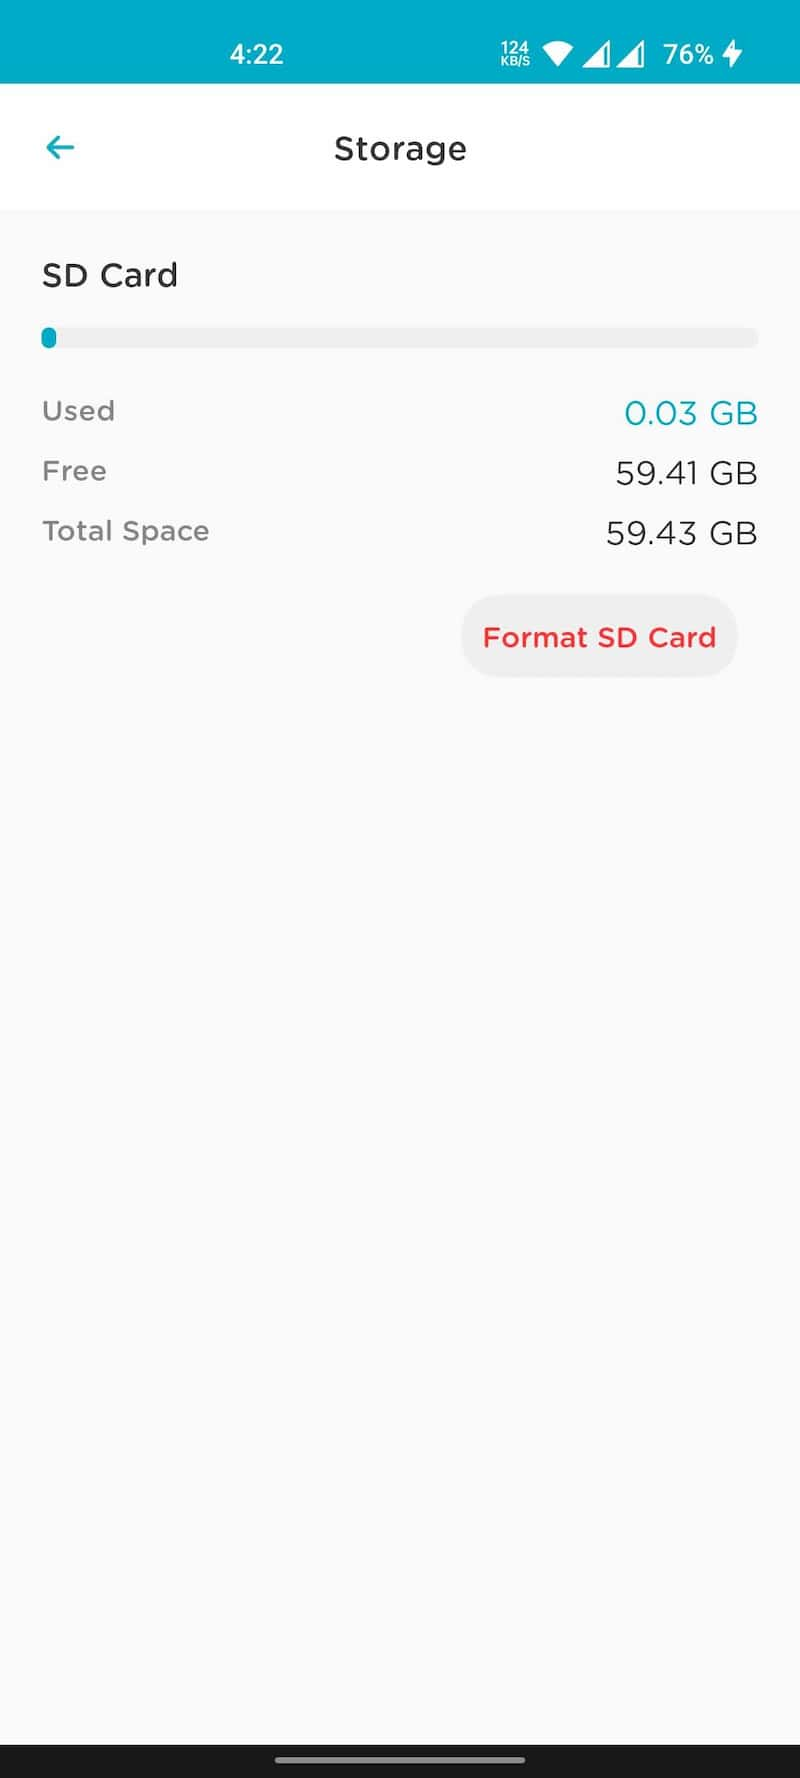
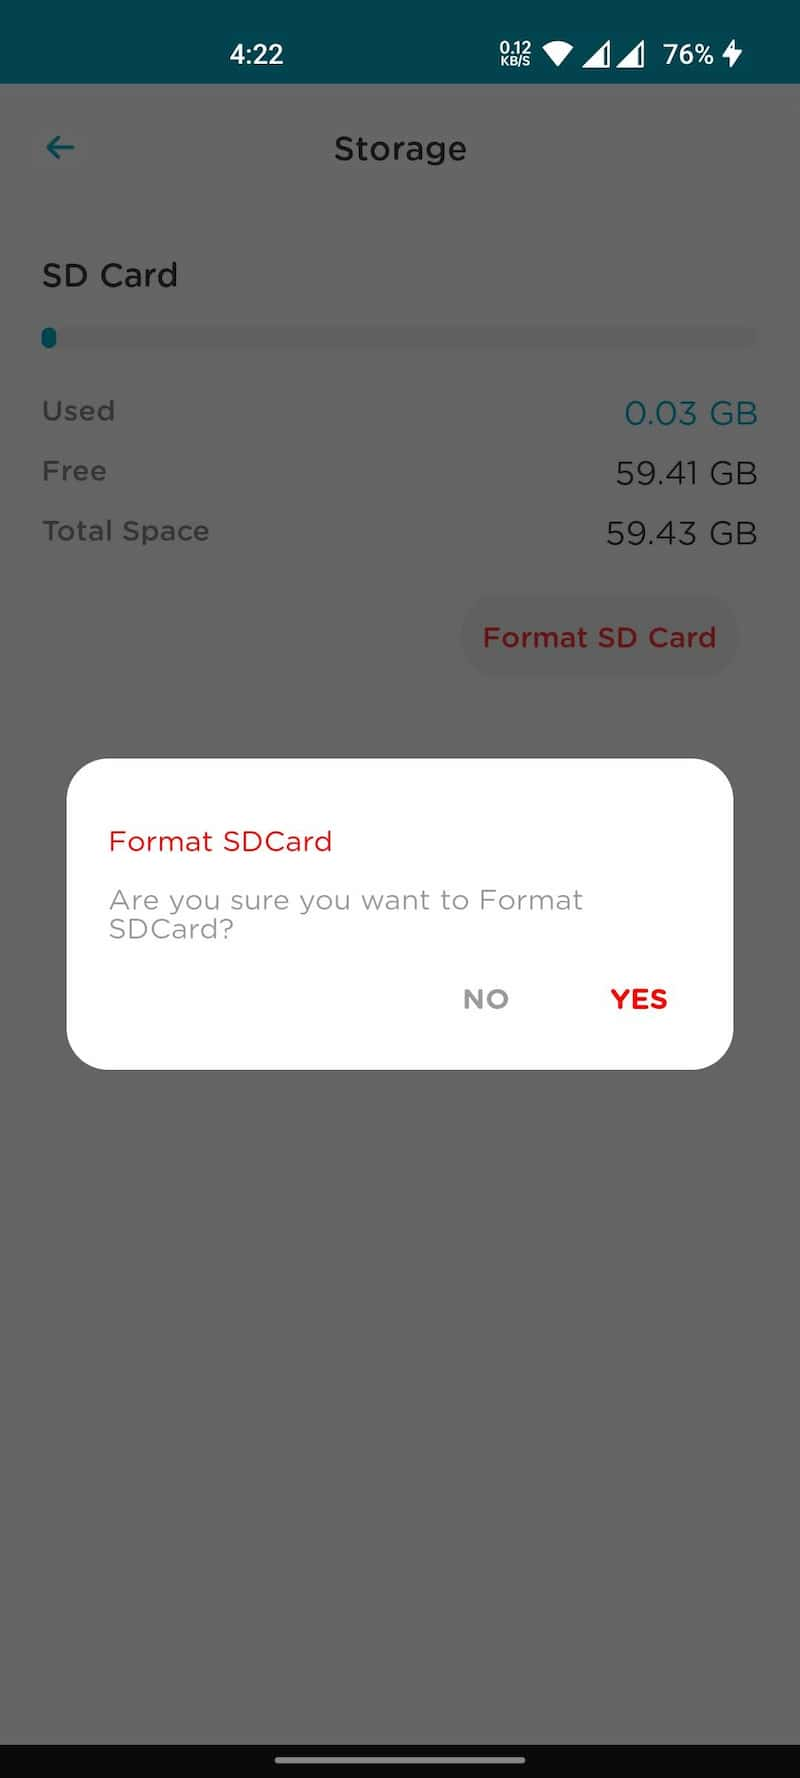
Once you insert the SD card, the dashcam will restart and try to recognize it. If the SD card is not formatted correctly, you’ll get voice feedback from the dashcam to format it. You can format the SD card from the dashcam or the Qubo Pro app.
Qubo Dashcam Pro 4K App Settings (Qubo Pro)
The Qubo Dashcam Pro 4K supports several features, most of which are controlled through the Qubo Pro app. To change the settings, open the QuboPro App and tap the Settings icon on the viewfinder.
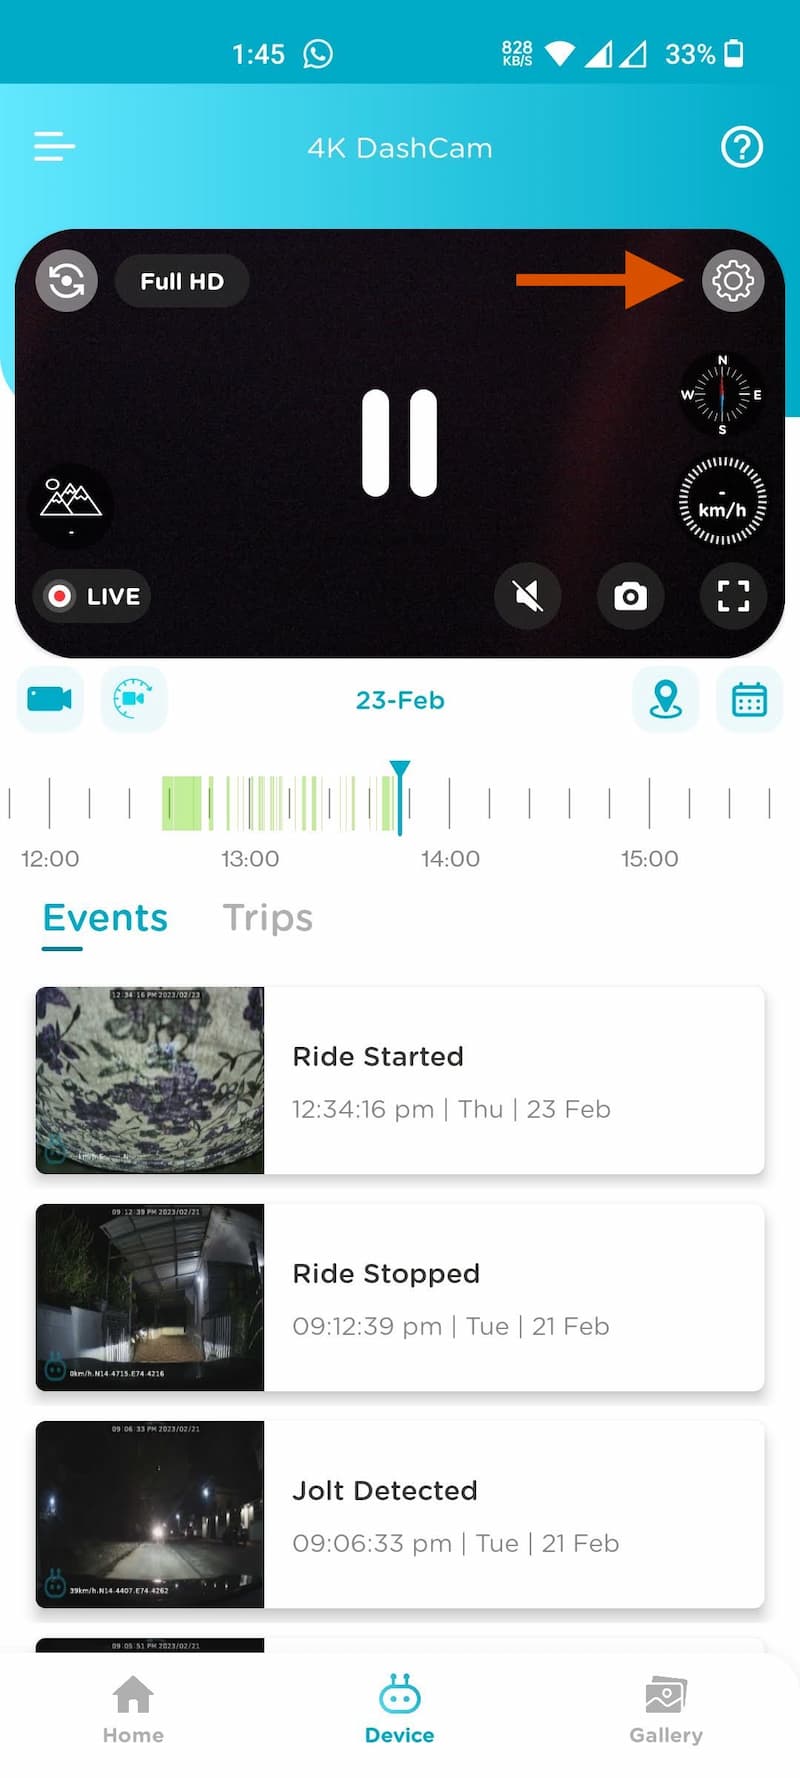
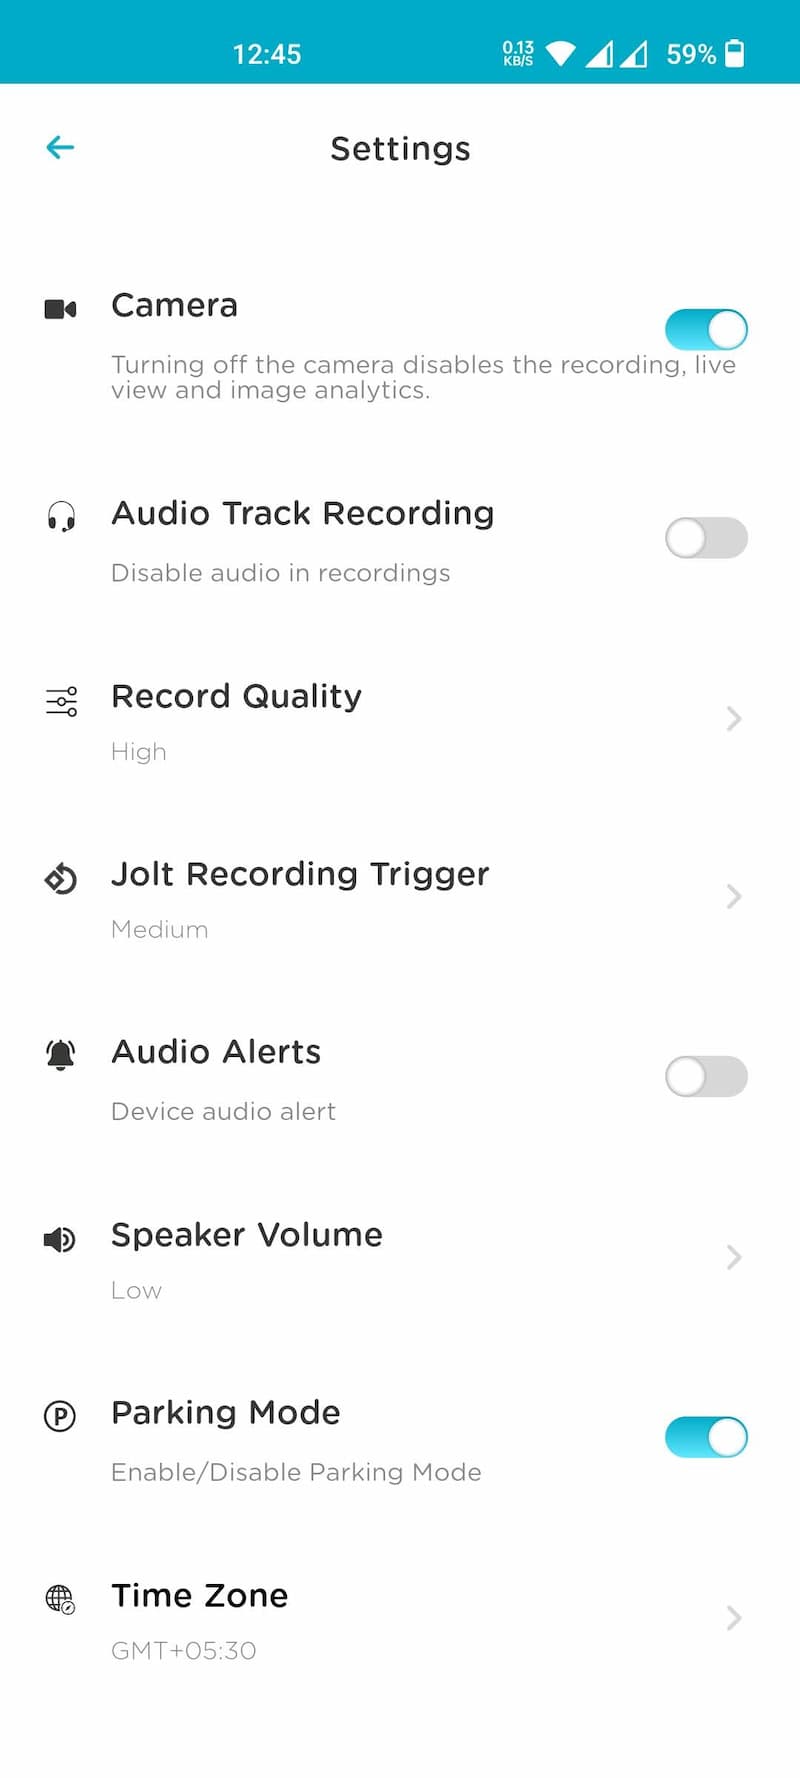
- Camera: Turn off the video recording.
- Audio Track Recording: Enable/Disable the in-cabin voice recording.
- Record Quality: High (4K) / Low (1080p).
- Jolt Recording Trigger: Set the Jolt sensitivity to Low/Medium/High.
- Audio Alerts: Turn On/Off the audio alert from Dashcam’s speaker.
- Speaker Volume: Set to Low/Medium/High.
- Parking Mode: Enable or disable parking mode. A hardware kit is required, and it has to be purchased separately.
- Time Zone: Set the time zone.
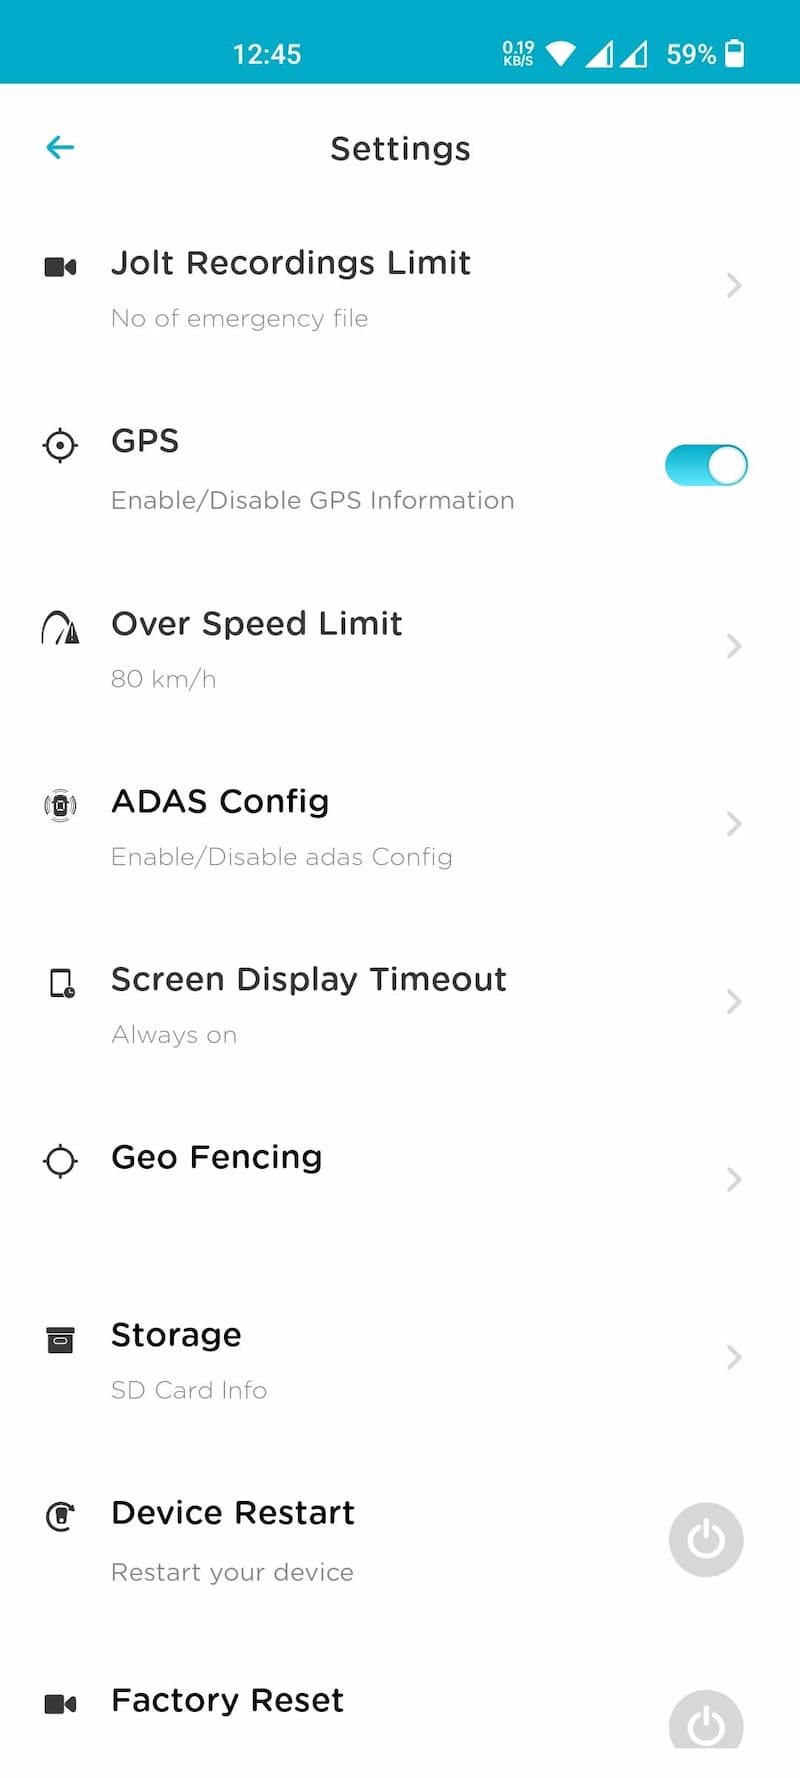
- Jolt Recordings Limit: Number of emergency recordings to keep on the SD card – 30/60/90.
- GPS: Turn On/Off GPS.
- Over Speed Limit: Set Overspeed alarm for 60, 80, 100, and 120.
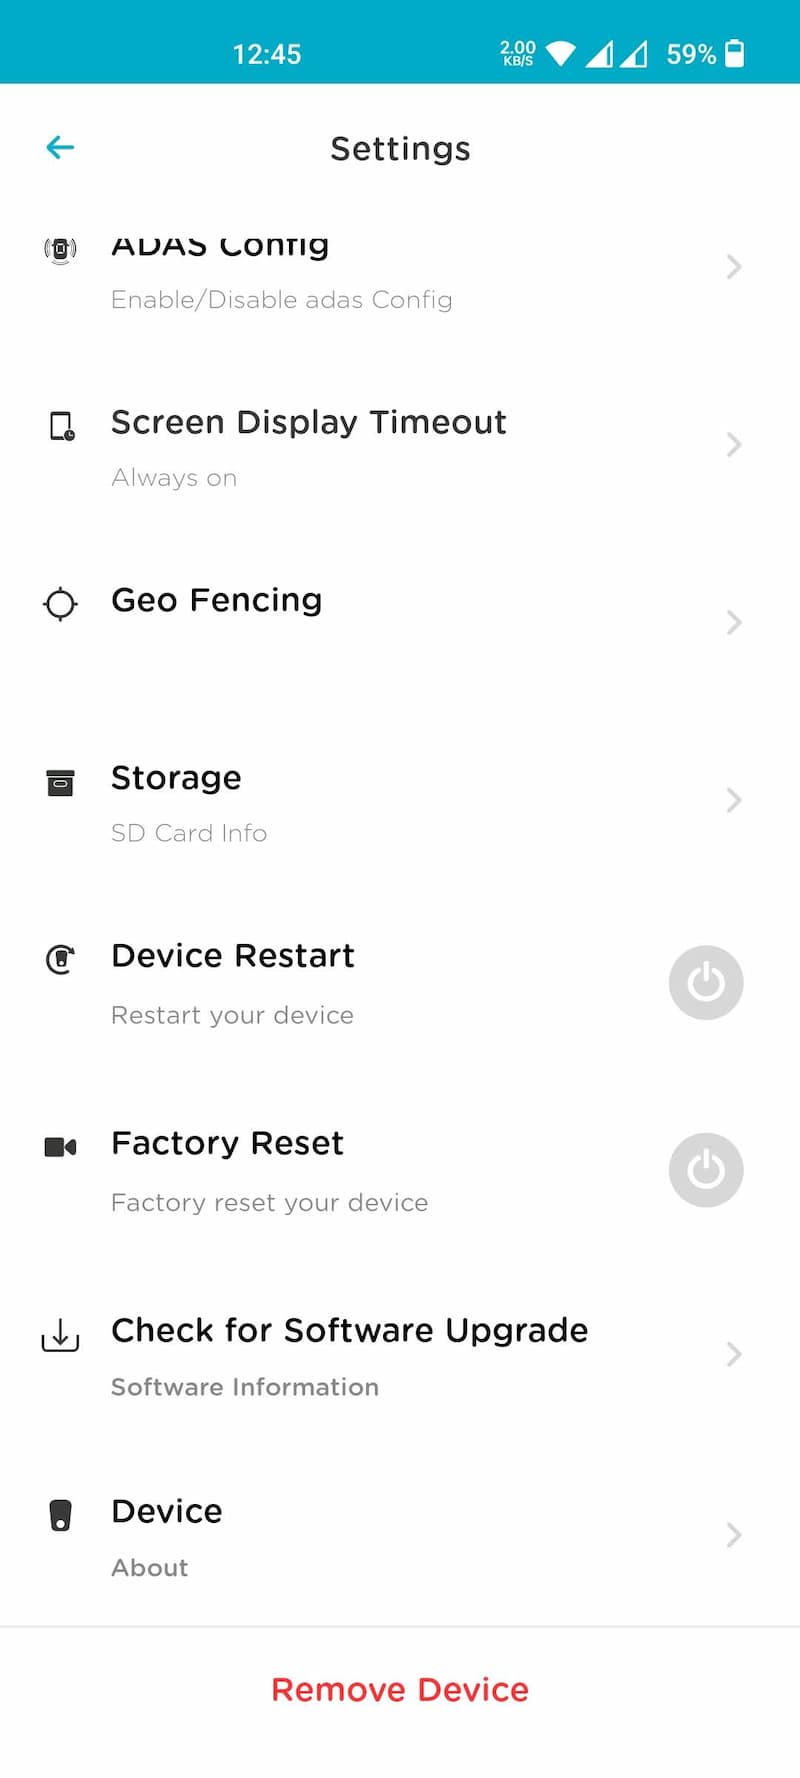
- ADAS Config: Turn On/Off ADAS. Enable/Disable individual features.
- Screen Display Timeout: Always On/ 30 sec / 60 sec.
- Geo Fencing: Set the Place, Perimeter, and Alert type.
- Storage: Check available storage and format the microSD card.
- Device Restart: Restart the device from the app in case of any issues.
- Check for Software Upgrade: Download and install the dashcam firmware if available.
- Device: Details about the device.
Qubo Dashcam Pro 4K Settings
Following are setting you can control right from the dashcam itself. These settings can be configured without connecting the dashcam to the QuboPro app.
- ADAS Settings – Enable/disable individual ADAS settings
- System Settings – Recording Quality, Jolt Recording Trigger, Screen Off Time, Volume, Parking Mode
- Format SD Card
- Factory Reset
- Device Info – MAC Address, Model Number, etc.
Qubo Dashcam Pro 4K Features
4K Video Recording
The key highlight of the Qubo Dashcam Pro 4K is continuous 4K video recording. The device features a Sony IMX415 8MP camera with f/1.8 aperture and 140° field-of-view. It supports two video resolutions – 4K (3840×2160) and 1K (1920×1080). The dashcam is also powered by 3D DNR (Digital Noise Reduction) and WDR (Wide Dynamic Range), which improve the video quality by reducing noise and adjusting exposure balance when recording in low-light conditions.
You can record on-demand recordings through the app, and the recorded footage is automatically downloaded to your phone. You can also capture an on-demand photo by tapping the Camera icon in the viewfinder. The calendar option will help you quickly find the videos on a particular date, while the GPS option will help you track your journey on the map. Furthermore, the Qubo Pro also shows the altitude from the sea level.
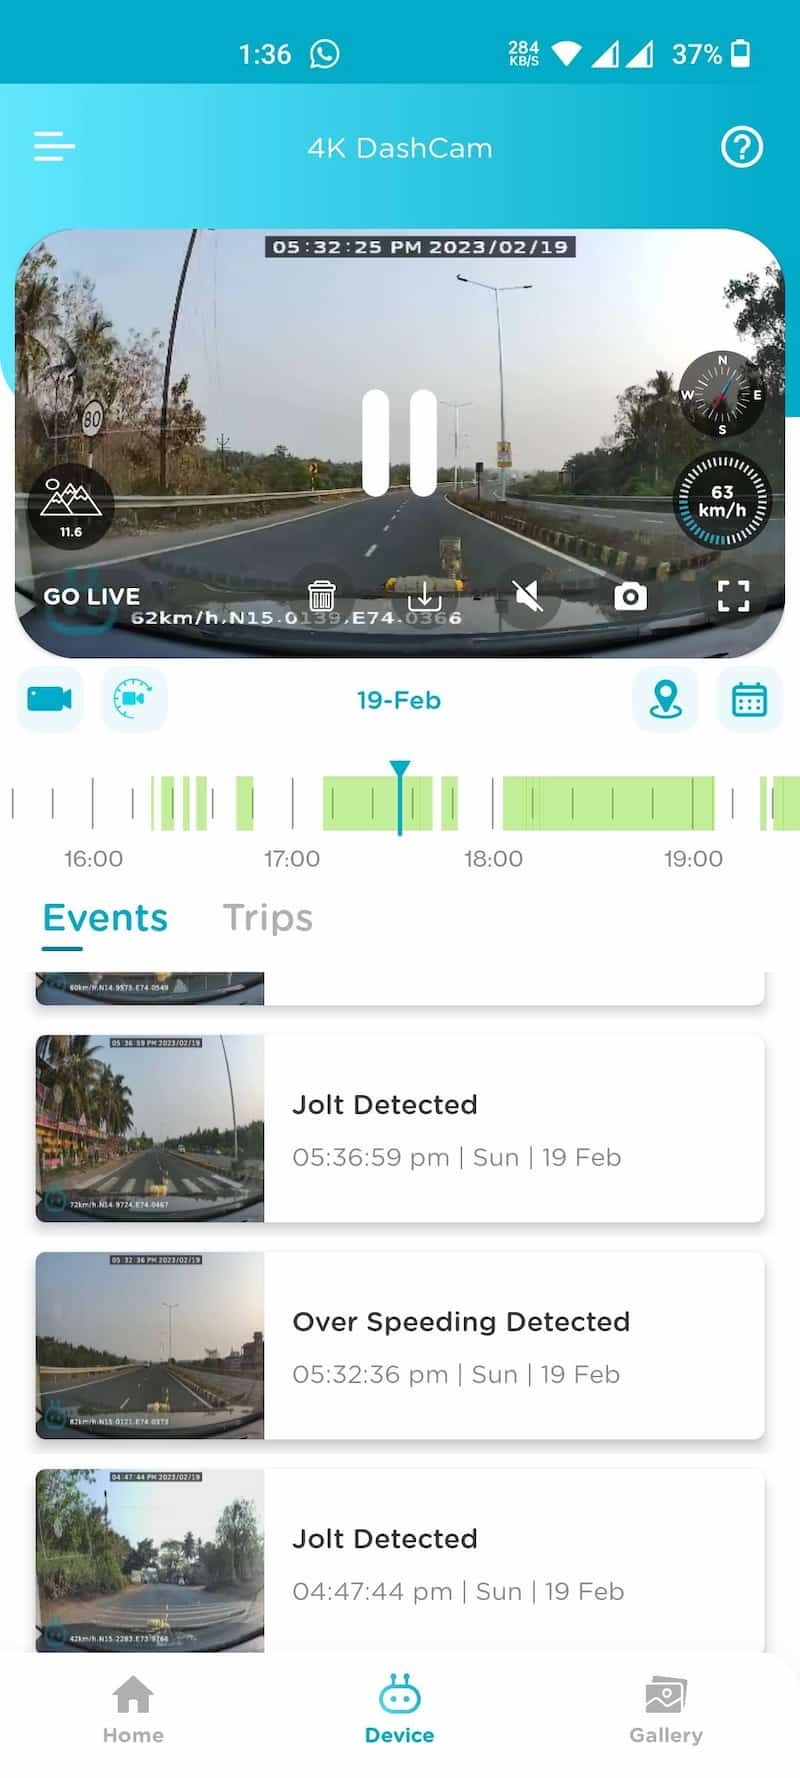
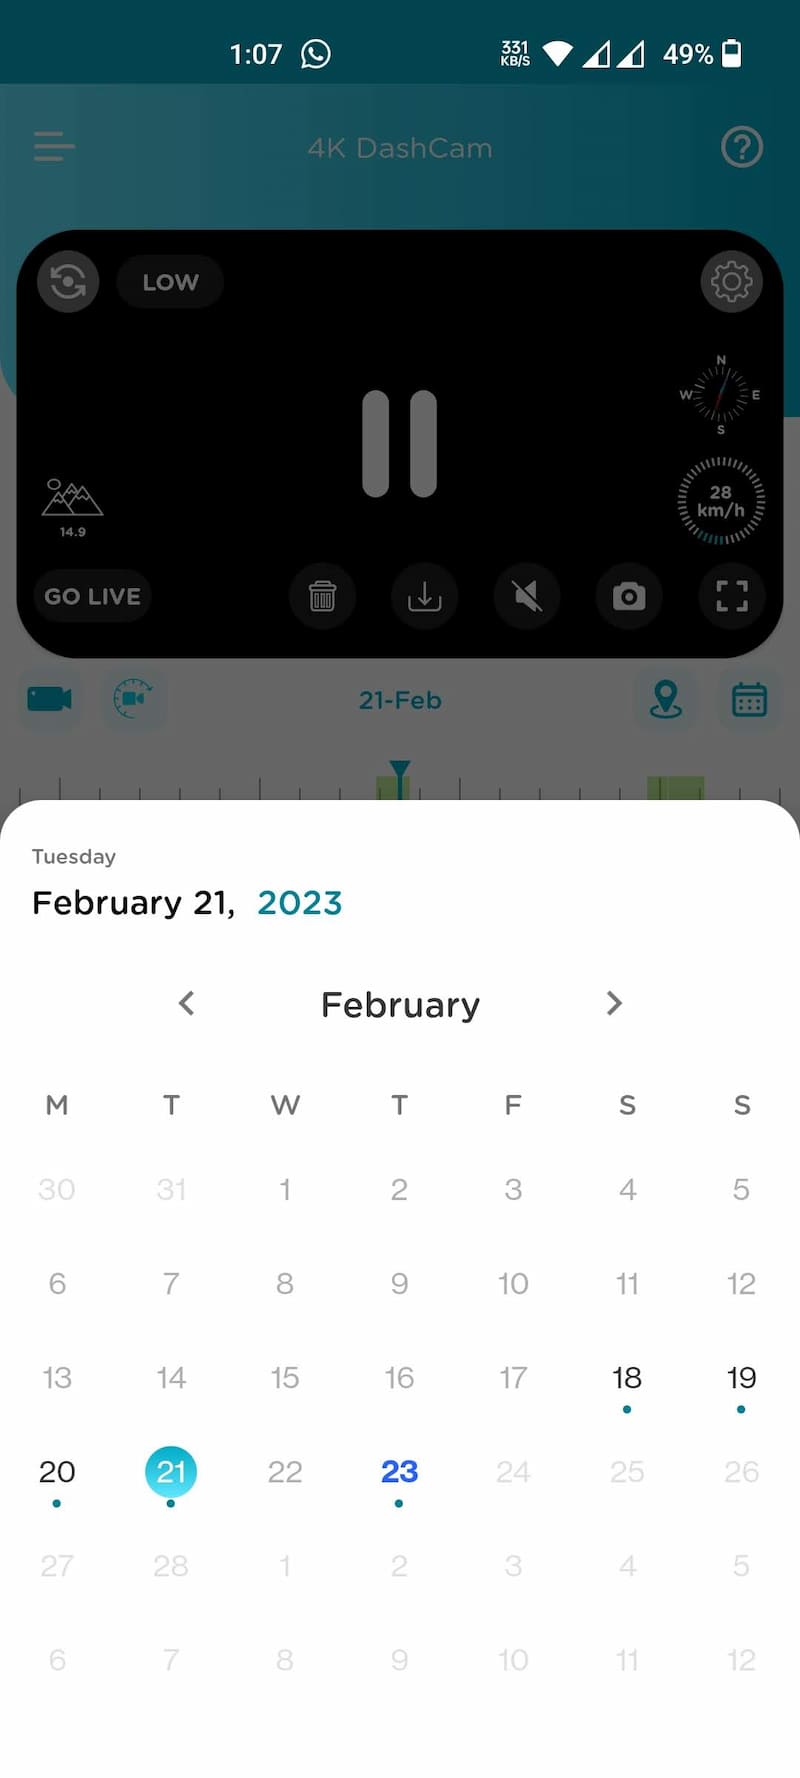
The App also includes a video timeline scrubber that helps you quickly search any part of the recorded video. Tapping on the Download icon will download the video to your phone. Also, in the app, you can only view the recorded videos in low resolution. 4K resolution can be viewed only when downloaded to your phone from the Qubo Pro App.

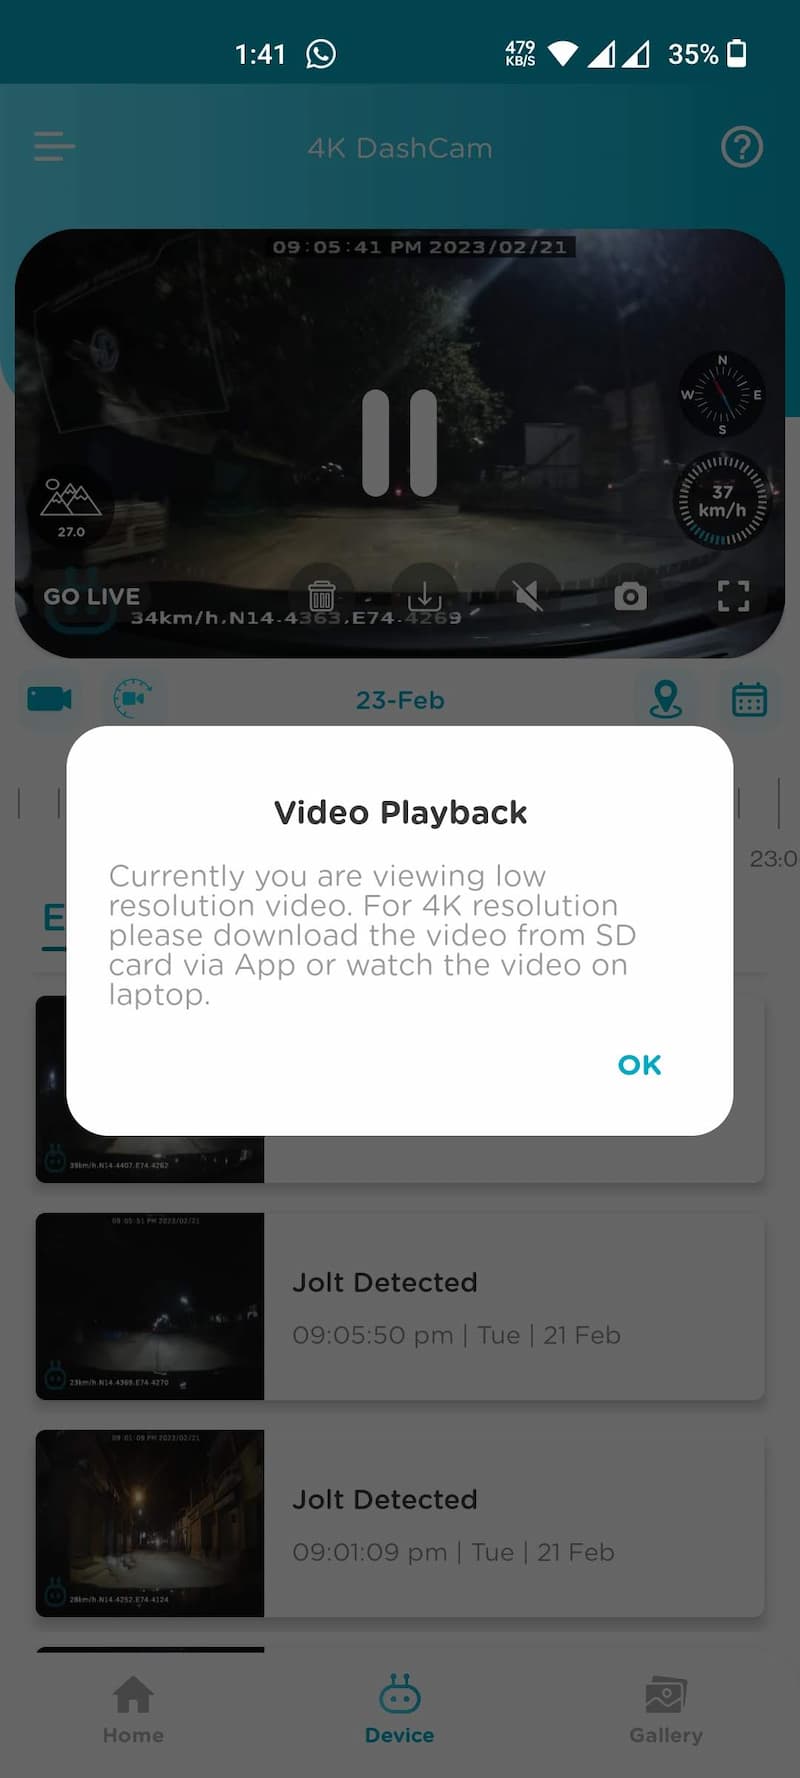
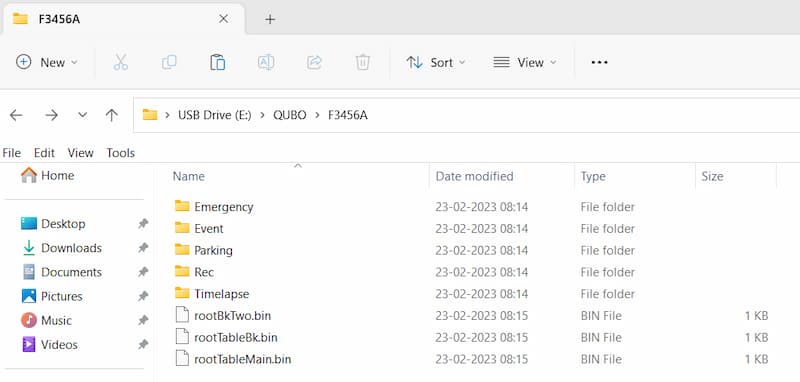
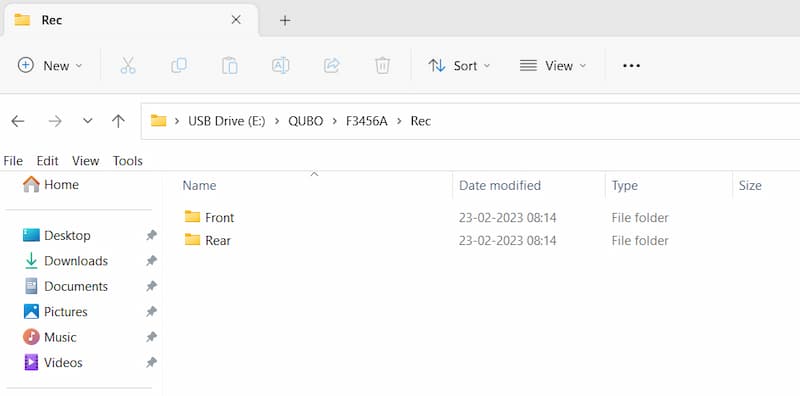
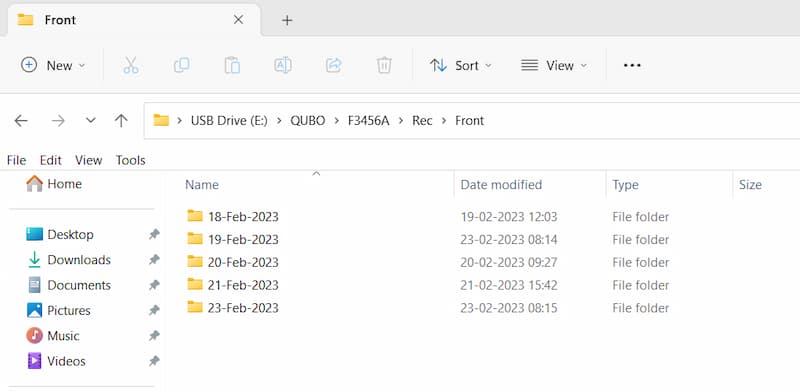
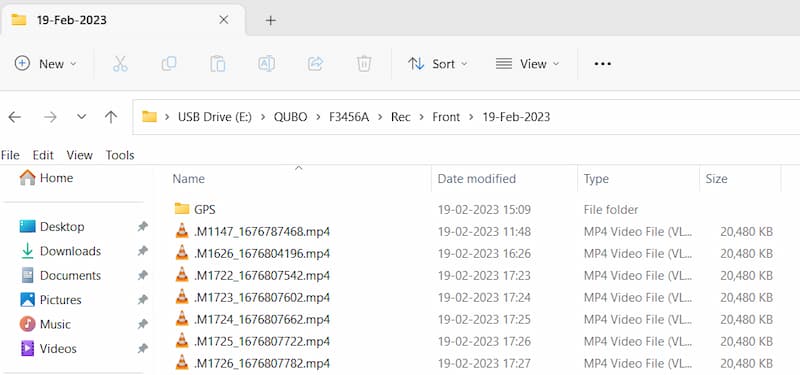
The Qubo Dashcam Pro doesn’t use any encryption or security for recorded videos. This means you can directly connect the microSD card to any PC or Laptop to view the recordings. All the recordings are stored separately in folders like Front, Rear, Emergency, Jolt, etc. You can easily find the videos faster than with the Qubo Pro app. All videos are stored in MP4 format.
Built-in GPS
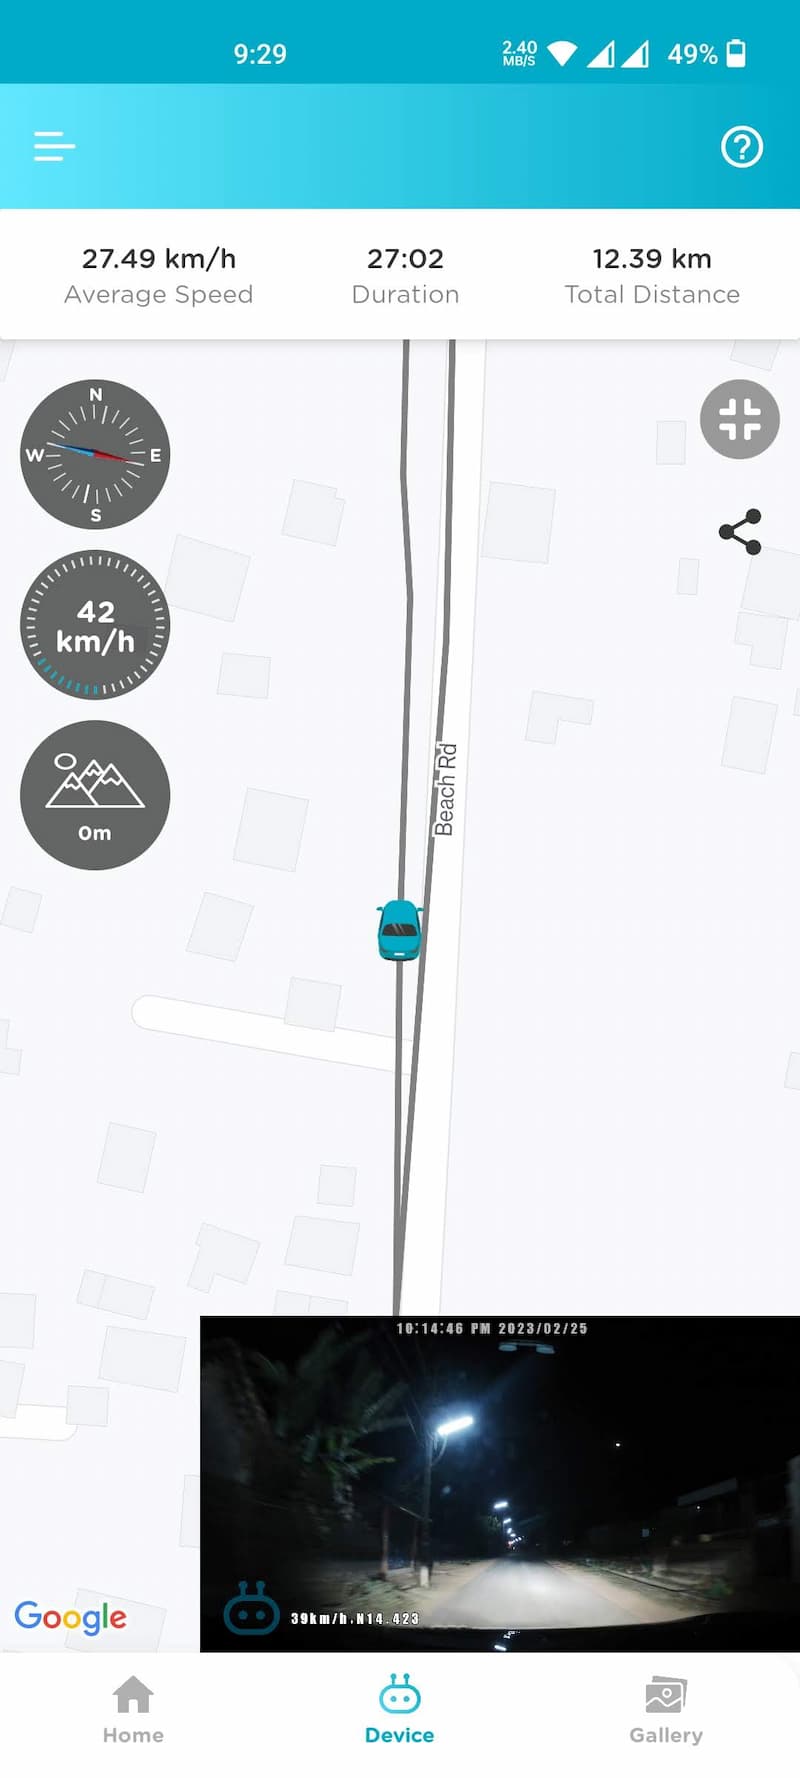
The dashcam includes a built-in GPS chip that tracks your driving route. You can accurately view your driving route and speed using the QuboPro App once you return from the trip. The data can only be synchronized when you are in your car. Note that you cannot view the car’s location remotely. You can enable or disable GPS tracking from Settings -> GPS.

Trip Logs
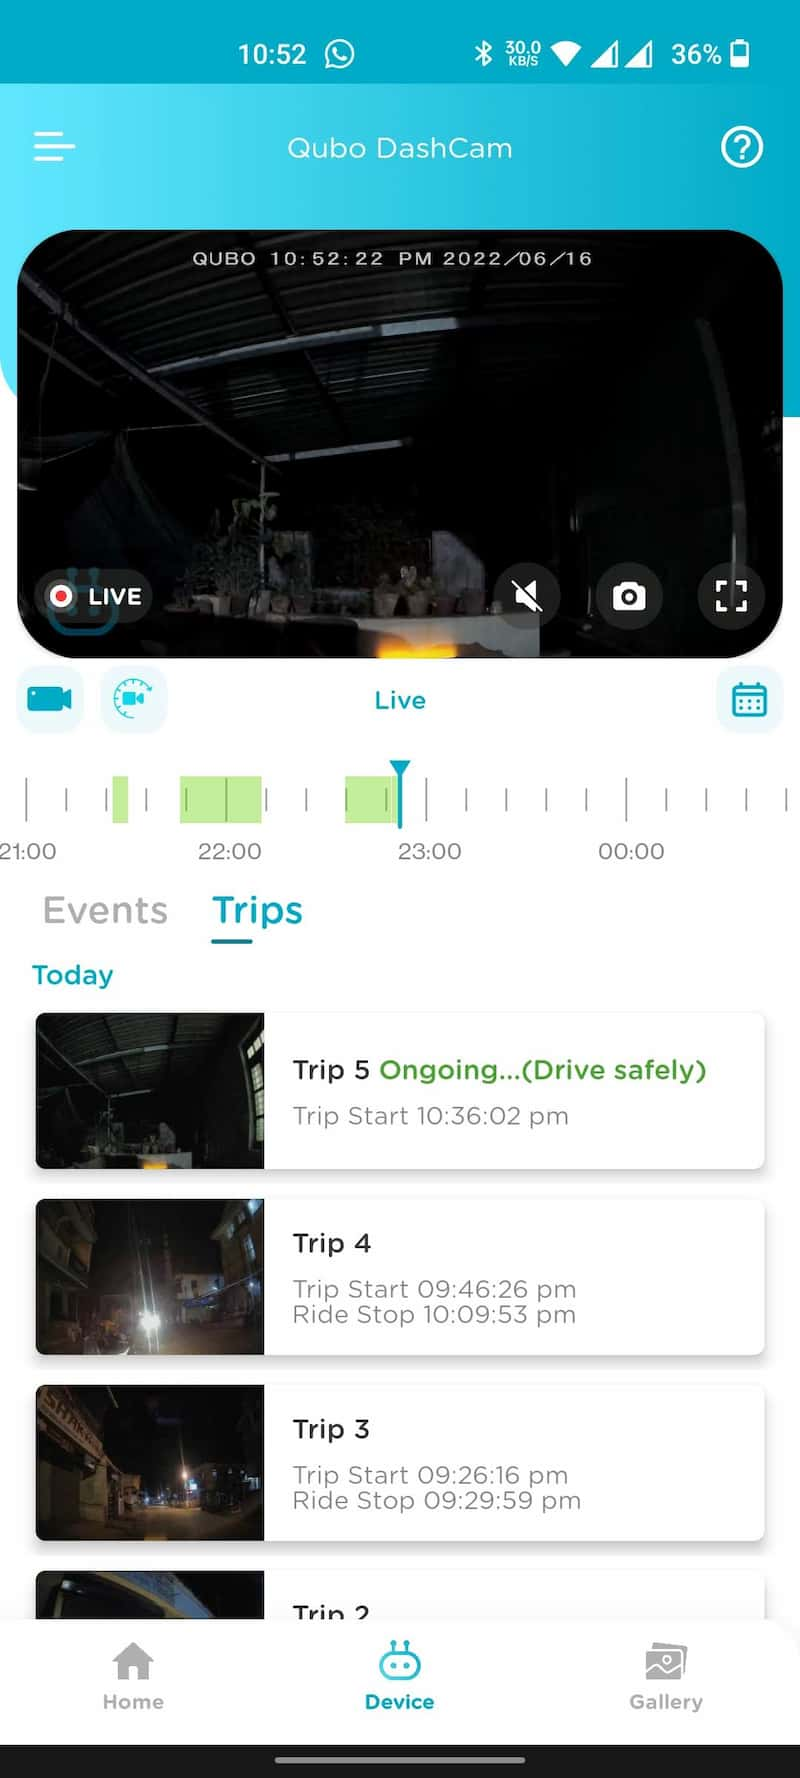
Like the 1080p variant, the 4K variant also supports continuous video recording. When your car’s ignition is turned on, the Dashcam begins recording immediately and stops when the car is stopped. In the event that you restart the car’s ignition within five minutes, the recording will remain part of the same trip. The entire recording is considered one trip. You can view the trip logs on the app under the Trips tab.
Timeline Scrubber allows you to access recordings from the dashcam once you connect it to your app. A major downside of the dashcam is its limited clip length. There is only one minute of clip length supported by the dashcam. So if you have a five-minute trip, you will need to download five separate clips.
Smart Event
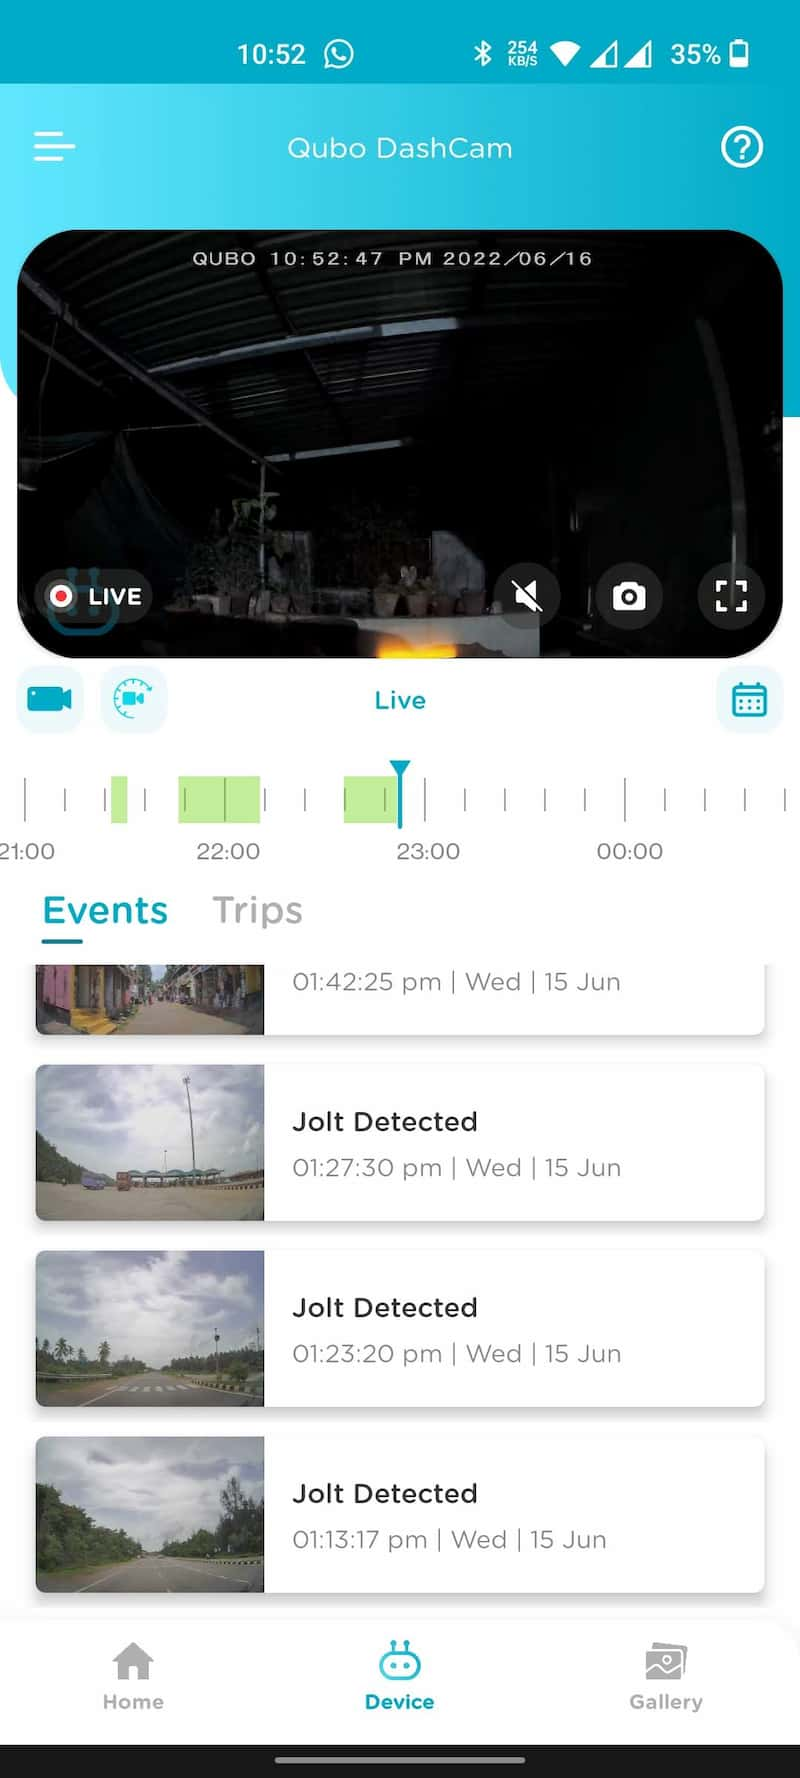
The Qubo Dashcam Pro 4K has a built-in G-Force sensor that records videos separately after an incident, such as a collision, bump, or any kind of accident. In Settings, you can choose to set the sensor’s sensitivity (Settings-> Jolt Recording Trigger). Under this option, you can select the sensor’s sensitivity to detect events.
For example, if it is set to ‘high’, it will detect even a slight inconvenience, while if it is set to ‘low’, it will detect only major events. With the sensitivity set to High, the dashcam detects even minor potholes, which might annoy you if you drive on rough roads. It not only alerts you for minor bumps but also increases the number of Jolt recordings. So, set the sensitivity based on the road condition you are traveling. I found Medium sensitivity works better in almost all conditions of the road.
Journey Time-Lapse
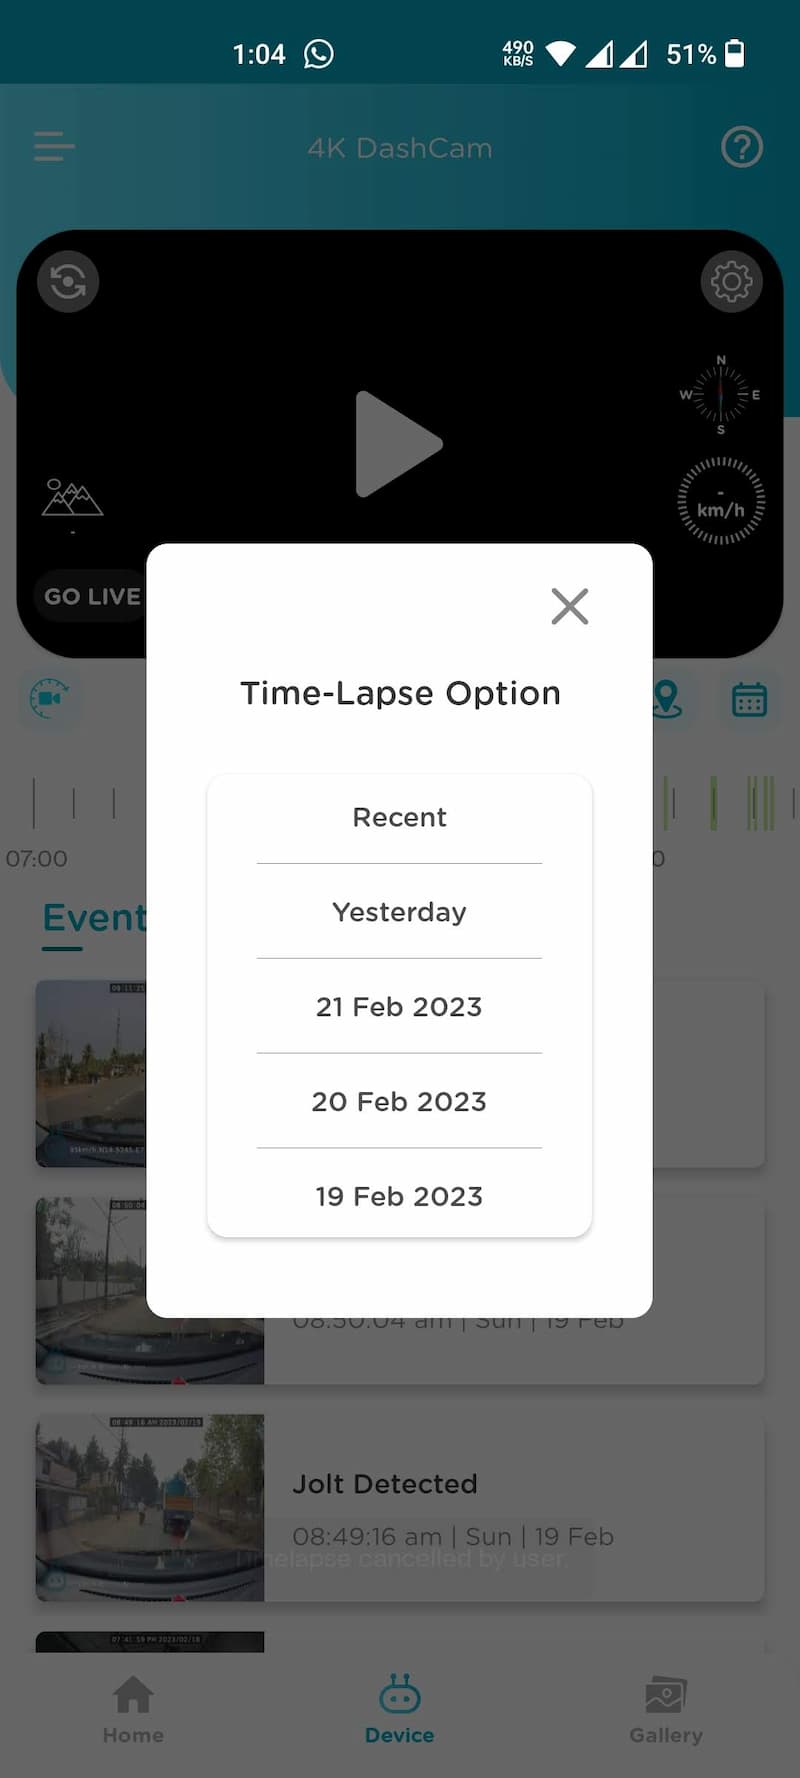
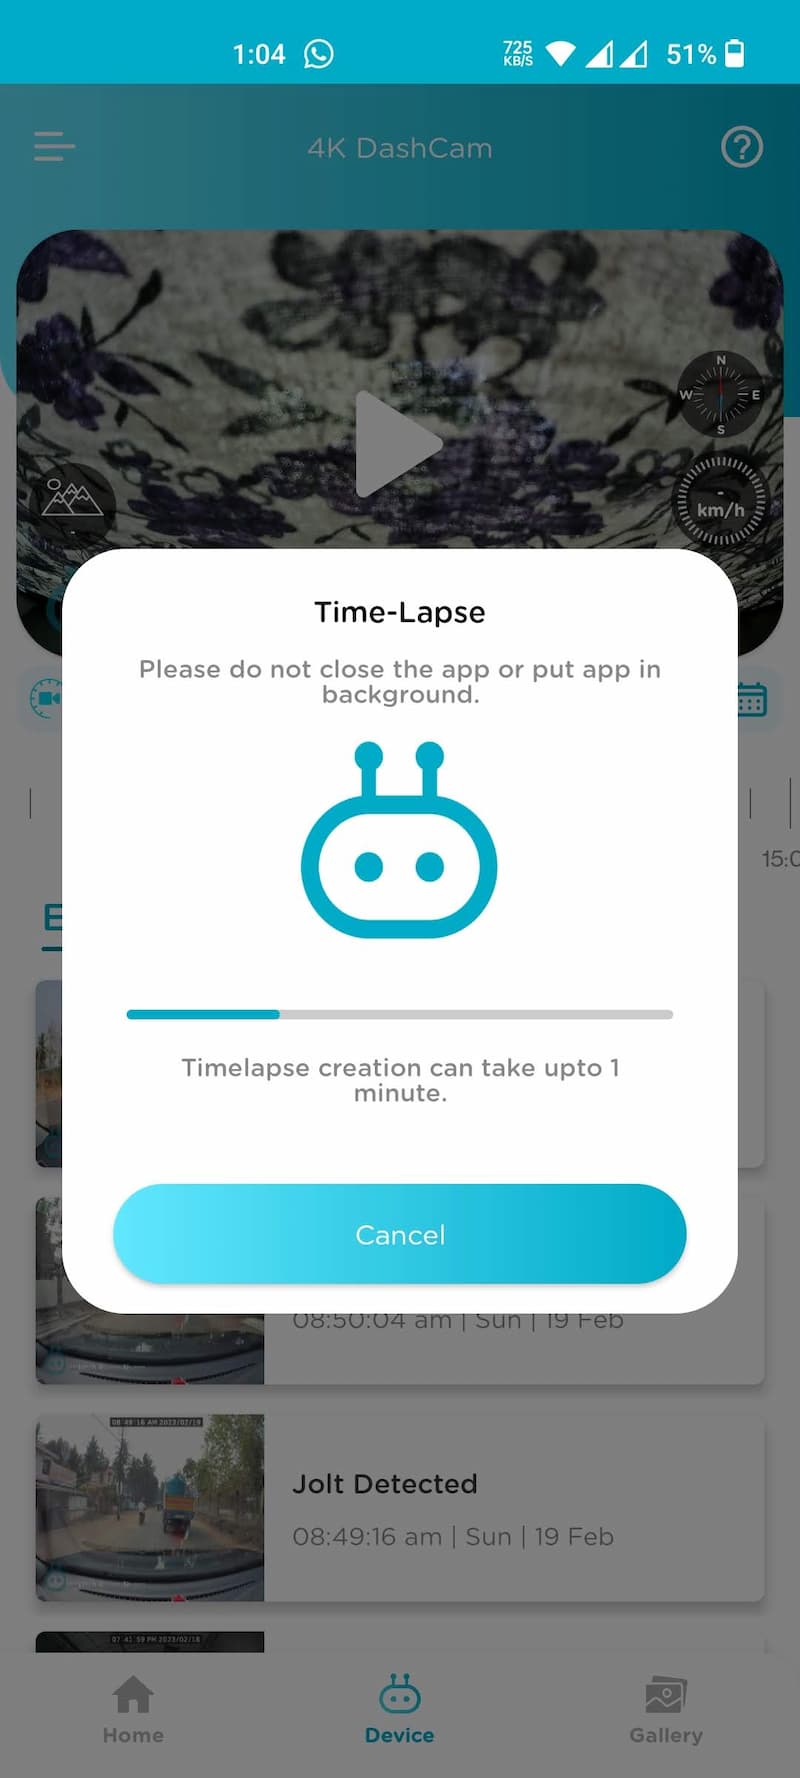
You can create a video summarizing the whole day of recording in a single video by tapping on the Timelapse icon on the app. If enough recordings are made on the selected date, a Timelapse video will be created. You can save a 60 seconds Timelapse video to your device once you select the data.
ADAS (Advanced Driver Assistant System)
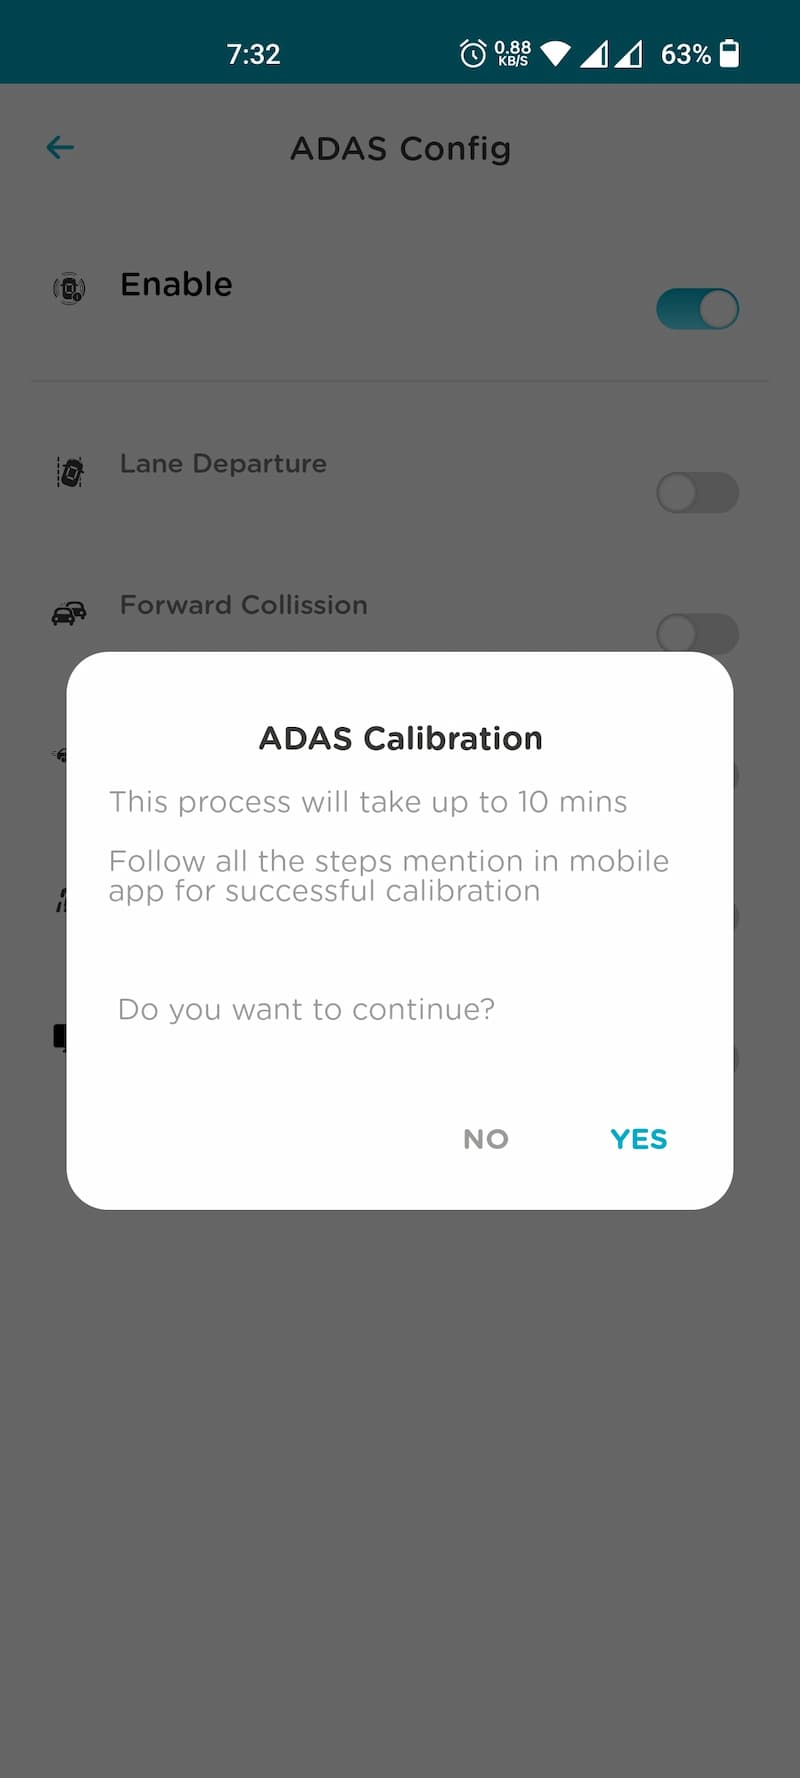
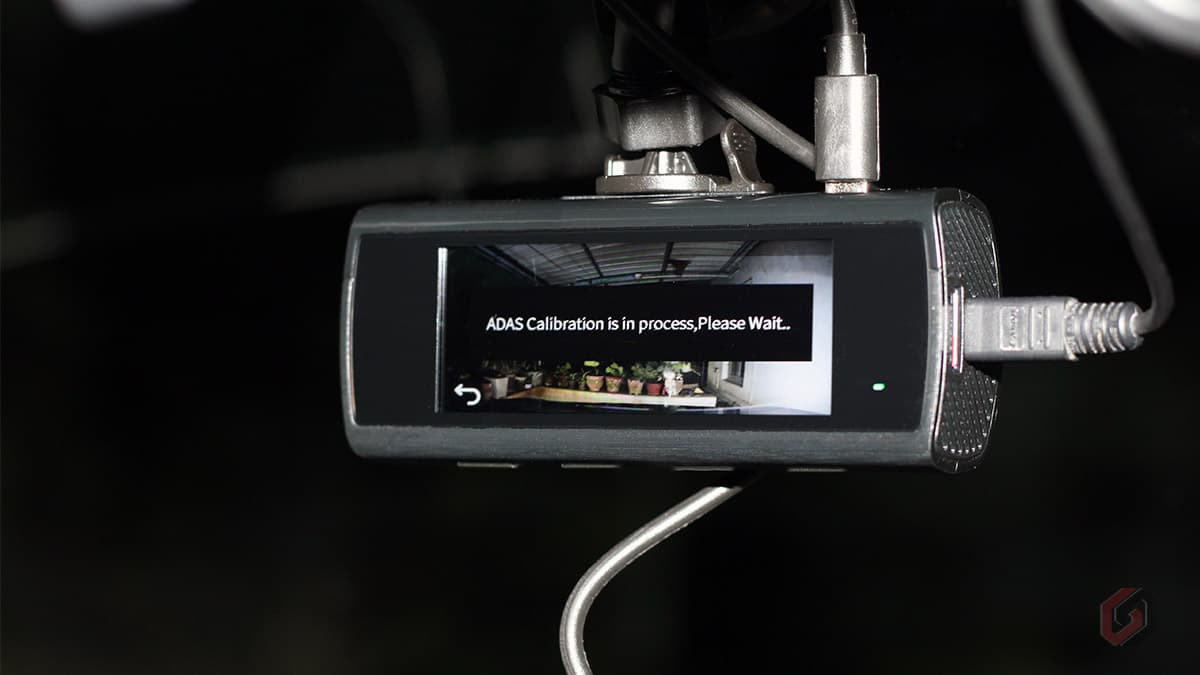
ADAS is a system that alarms the driver in certain critical situations. It keeps an eye on the road in case the driver seems to have lost attention. The Qubo Dashcam Pro 4K supports the following ADAS features.
- Lane Departure Warning System: This dashcam warns when the car is about to leave the current lane slowly and unnoticed.
- Forward Collision Warning System: This dashcam warns when a vehicle in front is approached at high speed, for example, in a traffic jam. The Dashcam uses different visual sensors and GPS data to determine whether the situation is critical and should give a warning.
- Forward Vehicle Start Alarm: This system warns the driver when the vehicle in front is driving away, but the driver’s car remains stationary.
- Pedestrian Alert: This System warns the driver when a human or animal is detected in front of the vehicle. The Dashcam uses different visual sensors to determine whether the situation is critical and warn the driver.
We found it especially useful on highways, where the repeated warnings can be a bit much. However, within city limits, we found it best to turn the ADAS system off because of the constant warnings that can get annoying. Within the city, there are many more potential hazards and distractions than on a highway, so having the system constantly provide warnings can make driving more difficult. If you’re driving in an unfamiliar area or in bad weather, though, ADAS can help keep you aware of potential dangers.

Geo-Fencing
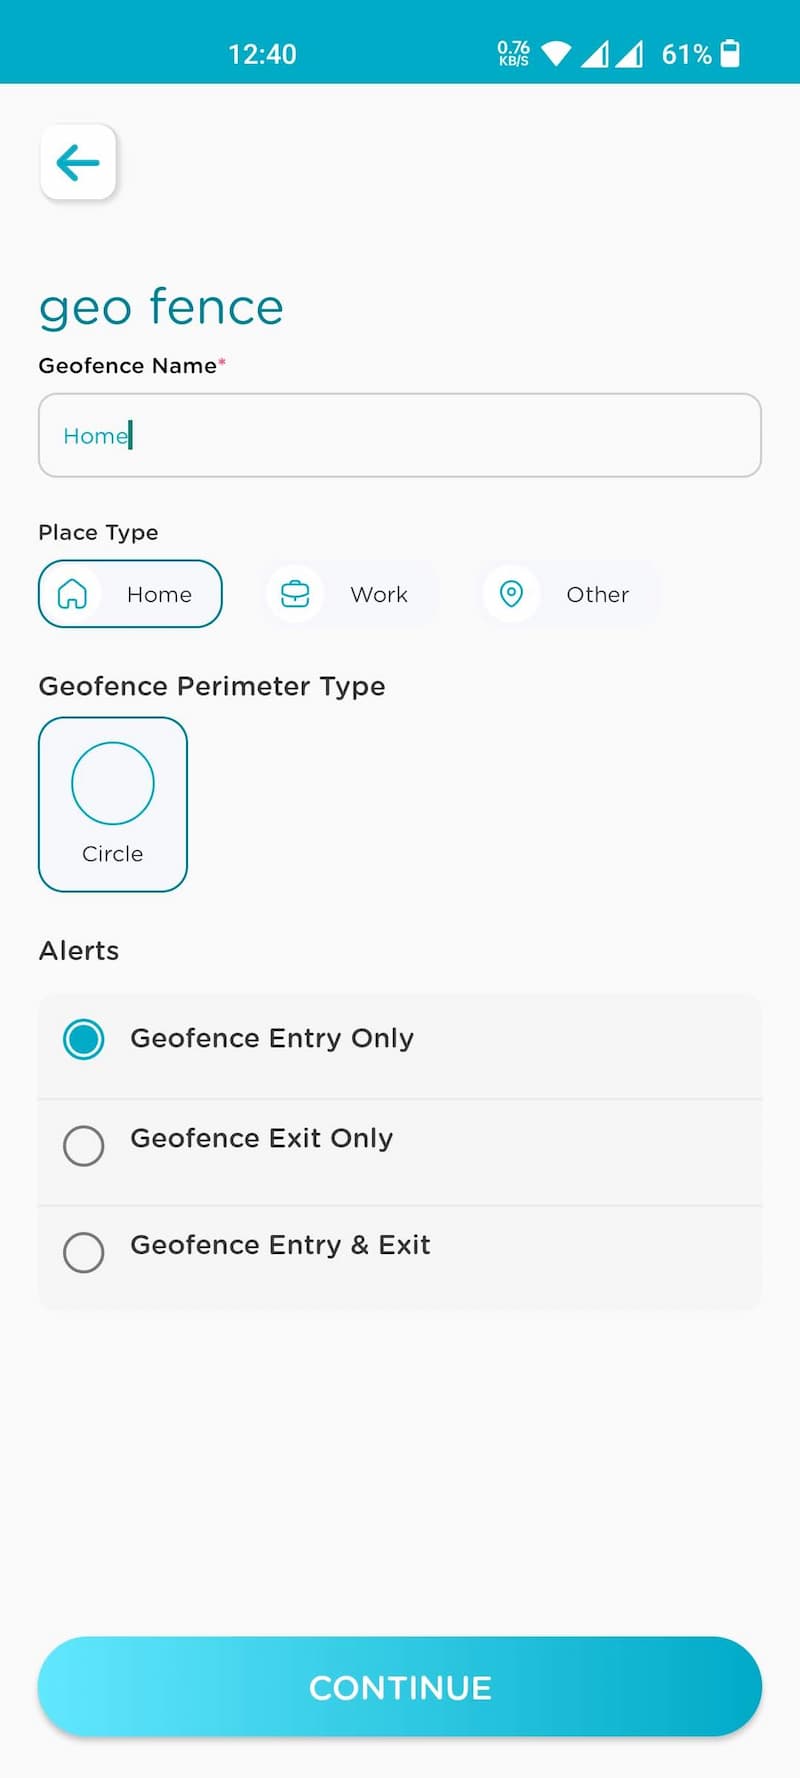
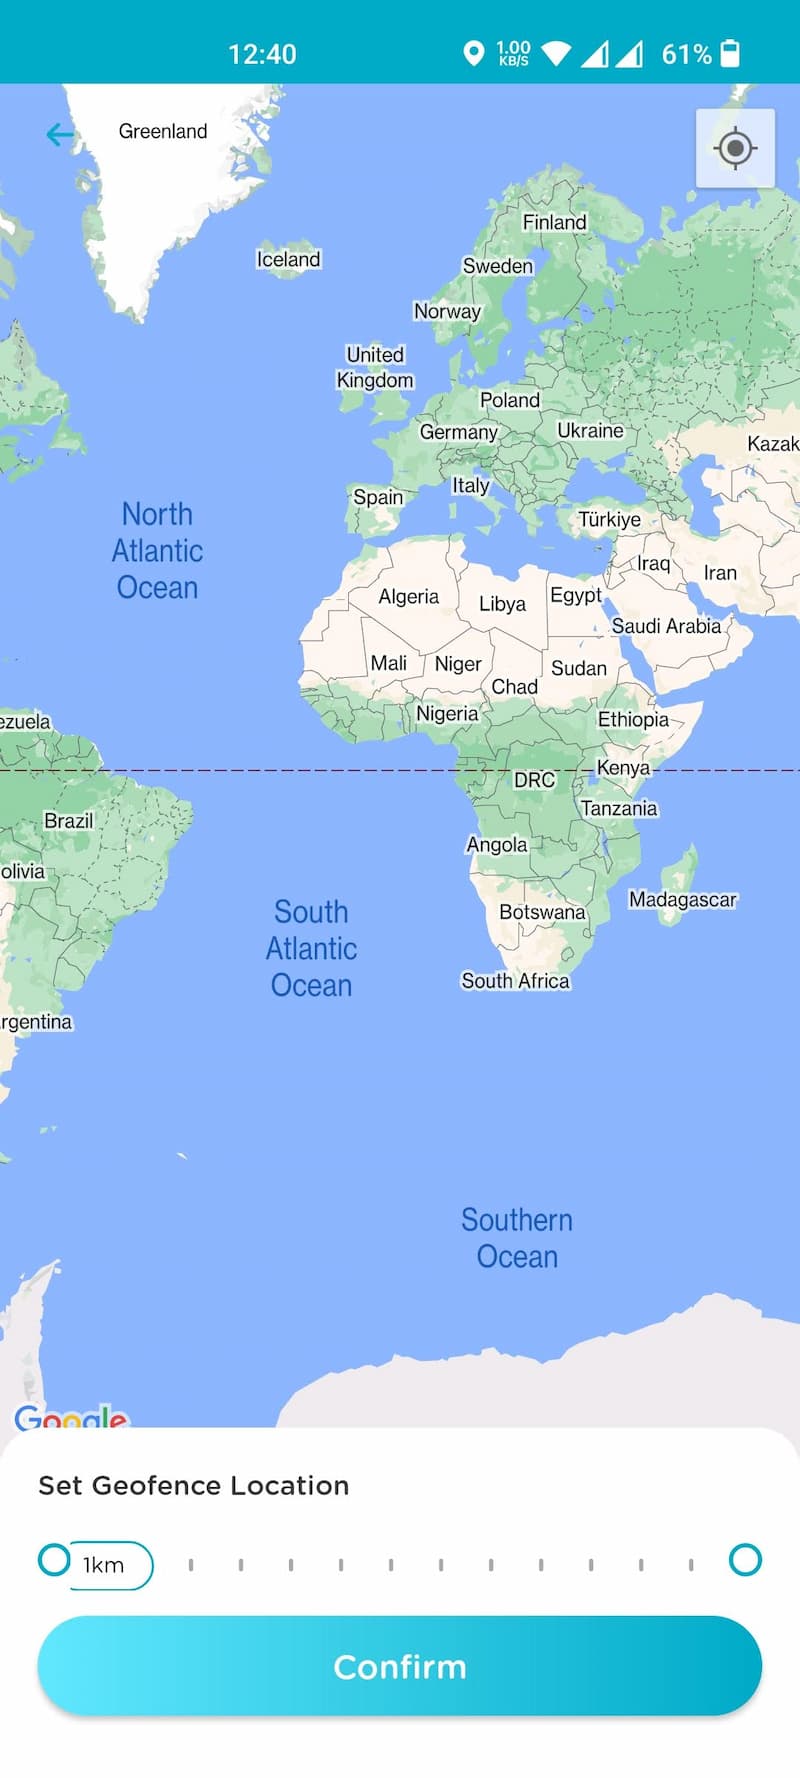
If you want to keep track of where your vehicles are going, you can use Geo-fencing in the Qubo Dashcam Pro 4K. With geo-fencing, you can set any area on a map and get alerts if the vehicle goes into or outside of it. This can be useful if you want to ensure your vehicle stays within a certain area or if you’re worried about them leaving a certain area. With geofencing, you can be sure that your vehicles are where they’re supposed to be, and you’ll get alerts on the dashcam if your car goes outside of the bounds of an area you’ve set on a map.
In-cabin Voice Recording
The Qubo Dashcam Pro 4K also has a built-in microphone that records the in-cabin conversations. You can enable or disable voice recordings from Settings -> Audio Track Recording. The microphone sensitivity is very good, and it clearly records the voice of the person sitting even in the rear seat. If you turn on Audio Track Recording, along with the outside video, the dashcam records the audio inside the cabin.
Automatic Storage Management with Loop Recording
Memory management isn’t easy, especially when recording 4K videos, as the 4K videos need more storage than 1080p. Storage management in Qubo Dashcam Pro 4K is automatic. The dashcam uses a Loop recording system that automatically overwrites the non-essential recordings when the memory card gets full.
The recordings which were saved first will get auto-deleted, and new recordings will take their place. The best part of this feature is that only the non-essential recording will get deleted, and the Jolt Detected videos (Emergency recordings) stay in storage. You can also select the number of Emergency Recordings you want to keep on the memory card (Settings->Jolt Recording Limit). Once the device crosses the Emergency Limit, the emergency recordings saved first will be auto-replaced with new ones.
Qubo Dashcam Pro 4K Performance
I have been using the Qubo Dashcam Pro 4K for the past two weeks, and I am extremely happy with its performance, especially the video quality. The quality of the video, including the voice recording, is excellent. All the recorded videos include the Date, Time, Speed of the Vehicle, and GPS coordinates. During the day, the Qubo Dashcam Pro performs excellently, and the dashcam easily captures essential information such as vehicle details and license plates.
Regarding night, the quality of the footage is good, but the number plates are quite difficult to read. Sometimes you can’t see the number plate of the car in front of you because it’s overshadowed by your headlights, and the number plates are made of reflective material. Even though there is visible noise in the night footage, the captured video is more than enough to use as evidence.
The built-in G-sensor is highly sensitive and precisely detects even minor bumps. The companion app Qubo Pro is fluid and worked properly every time I open it. I observed issues like sudden closure and freezing while continuously downloading the videos. These issues are expected to be fixed in the coming updates. In most cases, the GPS worked fine in open areas but struggled to find the signal in parking or a slightly covered space.
Regarding the rear camera, the video quality is good in the daytime, and you can easily read the text and number plates of the vehicles. The night video performance is average, and a bit hard to read the text and numbers due to the excessive noise. The rear camera’s performance is almost similar to the Qubo Dashcam Pro (Full HD variant).
The biggest disadvantage of the Qubo Dashcam Pro 4K is the presence of a Mini USB port instead of a UBS-C or Micro USB Port. The Mini USB port is outdated, and you hardly find it in new gen. devices. Moreover, it’s hard to find a high-quality Mini USB cable if you need a replacement due to a faulty cable.
Qubo Dashcam Pro 4K Video Sample During Daytime
Qubo Dashcam Pro 4K Video Sample During Night
Overall, I am pretty happy with the performance of the Qubo Dashcam Pro 4K. It’s a feature-packed device that comes with 4K video recording, a high-sensitive G-sensor, A built-in microphone, Bundled rear camera, GPS and ADAS support, Geo-fencing, Journey time-lapse, smart storage management, a suction mount for easy installation, bundled dual-port adapter and a built-in display.
Moreover, Qubo Dashcam Pro 4K is a Made-in-India device manufactured in Andhra Pradesh, India. If you are looking for a car dashcam with 4K video recording, ADAS, and GPS support under INR 10,000, just get the Qubo Dashcam Pro 4K, the best option available in the Indian market now.
What I like
- Excellent video quality
- Rear camera support
- Good low-light performance
- Useful suction mount
- Built-in ADAS and GPS
- In-cabin voice recording
- Accurate event detection
- High-sensitive G-sensor
- Responsive QuboPro app
What I didn’t like
- Outdated Mini USB port
- Limited clip length
- No suction mount for the rear camera
- Limited settings in the display
- Cannot check recorded videos in the built-in display
Qubo Dashcam Pro 4K Price & Availability
Qubo Dash Cam Pro 4K is priced at ₹9,990 for the single-camera variant, wherein the Front + Rear Cam variant is priced at ₹12,990. It will be available online via Amazon India, Quboworld.com, and also through select Qubo dealers across India. Both the cameras come with a 1-year standard warranty while the accessories come with a 6-month warranty.
Things to Remember
- The dashcam doesn’t need the internet/data connection to work constantly. The internet is only needed during the dashcam setup and while removing the dashcam from your Qubo account.
- Qubo Dashcam Pro is not waterproof or weather-resistant.
- You cannot remotely control the dashcam. It is possible only when you’re inside the car.
- The recorded videos are stored locally on the memory card, and the Qubo Pro app will never save videos or images in the cloud.
- The dashcam doesn’t include any MicroSD card. You’ll have to buy it separately.
- Preview video resolution is set to 480p in the case of Android phones and 4K in the case of iOS.
Heard that the customer support from Qubo is horrible. Is it still the same?
I don’t think so. I did not receive any such complaints from readers. If you have any issues with the support, let me know. I’ll be happy to help you.