A short while ago, we provided a comprehensive tutorial on activating a Jio eSIM on a Google Pixel phone. Now, we’re here with a fresh guide on activating an Airtel eSIM on your Android and Apple devices. Getting an eSIM from Airtel is easier and faster than getting one from Jio. Airtel uses its Airtel Thanks app for eSIM requests. In this guide, we’ll walk you through detailed steps to activate and configure an Airtel eSIM using the Airtel Thanks app on Apple and Android devices.
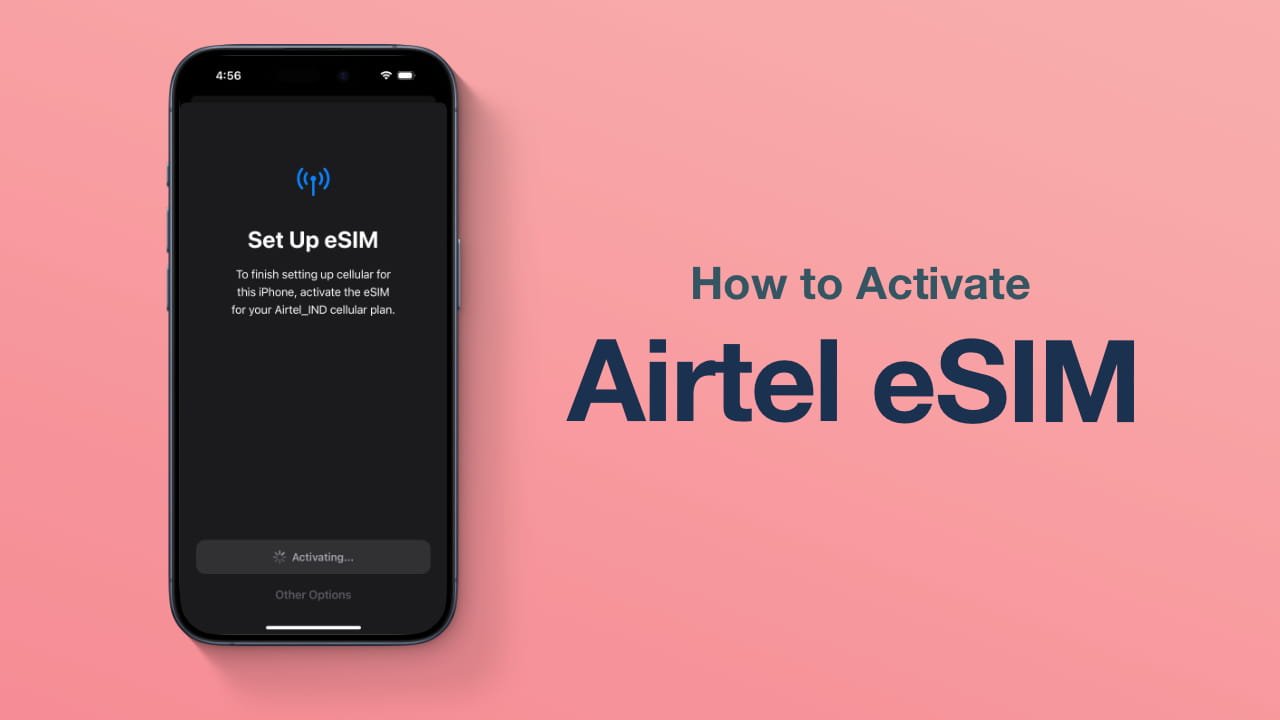
How to Activate Airtel eSIM
The tutorial provided is based on the iPhone 15 Pro, but it applies universally to all eSIM-compatible iPhone models, such as iPhone 14 Series, iPhone 15 Series etc. as well as eSIM-compatible Android devices like Pixel 7a, Pixel 8 Pro, and others. While there may be slight variations in the naming of Settings, the overall process remains almost the same.
Initiate eSIM Request via Airtel Thanks App
Before you request an eSIM, ensure you have the newest version of the Airtel Thanks app installed on your phone (Android | iOS). Also, sign in to the app with the same phone number you want to switch to an eSIM.
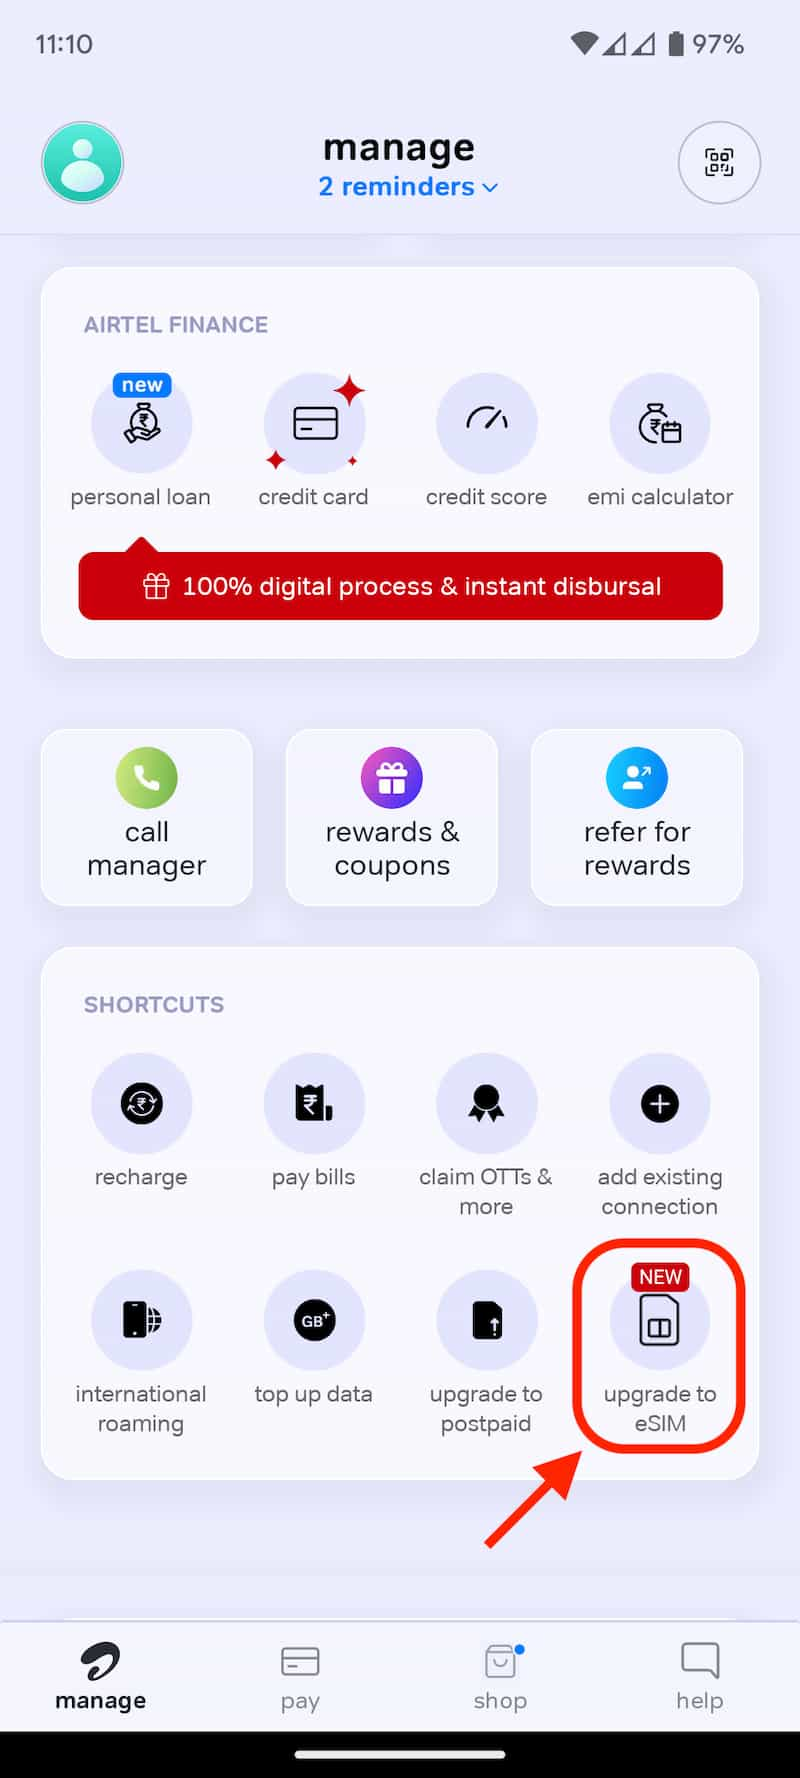
- Open the app, and on the Homepage, Scroll down to shortcuts. Click on the upgrade to eSIM icon to initiate the eSIM request.
- The mobile number field is prefilled, and you cannot edit it.
- Choose your device – select this device or another device as per your preference. For example, If you’re using an Android device and require an eSIM for your iPhone, make sure to choose Another device as the option.
- Enter your 32-digit EID number of your phone.
- Tap on Get ESIM via OTP

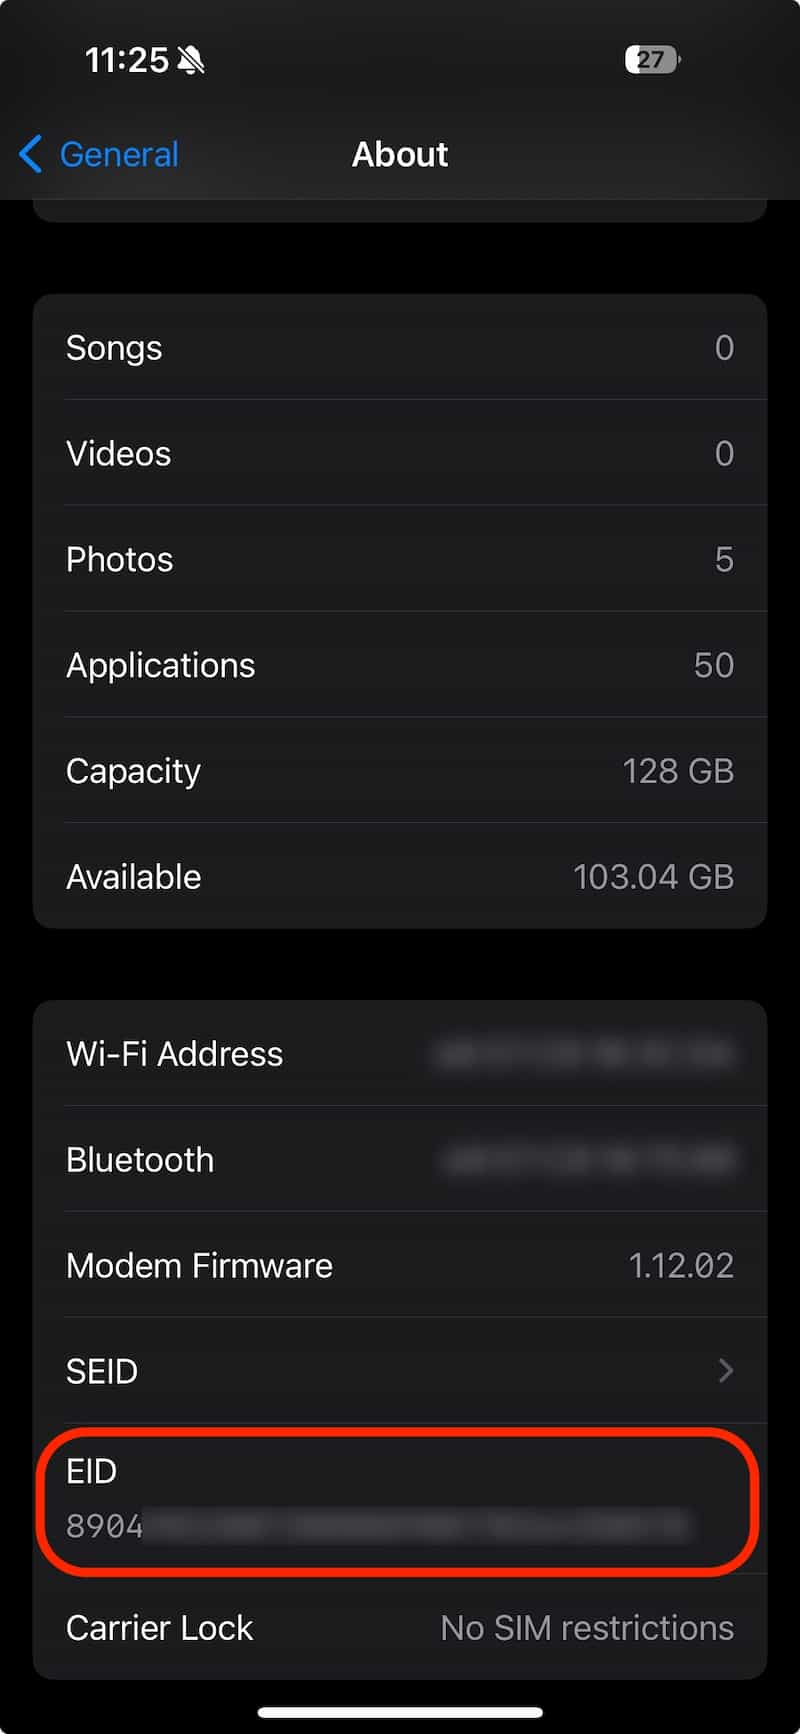
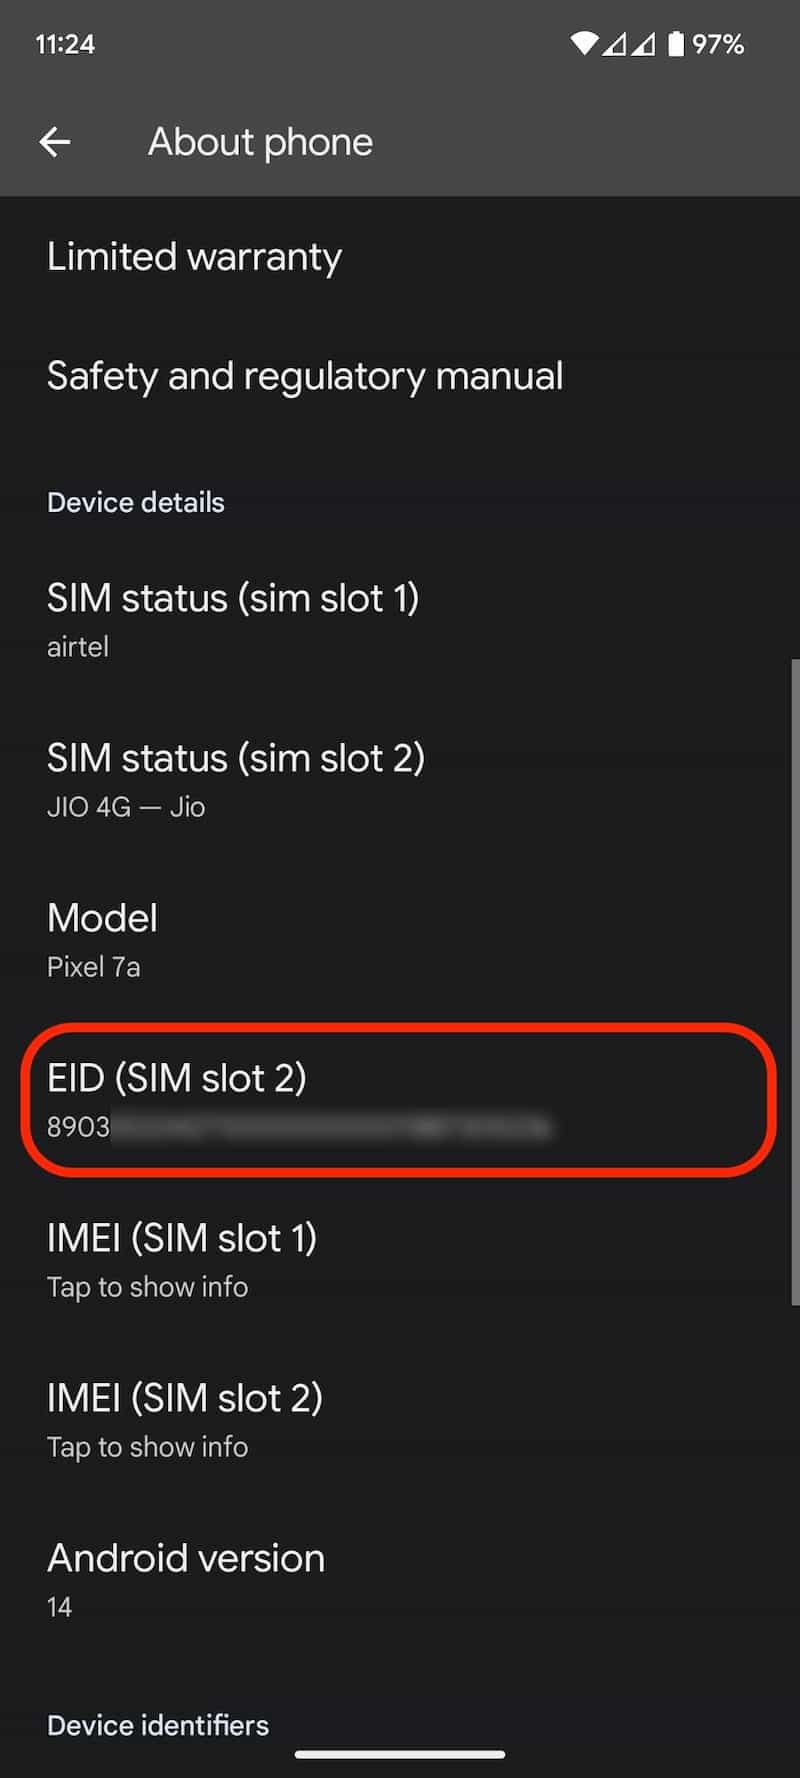
Note: The EID number serves as a distinctive code exclusive to your phone’s eSIM, and it is specifically used during the eSIM setup process. To locate your EID number, you can dial *#06# on your phone, and it will be displayed on your screen. On iPhones, navigate to Settings -> General -> About -> Locate EID. On Android phones, go to Settings -> About -> Find EID. For visual reference, check out the screenshots below. The screenshot on the left displays the EID on an Apple iPhone 15 Pro, while the screenshot on the right showcases the EID on Google Pixel 7a.
Verify the OTP on Your Registered Phone Number
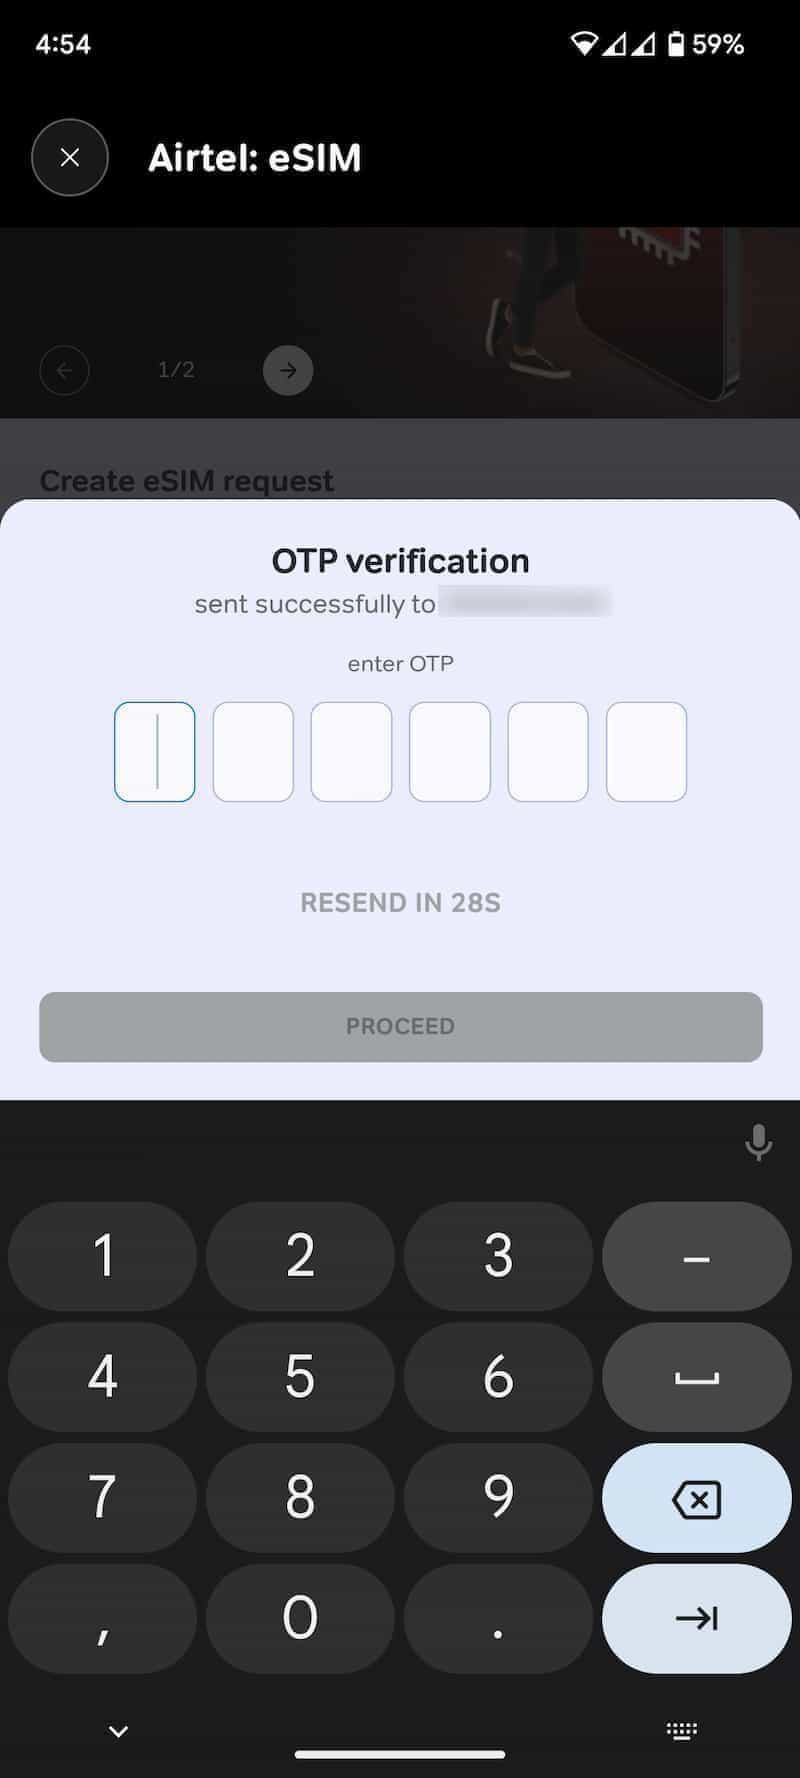
- Type in the OTP that you receive on your registered Airtel number.
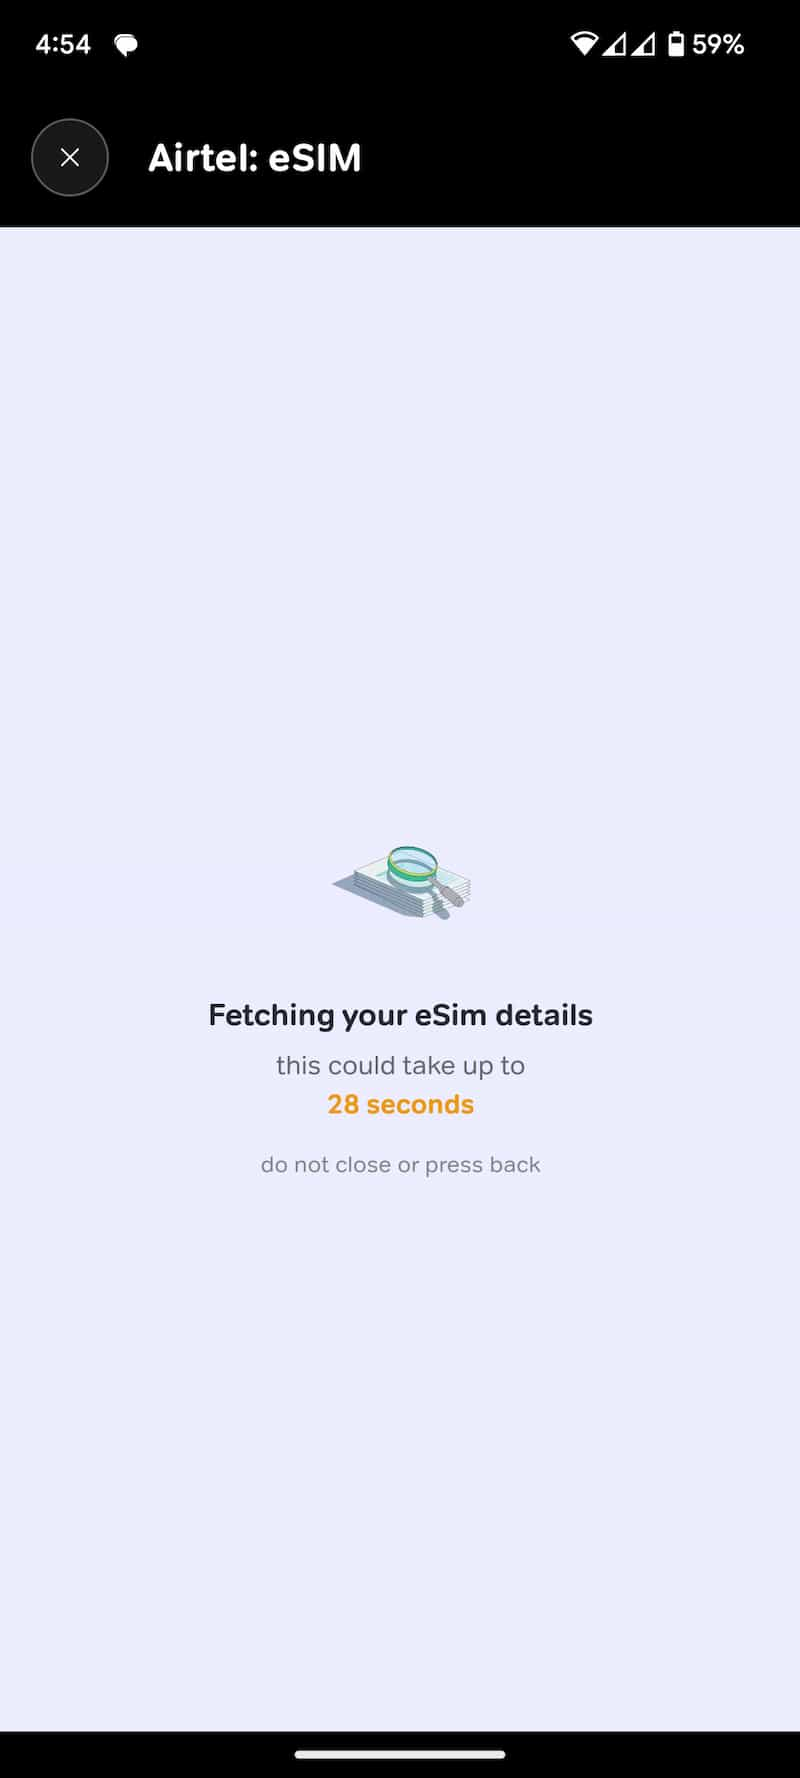
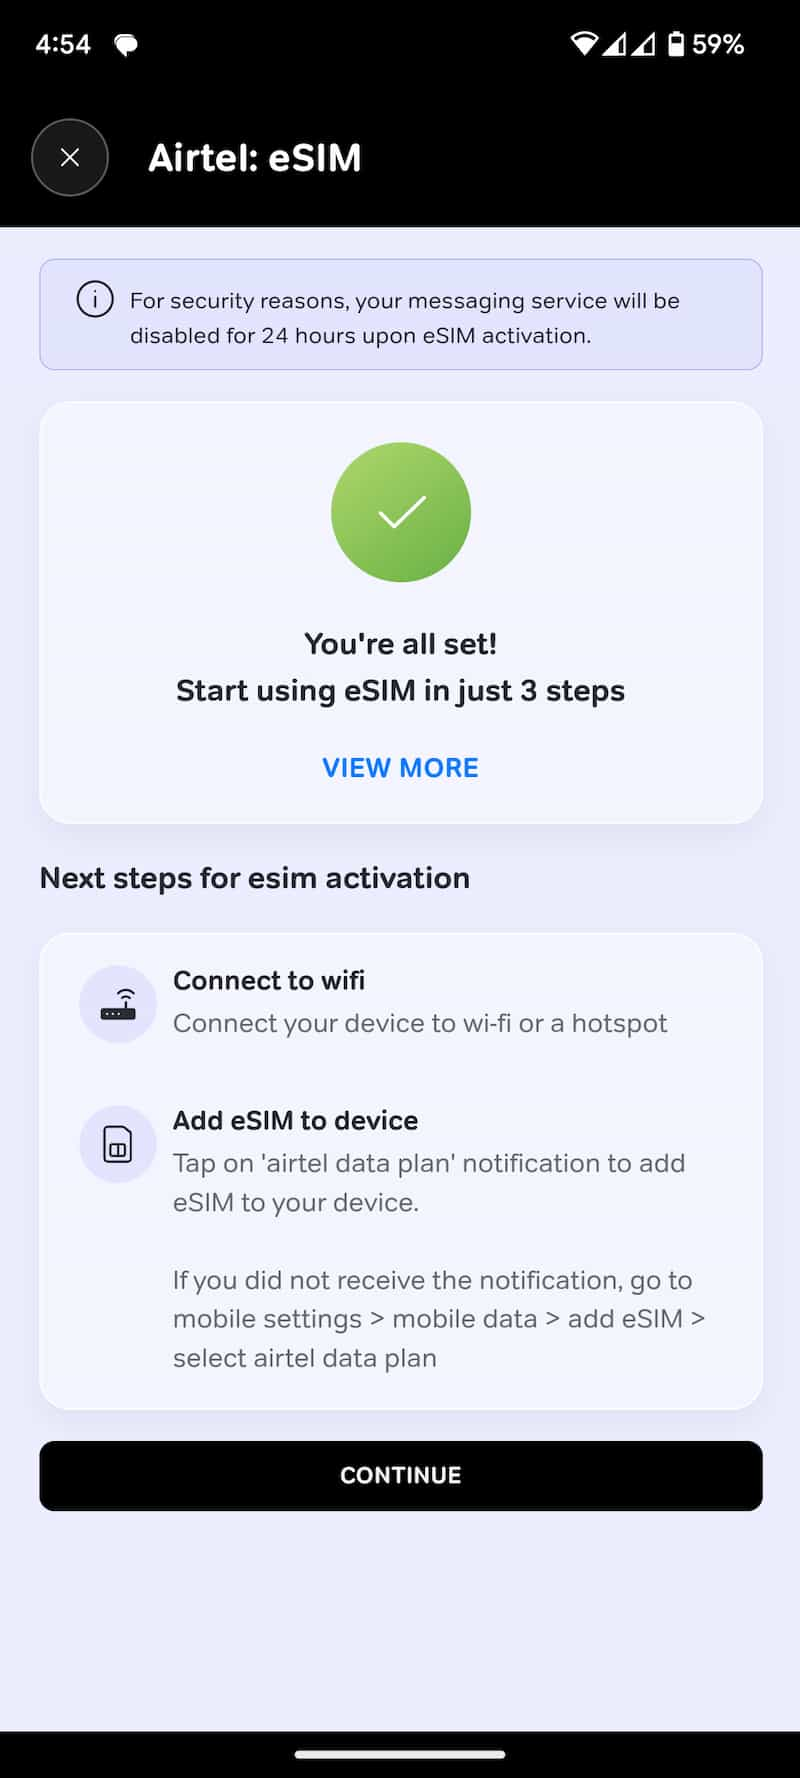
- After entering the OTP, the application will proceed to verify it and submit the eSIM activation request. You will receive immediate confirmation of the eSIM activation in the app itself, allowing you to configure the eSIM on your new phone.
- Tap on Continue.
Installing eSIM on Apple iPhone
- Connect your iPhone to the internet using Wi-Fi, a hotspot, or mobile data if your phone already has a SIM card.
- Go to Settings -> Mobile Service.
- Tap on Set Up Mobile Service.
- Click on Set Up eSIM. In the screenshot, you can Airtel_IND.


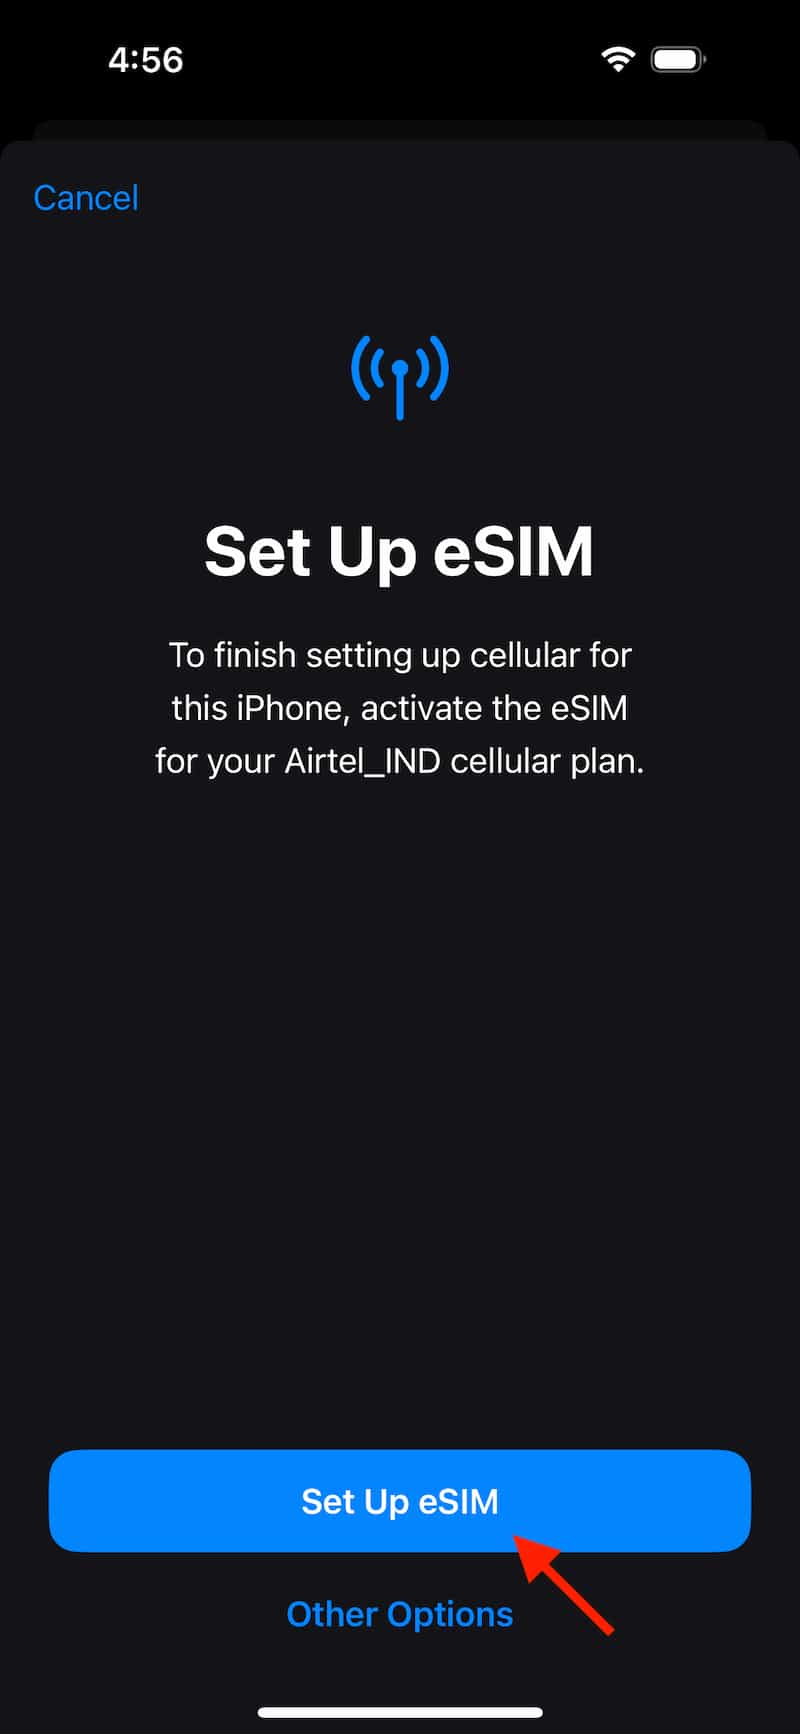
- The eSIM activation process will require a few seconds.
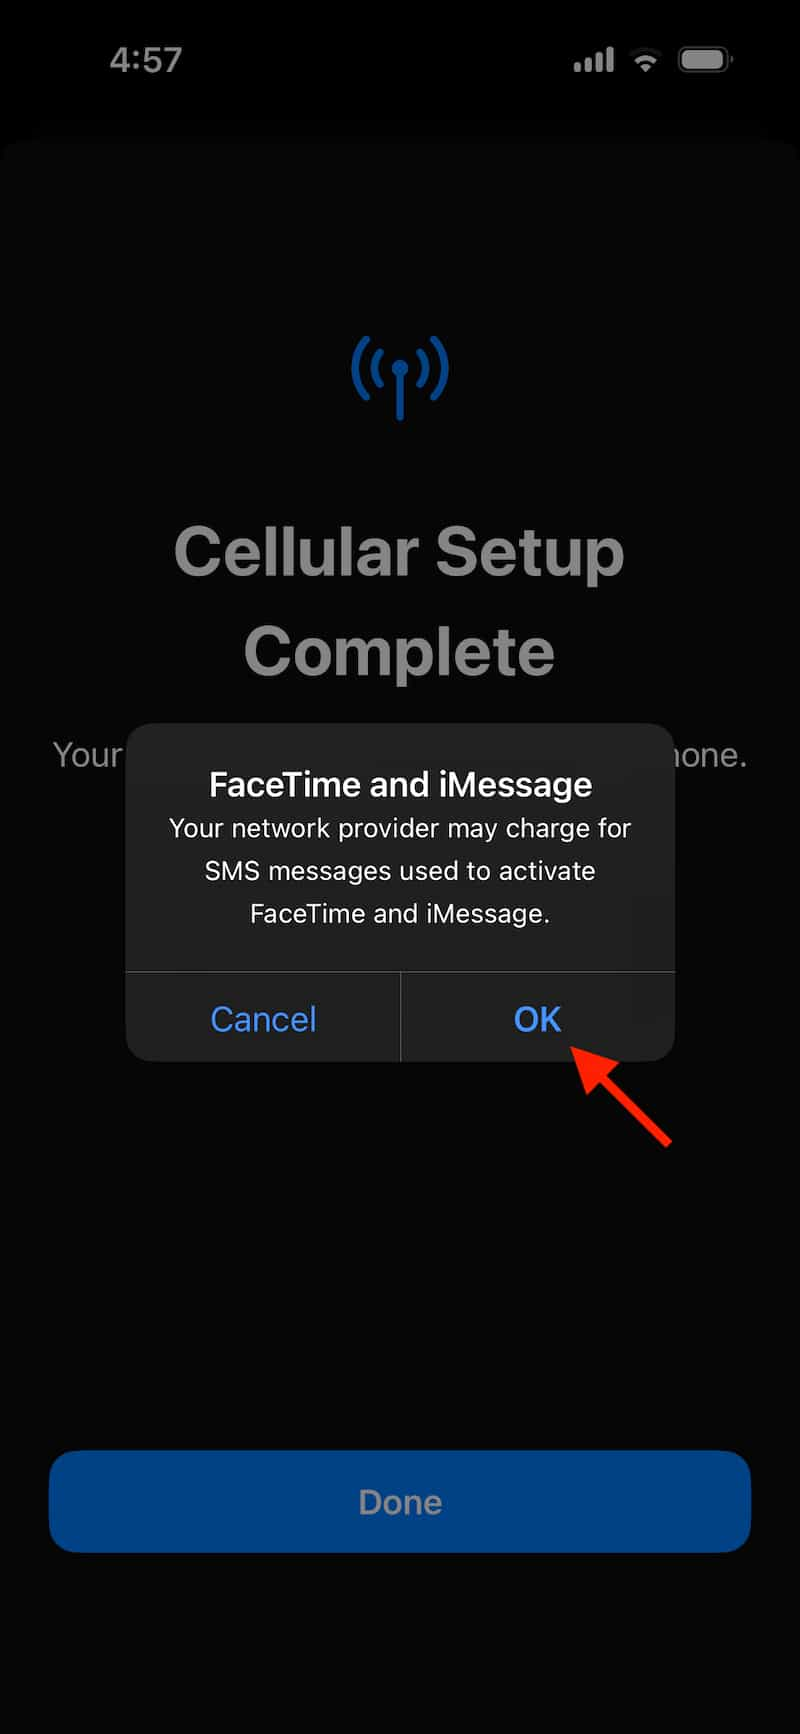
- Next, a prompt will appear to activate FaceTime and iMessage. Please note that you won’t be able to activate FaceTime and iMessage immediately, as SMS services will only be accessible 24 hours after eSIM activation. Tap OK to continue. You can activate these features later from Settings after 24 hours.
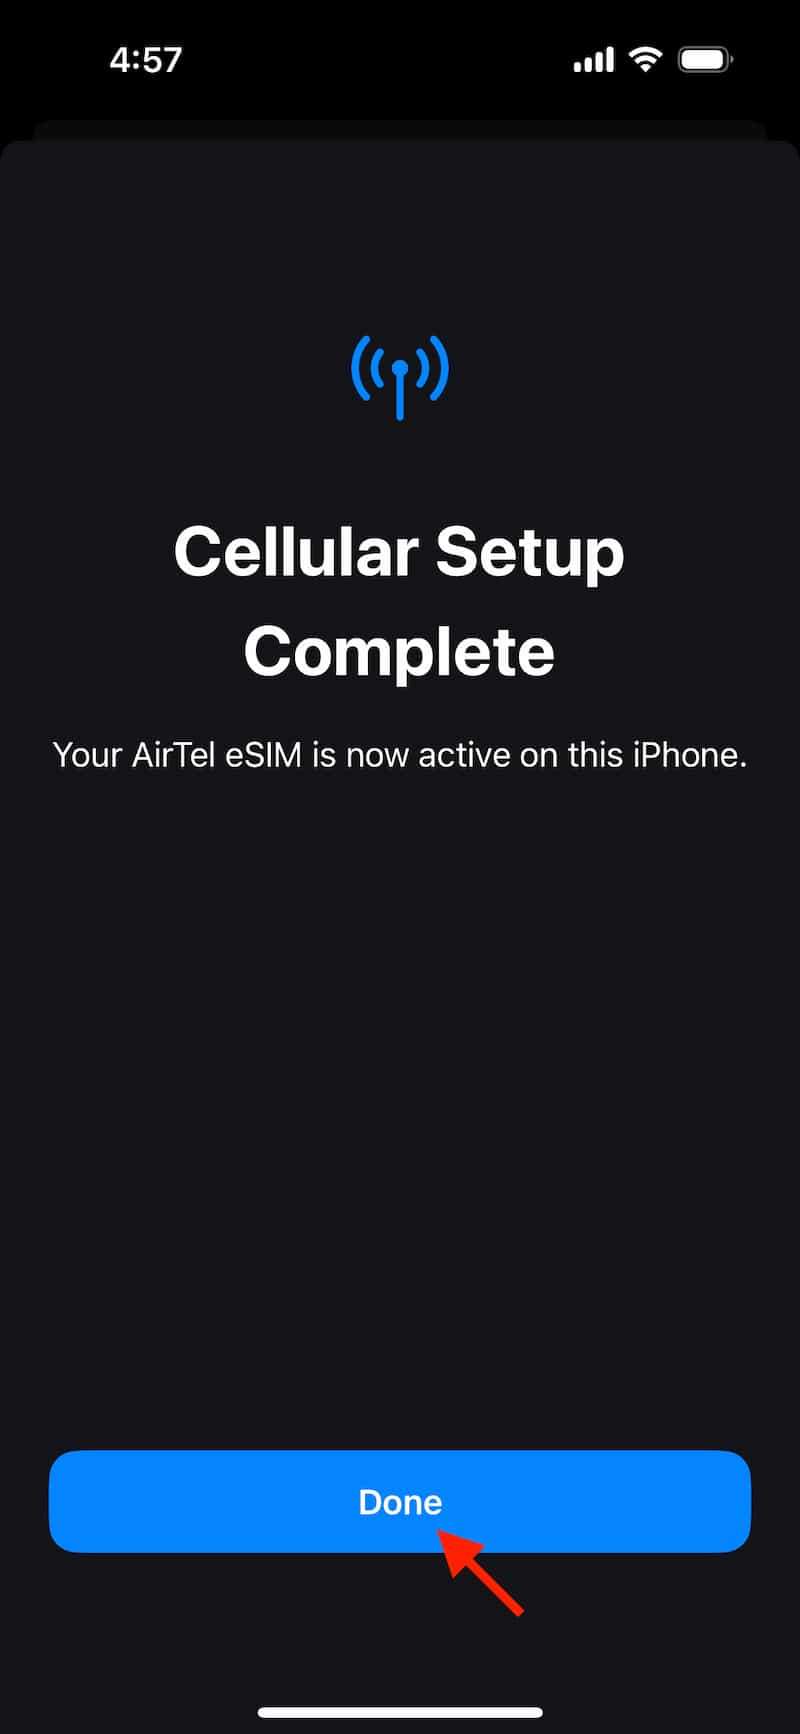
- Tap Done to complete the setup. Your Airtel eSIM is now ready for immediate use, allowing you to make voice calls.

Installing Airtel eSIM on Android Phone
- Connect your Android Phone to the internet using Wi-Fi, a hotspot, or mobile data if your phone already has a SIM card.
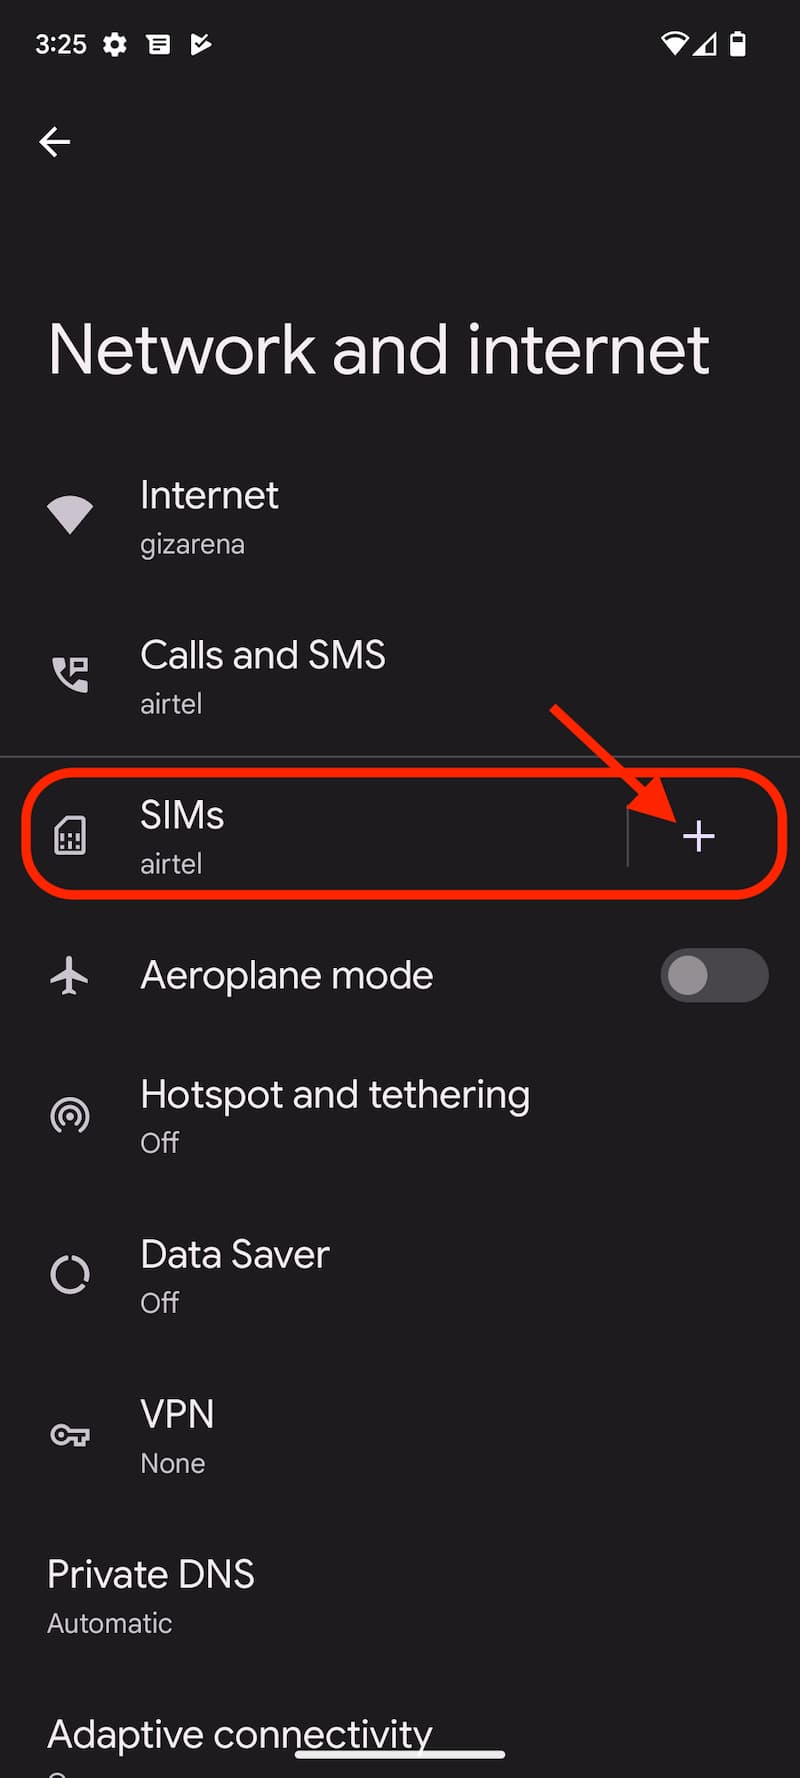
- Now, Go to Settings -> Network and internet -> Click on plus (+) sign.
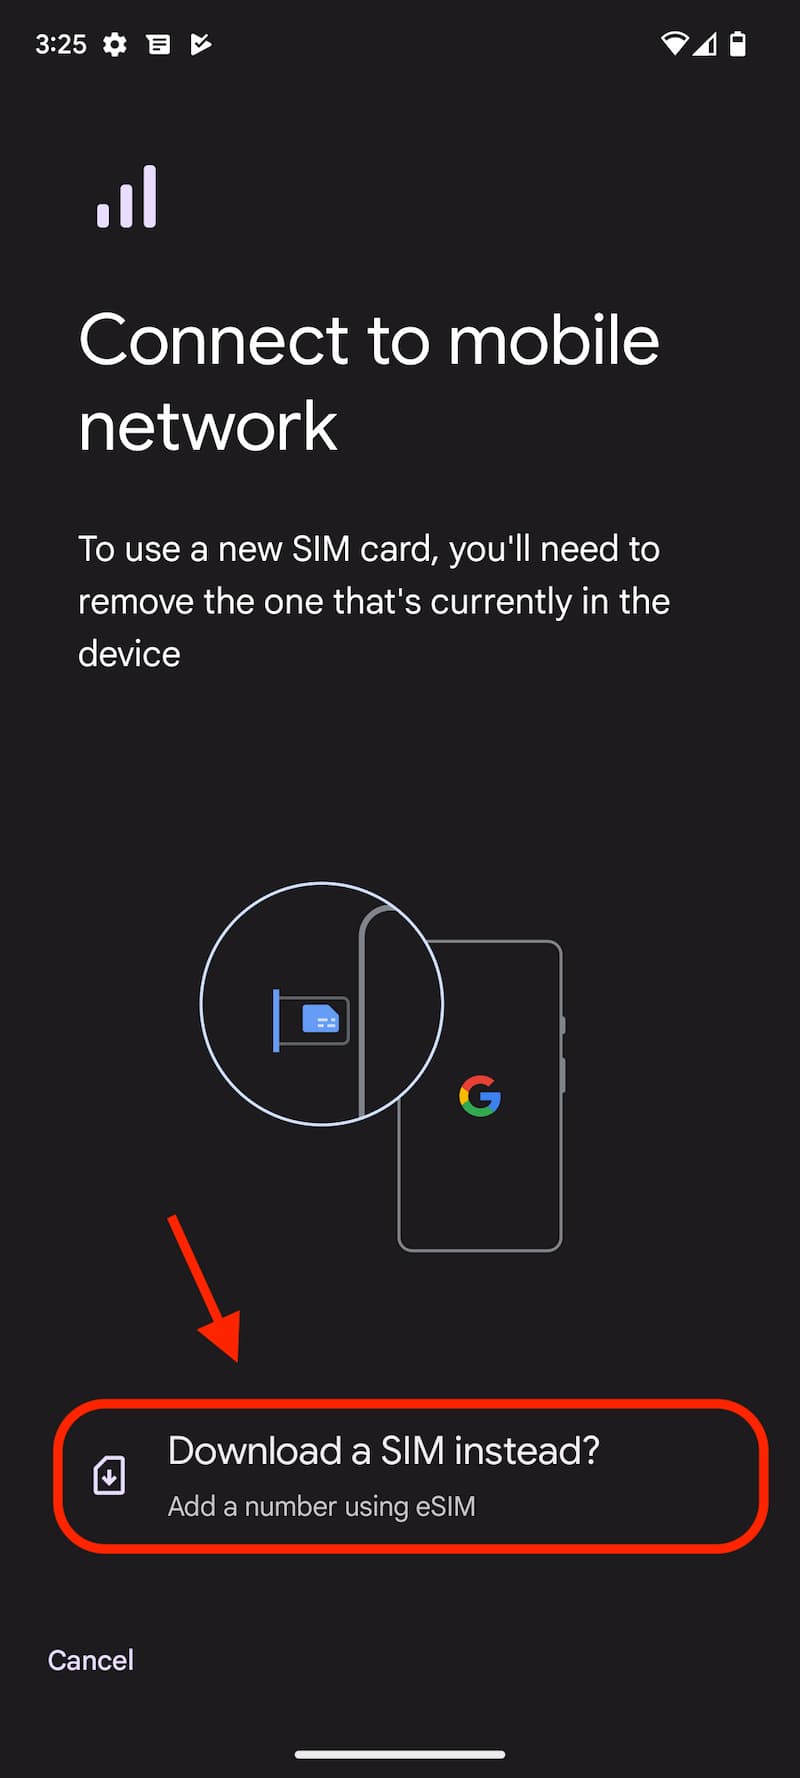
- Tap on Download a SIM Instead.
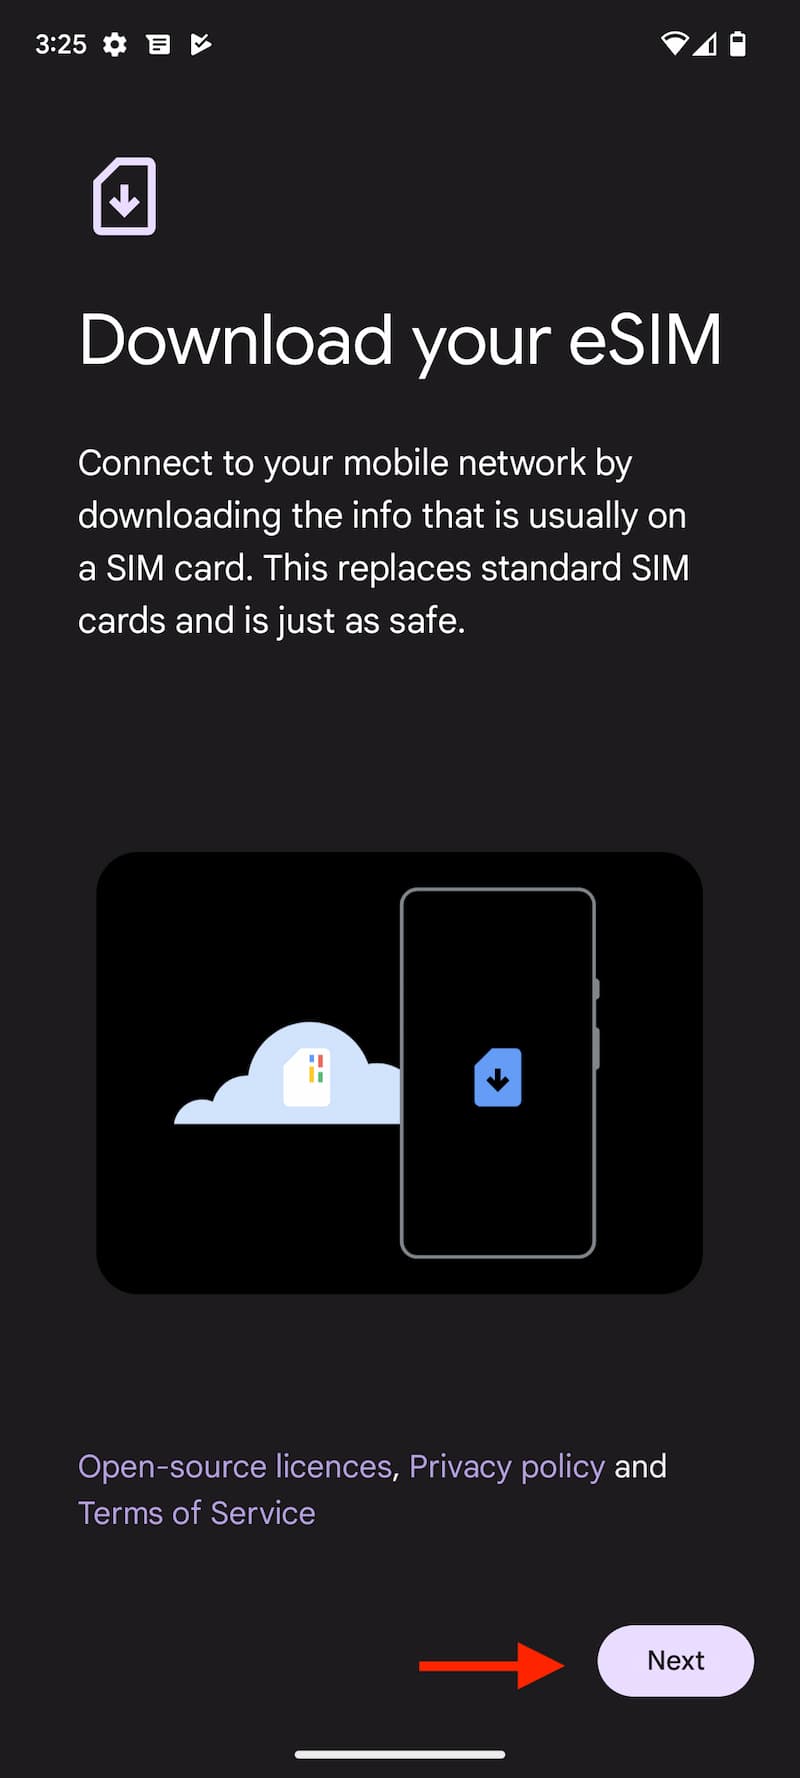
- Select Next.
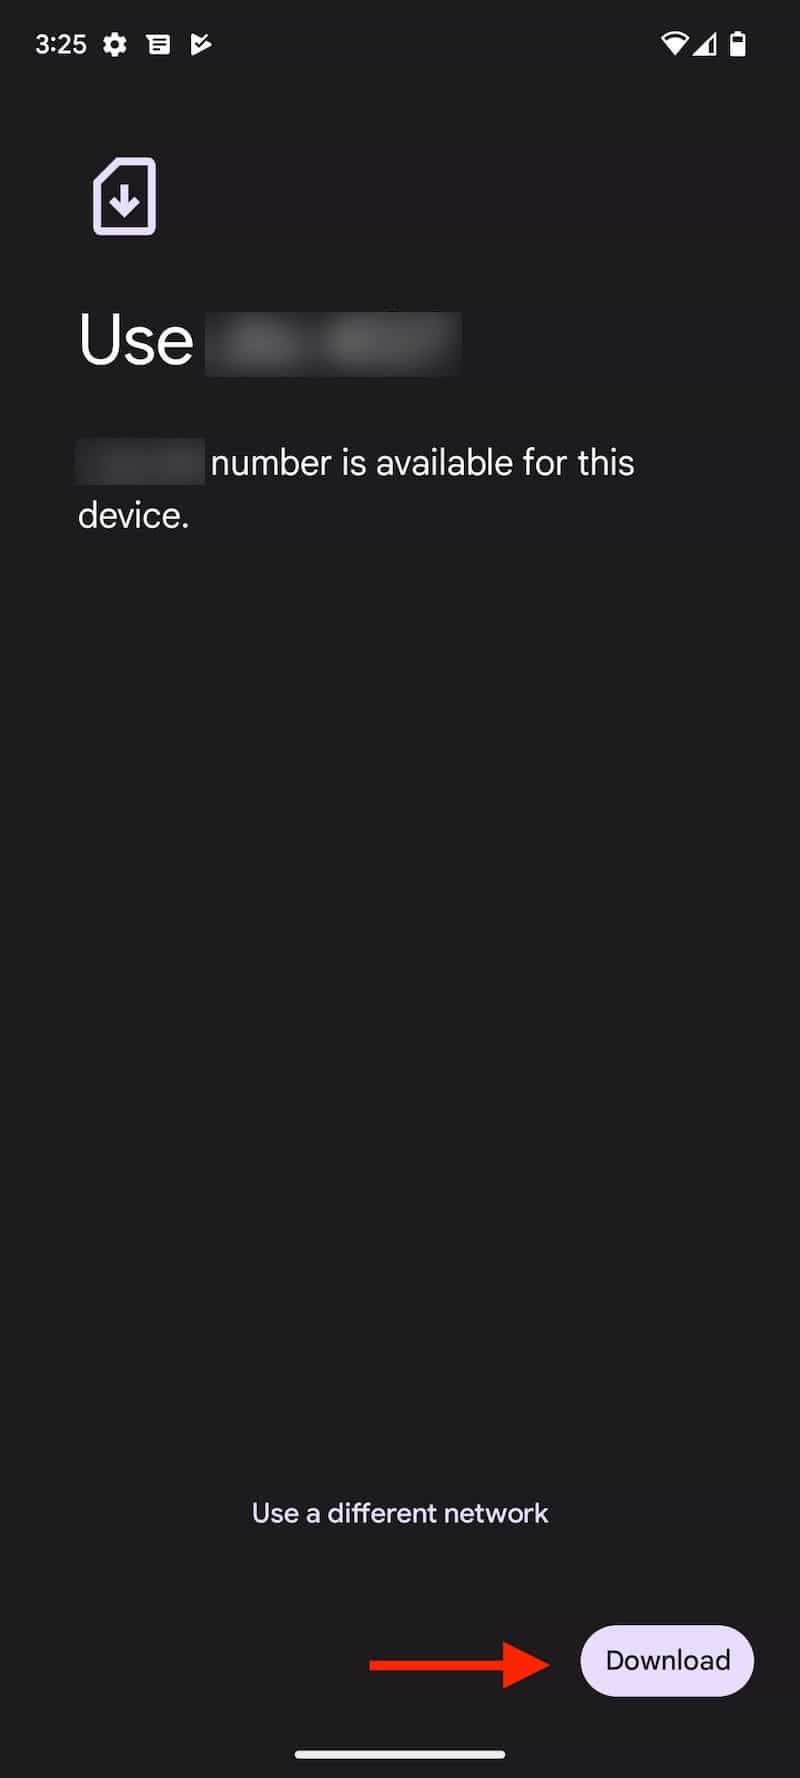
Tap on Download. It will take a few seconds to download the Airtel eSIM profile into your phone. Once the download is finished, you’ll get a confirmation saying Download finished.
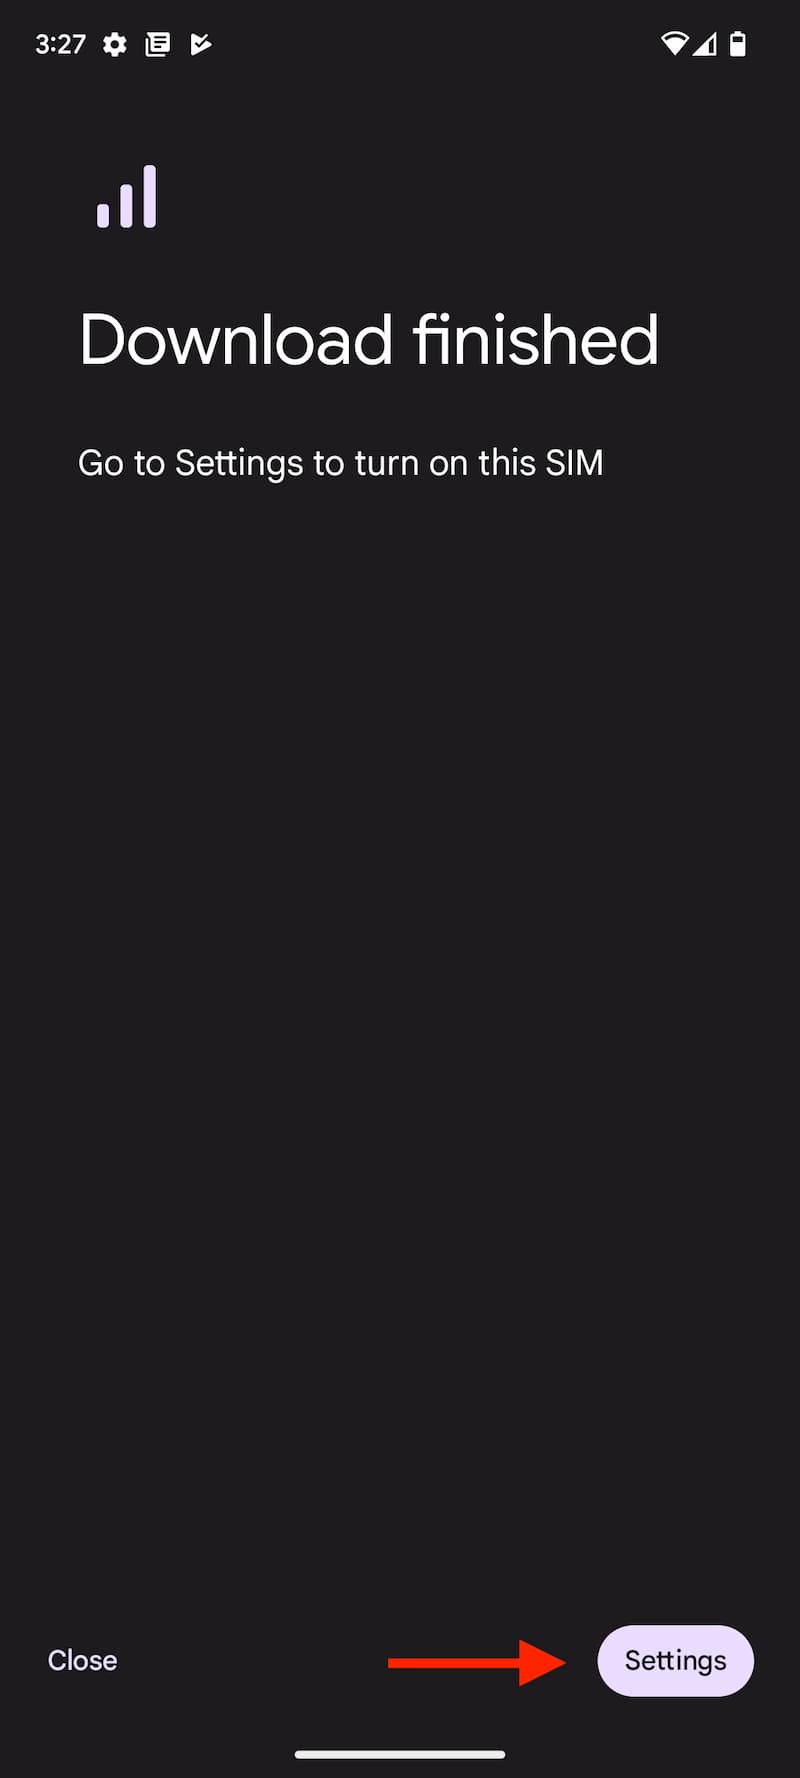
- By default, the eSIM is off, and to turn on the eSIM, tap on Settings.
- Tap on the Inactive text.
- Enable the toggle Use SIM to turn on the Airtel eSIM.
Note: After upgrading to eSIM, SMS services on your Airtel number will be temporarily suspended for 24 hours in adherence to regulatory guidelines. Consequently, you won’t be able to send SMS messages, including those needed for activating services such as GPay, PhonePe etc. SMS services will be restored automatically after 24 hours. There is no way to bypass this restriction and you’ll have to wait for 24 hours before you can send a text message from your device.
Things to Remember
- The eSIM should be configured on the device within the next 4 hours after initiating the request. If the eSIM profile is not configured within this timeframe, the request will be automatically canceled. During this period, the physical SIM will continue to function as usual.
- Avoid selecting the “Erase SIM” option, as this action will result in the permanent deletion of your eSIM profile from your phone, and you won’t be able to avail of any Airtel services. If you accidentally select the Erase option, you will need to visit the nearest Airtel Store with valid proof of identity to initiate a new eSIM request.
- After successfully installing an eSIM on your new device, both incoming and outgoing SMS services, including OTPs, will be temporarily disabled for a period of 24 hours.
- Avoid disclosing your EID to anyone, as it may result in unauthorized access to your mobile number.
- In the event that your eSIM-activated device is lost, visit the nearest Airtel Store for assistance.
- To revert from an eSIM to a physical SIM, you must visit the nearby Airtel Store with a valid identification proof. Please note that the old physical SIM will become unusable the moment the eSIM is activated on a new device.
- There are no charges for eSIM conversion.
Frequently Asked Questions on Airtel eSIM on Apple iPhone
While activating Airtel eSIM is generally a seamless and hassle-free process, many people encounter difficulties in activating iMessage and FaceTime after migrating to Airtel eSIM. We’ve compiled a list of Frequently Asked Questions (FAQ) to assist you in resolving activation issues with iMessage and FaceTime on the Airtel eSIM.
iMessage and FaceTime Not Activating on My Airtel Number
To activate iMessage and FaceTime, your iPhone will send an international SMS from your number. Therefore, it’s crucial to ensure that you have a sufficient balance in your Airtel account. Even if your plan includes 100 free SMS per day, ensure you have at least ₹10 in your Airtel account to cover the cost of sending an international SMS.
FaceTime and iMessage are Not Activating, Even After Recharging with a Valid SMS Pack.
Sometimes, you might see an error message like “An error occurred during activation. Try again” because of a problem with Airtel or Apple. It’s a common issue that can come from either Airtel or Apple. You can follow Apple’s official instructions here to try to fix it. If the problem continues, you can contact Airtel support by calling 121 or sending them a direct message on Twitter for resolution.
Do I Need a Special SMS Pack to Activate iMessage or FaceTime?
No specific SMS pack is necessary for activating iMessage or FaceTime. Ensure your main balance is at least INR 10. Your iPhone will automatically send an international SMS in the background to activate iMessage, with a charge of INR 5 per SMS. After a successful SMS transmission, you’ll receive a confirmation message of the amount deduction. Post-deduction, iMessage will be activated within a few seconds.
Is It Possible to Change the Access Point Name (APN) After Activating Airtel eSIM?
You cannot modify the Access Point Name (APN) when using Airtel eSIM. Airtel manages all settings, and they are configured automatically. Consequently, there is no option to change the Access Point Name (APN).
Thanks for reading this quick tutorial on converting your physical Airtel SIM to eSIM. Do let us know in the comments if you have any issues.